The Project: Cover everything that isn’t part of the visual magic in black velvet for the Fair Park marionette show Captain Kid’s Theater
Several curtains, 3 scaffolds, and up to 10 marioneteer costumes had to be covered in black velvet so that they would all blend together in dim lighting. The thing about sewing velvet together to make it invisible, though, is that the seams would catch light. So seams had to be minimized.
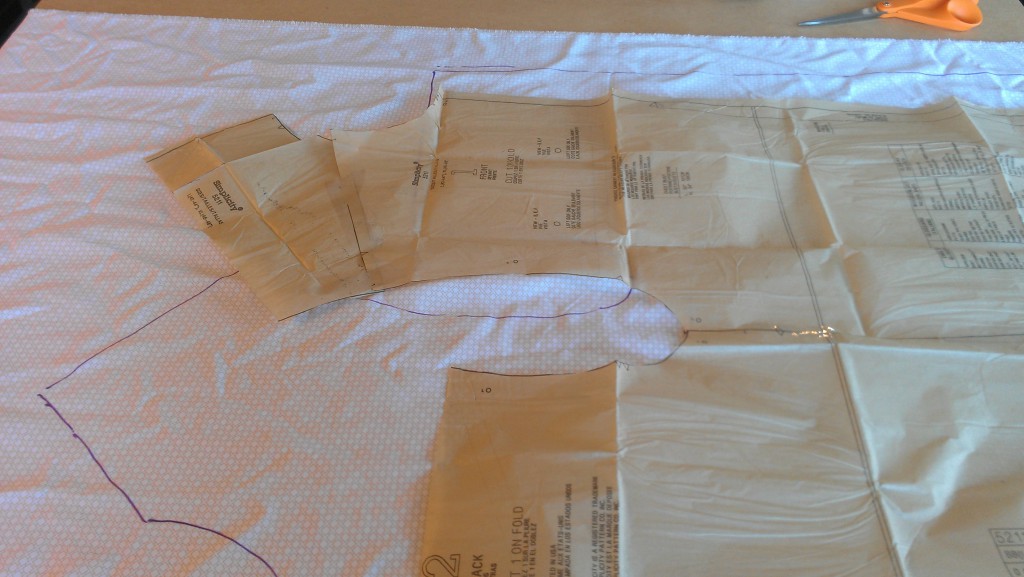
I moved all the seams on the shirt and pants to the back. Starting with a commercial pattern for a loose tunic, I cut up the original pattern and taped the pieces together in a different order.
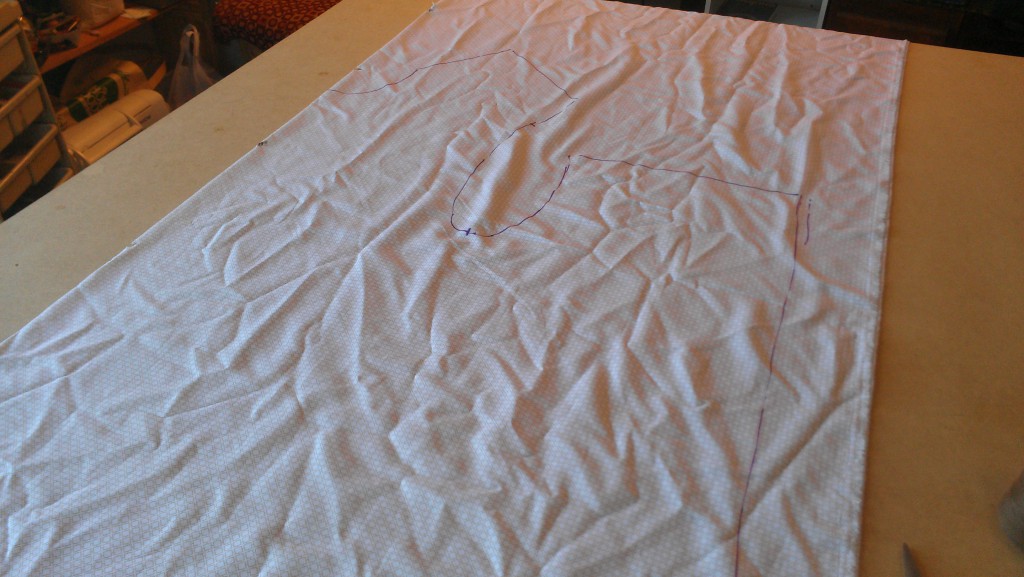
Then tested my idea out on some crappy fabric that had gotten a burn down the center seam:
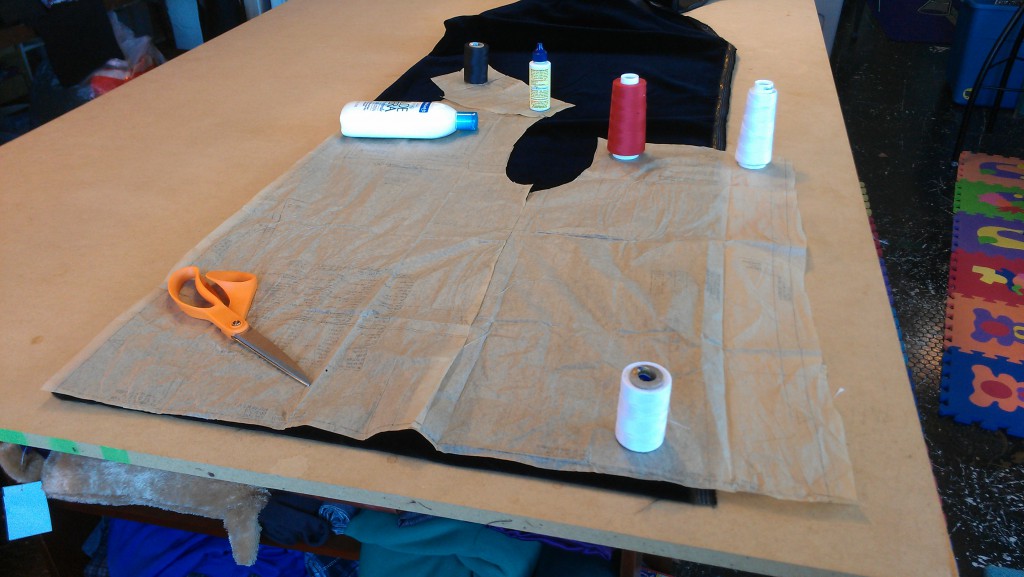
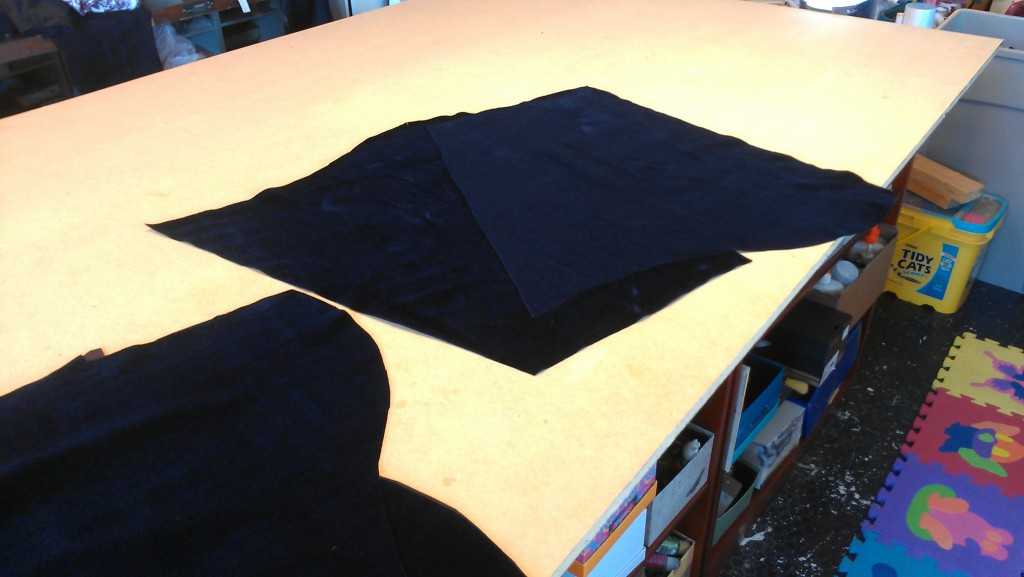
It worked out great, so I made a second prototype out of velvet. Which was unfortunately narrower than my first test fabric, so I had to add a panel for width in the back:
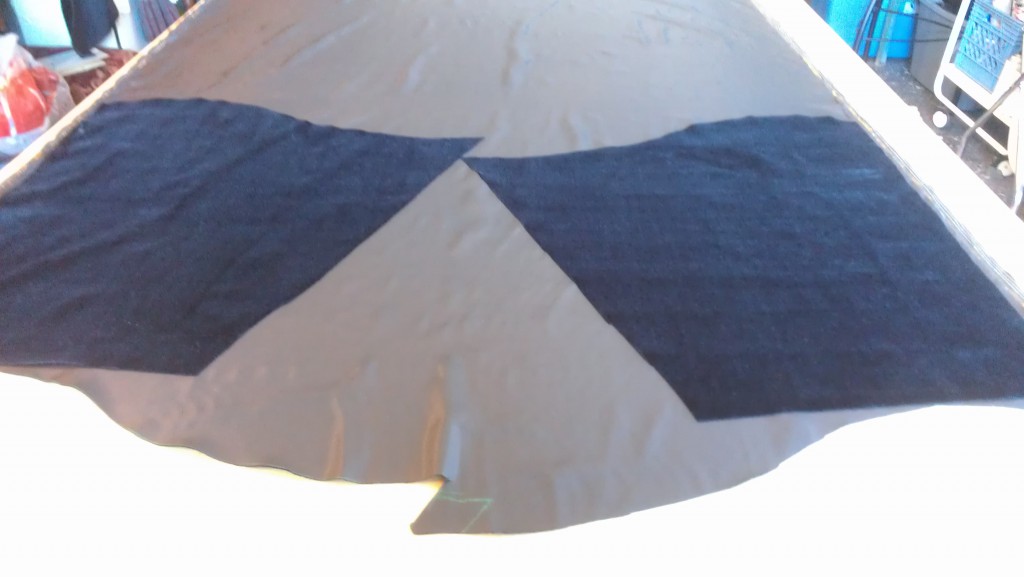
Then I took the sleeves down a bit to be able to squeeze them in tighter on the narrow fabric. I was still annoyed by the wasted fabric triangle between them, but later realized that the pants, wide as they were, were not wide enough to go around the slippers they were to be sewn to. Adding a triangle godet on the back seam saved them.
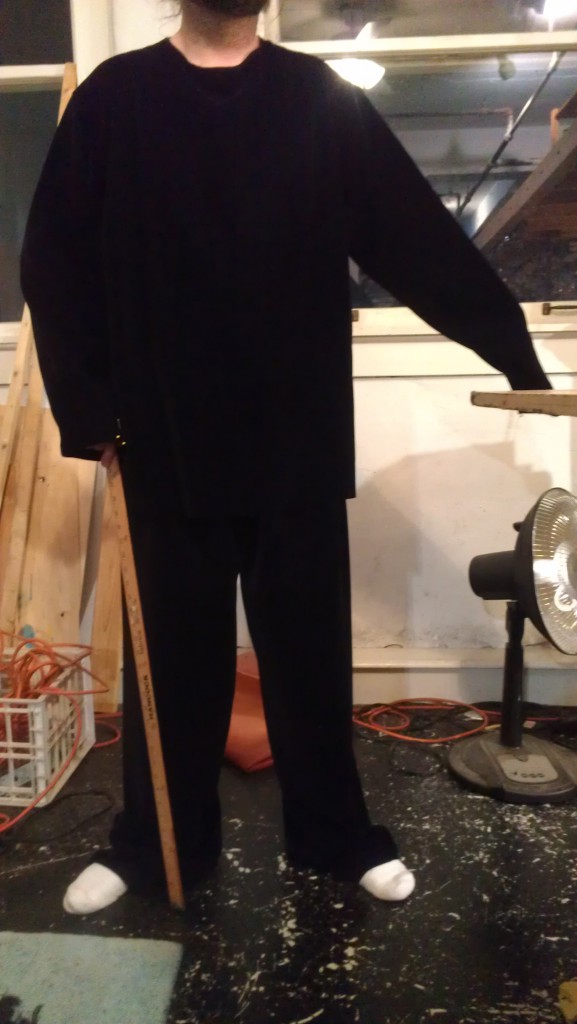
They were intended to be one-size-fits-all for people up to a relatively tall/large male, so I tested the first outfit on a large male:
The sleeve cuffs and bottom of the shirt were hand sewn with a blind hem stitch so there wouldn’t be any visible seams.
The nap of this velvet is very subtle. While most velvet seems to be detectable up and down, I could only detect this one side-to-side, and each time I checked the direction, it took several pets before it was apparent. If I had sewn anything upside-down, however, it would have been very apparent:
The outfits wouldn’t be complete without hoods with dark eye cutouts:
The hoods also needed a blind hem around the bottom edge.
And finally, finished outfit, attached slippers and all. I added an elastic finger loop so the marioneteers could raise their hands without their sleeves sliding down.
Without the hood, it’s a pretty sharp outfit for the hip man-about-town:
Or maybe for the man-about-town who wants to get a hip replacement after he gets hit by a car for walking around in this at night.
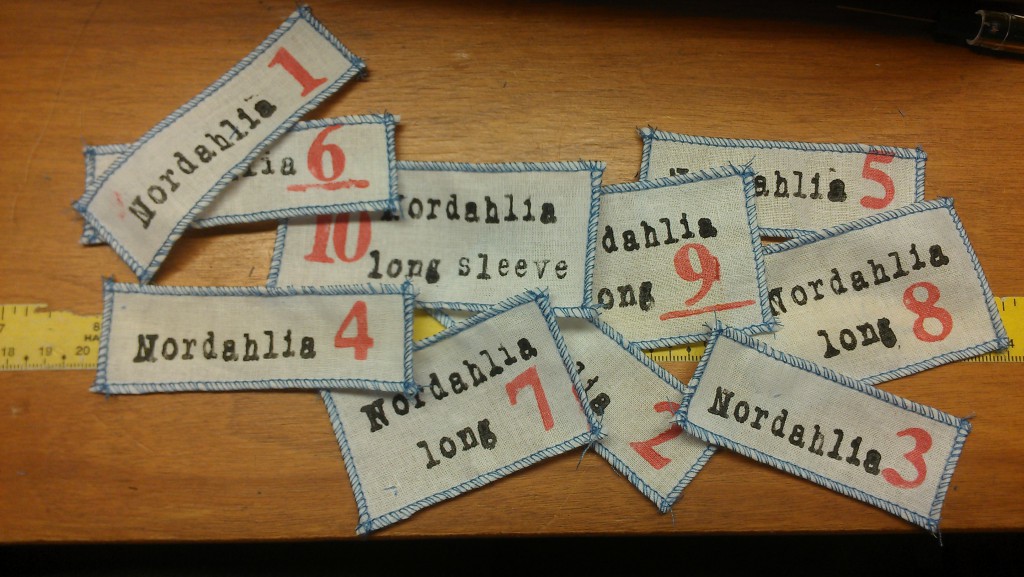
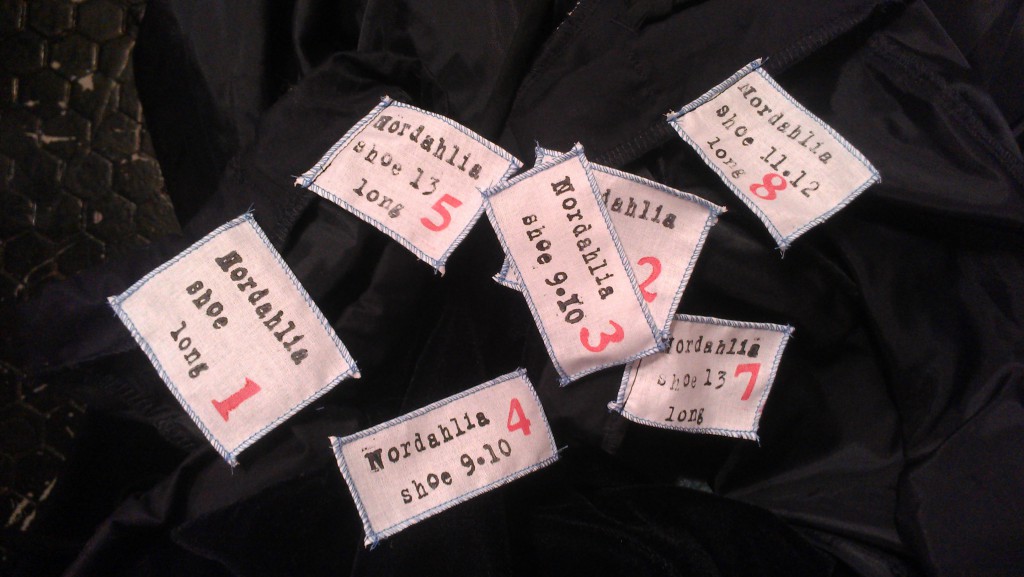
I added numbered labels so that no one would have to share hoods and breathe in each others’ velvet.
Anything that had any size differences was mentioned on the label:
So much for the costumes. On to the side tent drapes.
These are 14 feet long, get attached to the sloping ceiling, and have to have invisible seams.
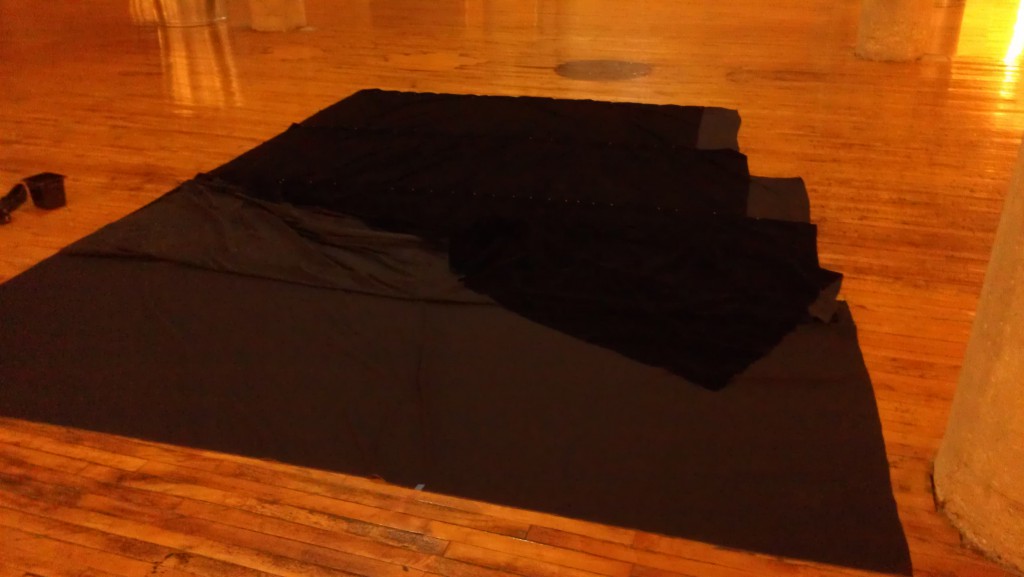
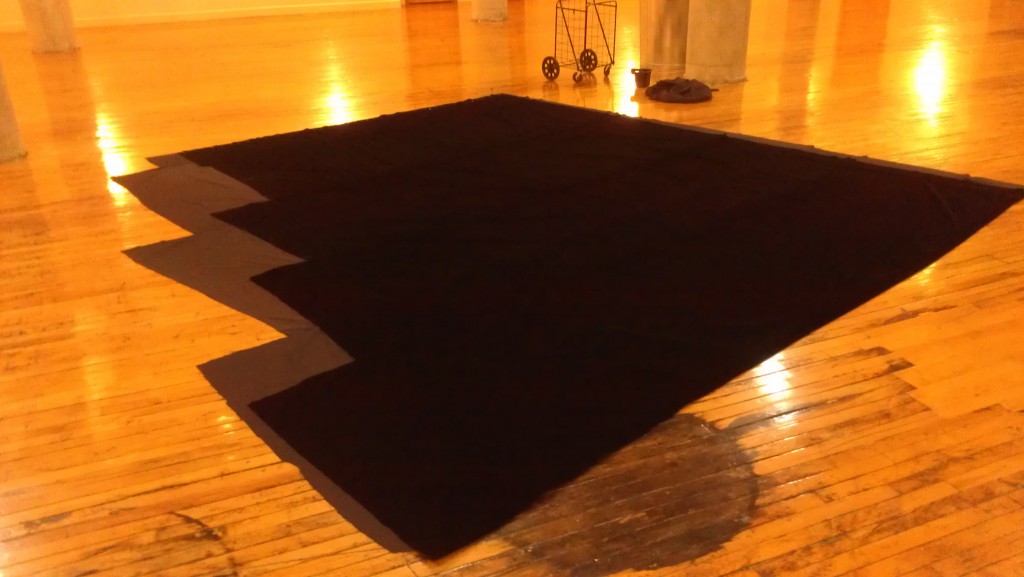
This was another project for the Atrium. I stair-stepped the panels, sewed a couple panels of the backing fabric together first, then attached each panel of velvet one by one. The velvet panels would get spread out flat, pinned in place, stitched to the lining, taken back to the Atrium and pinned with a little fold over the seam. Every time the narrower velvet panels caught up to the width of the backing fabric, I added another panel.
Then the folds were hand-sewn in place.
Repeat this multi-step process for each seam, upstairs, downstairs, one shoe off and one sock on. Or 2 socks and 1 butterfly.
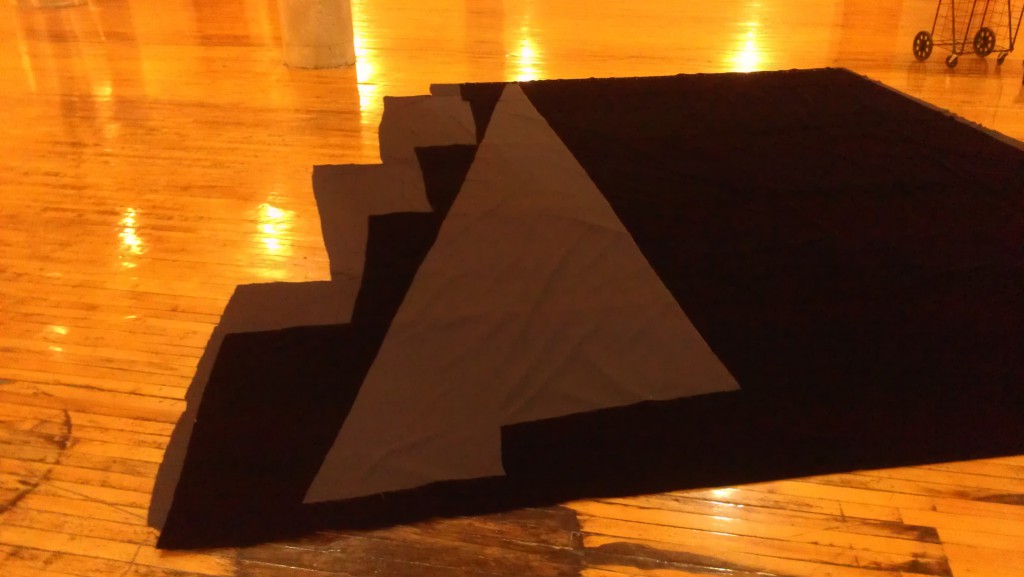
And then:
I made an angle template using the height to the point and the length. That is: a-squared + b-squared = c-squared.
I also made a couple large screens that could be transported around the stage to cover anything that needed covering as other objects were moved.
A last-minute realization that a giant triangle needed to come down from the peak and stretch to the side curtains gave me a couple days to get it done. Of course, this also coincided with my phone’s battery, and thus camera, going on the fritz, so no pictures of the 20′ triangle. .
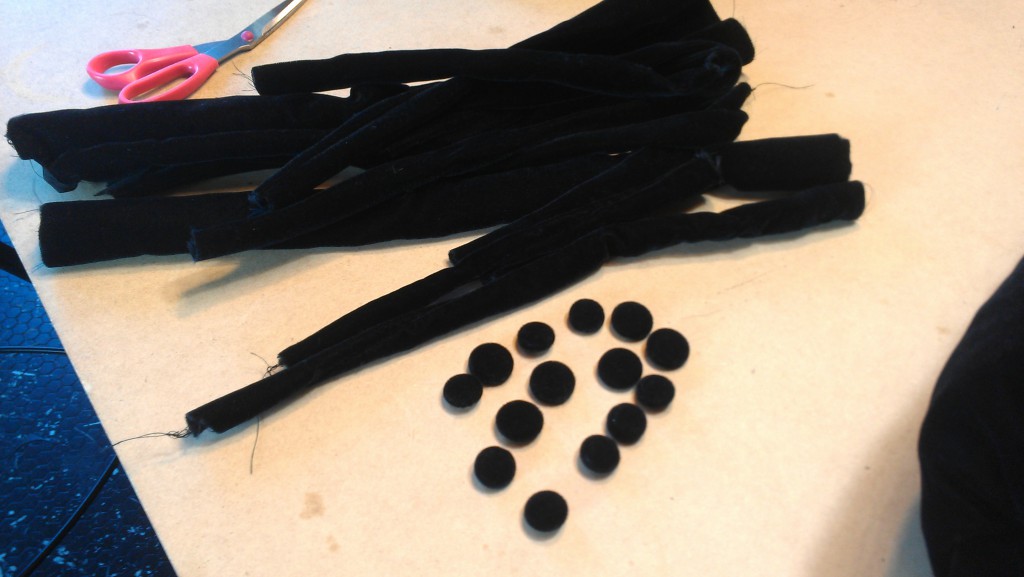
Covered buttons and fabric strips to be used as handles on some foam items that were covered in velvet:
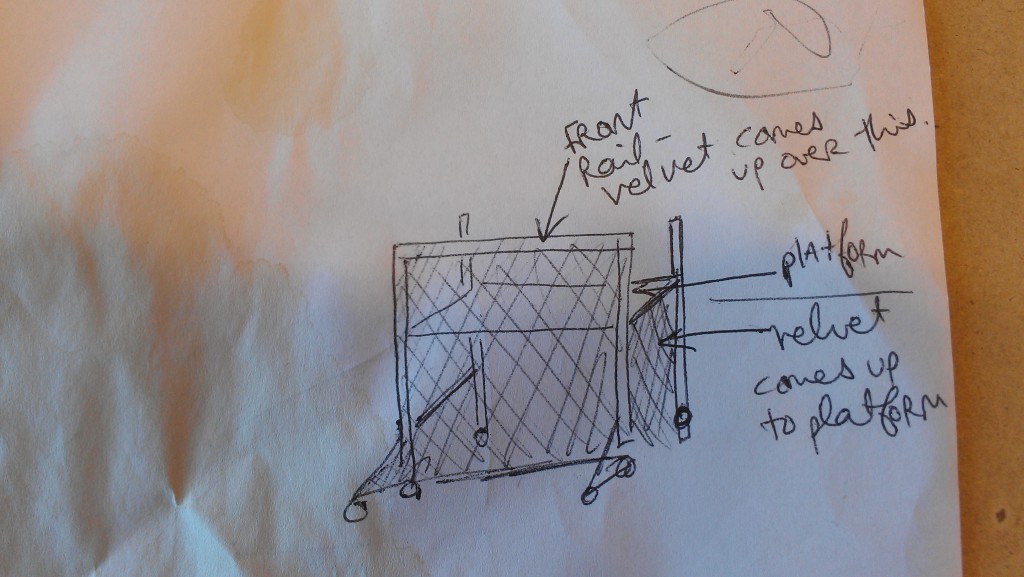
The other big velvet-covering things were 3 scaffolds. I was also going to cover some outriggers (feet) that would project out the front. The side slits were designed with those in mind, but were rendered pointless once the decision was made to keep all the outriggers on the back and leave the front flat.
This part of the project took some planning:
After most of the sewing was done on them at my studio, it also took about 8 hours to install on location.
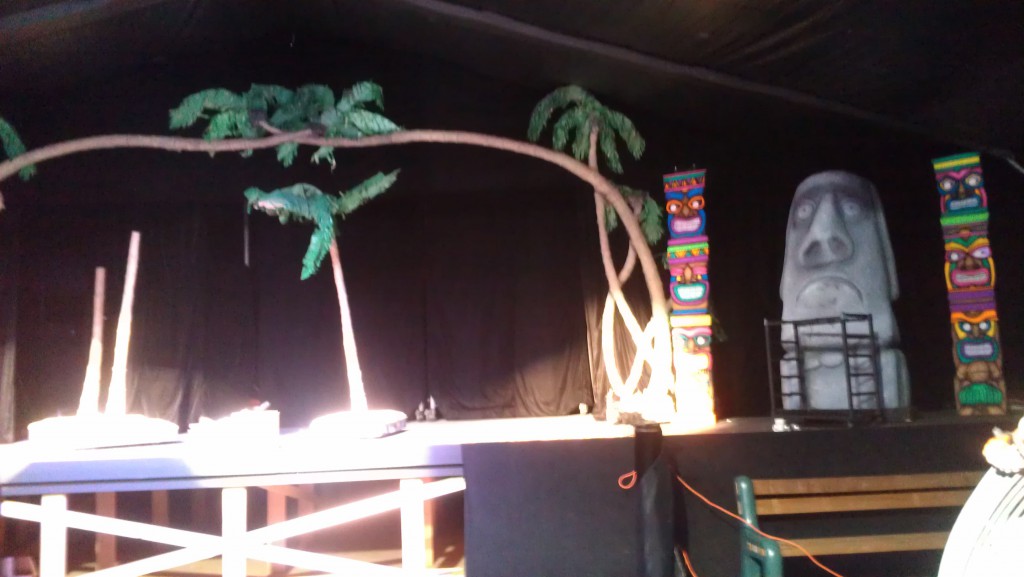
I couldn’t really get any good shots showing the individual black-velvet-covered items or curtains, which was kind of the point:
A couple entrance/exits were added to the side curtains after they had been hung. Since they couldn’t be taken down, they had to be pinned then cut while hanging from the ceiling. I balanced my serger on the top ledge of a 5-foot ladder and put the foot pedal on the platform below. I also got to do some no-taking-down-the-curtains sewing on top of the scaffolds. Unfortunately, I couldn’t take a picture of any of this, as my camera had started working again after last time, then went on the fritz for most of my on-location sewing.
Anyway, the door that is hidden by the pirate ship in this picture had to have a flap put over it so it would remain invisible when the ship moved, so I made a panel with the seams wrapped around to the back and hand-sewed it to the top by the ceiling.
You can see, just to the right of that bunch of palm trees the edge of the side curtain. To the right of that are the scaffolds, creating an effect like that secret wall in the Labyrinth.
You have to listen to the worm–

