Marionette Show: Covering Everything In Velvet

The Project: Cover everything that isn’t part of the visual magic in black velvet for the Fair Park marionette show Captain Kid’s Theater


Several curtains, 3 scaffolds, and up to 10 marioneteer costumes had to be covered in black velvet so that they would all blend together in dim lighting. The thing about sewing velvet together to make it invisible, though, is that the seams would catch light. So seams had to be minimized.

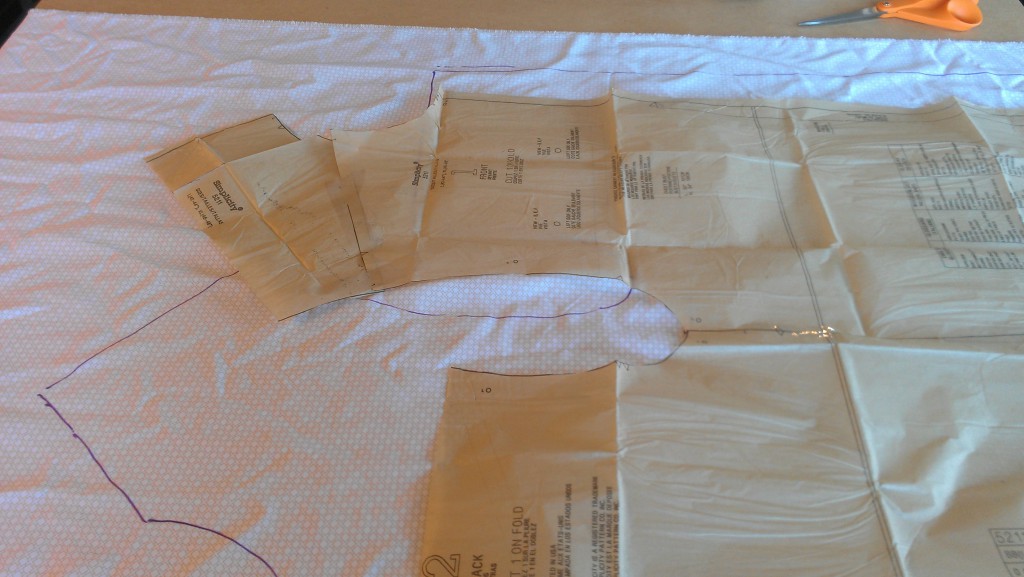
I moved all the seams on the shirt and pants to the back. Starting with a commercial pattern for a loose tunic, I cut up the original pattern and taped the pieces together in a different order.

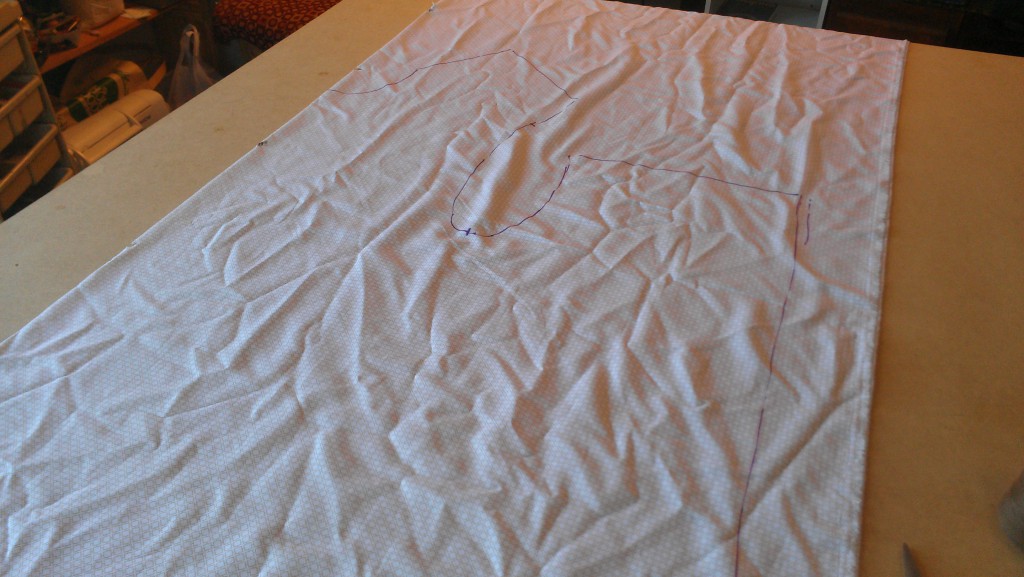
Then tested my idea out on some crappy fabric that had gotten a burn down the center seam:

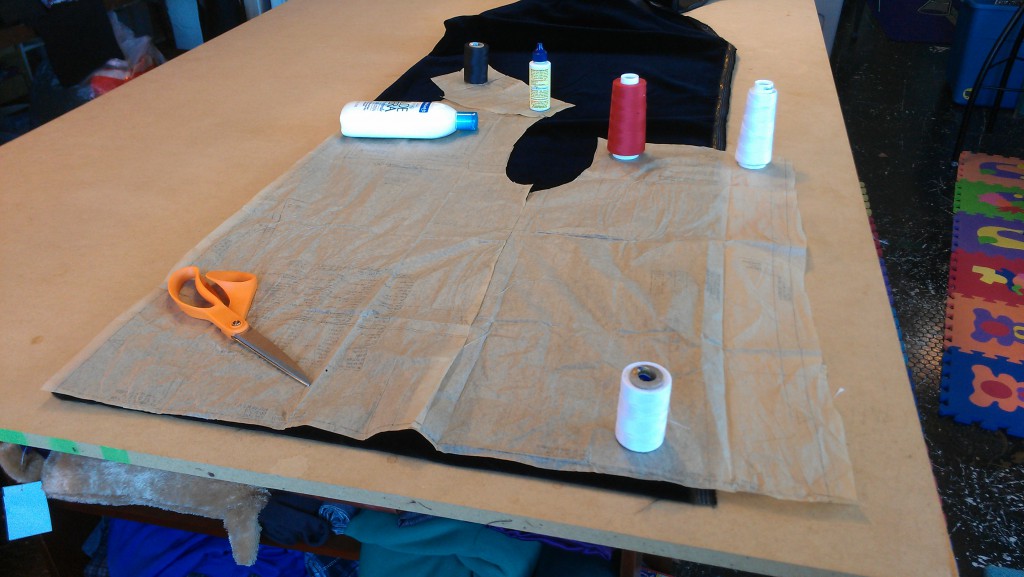
It worked out great, so I made a second prototype out of velvet. Which was unfortunately narrower than my first test fabric, so I had to add a panel for width in the back:

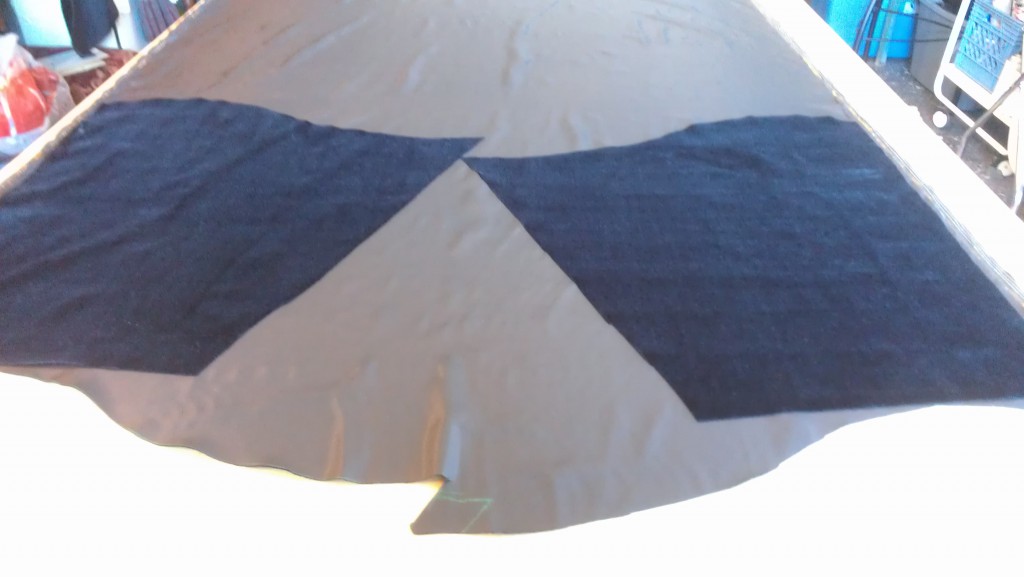
Then I took the sleeves down a bit to be able to squeeze them in tighter on the narrow fabric. I was still annoyed by the wasted fabric triangle between them, but later realized that the pants, wide as they were, were not wide enough to go around the slippers they were to be sewn to. Adding a triangle godet on the back seam saved them.

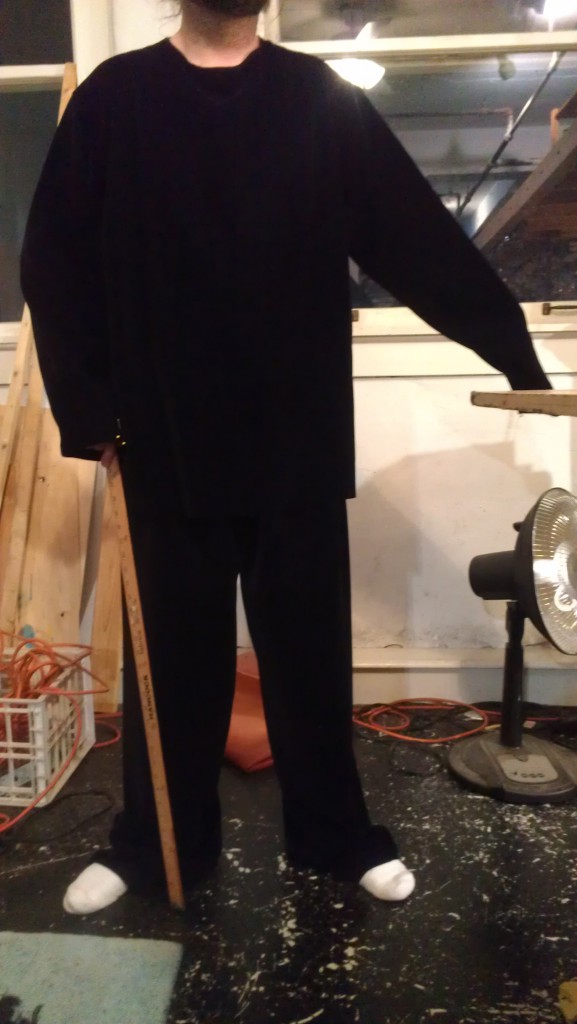
They were intended to be one-size-fits-all for people up to a relatively tall/large male, so I tested the first outfit on a large male:

The sleeve cuffs and bottom of the shirt were hand sewn with a blind hem stitch so there wouldn’t be any visible seams.

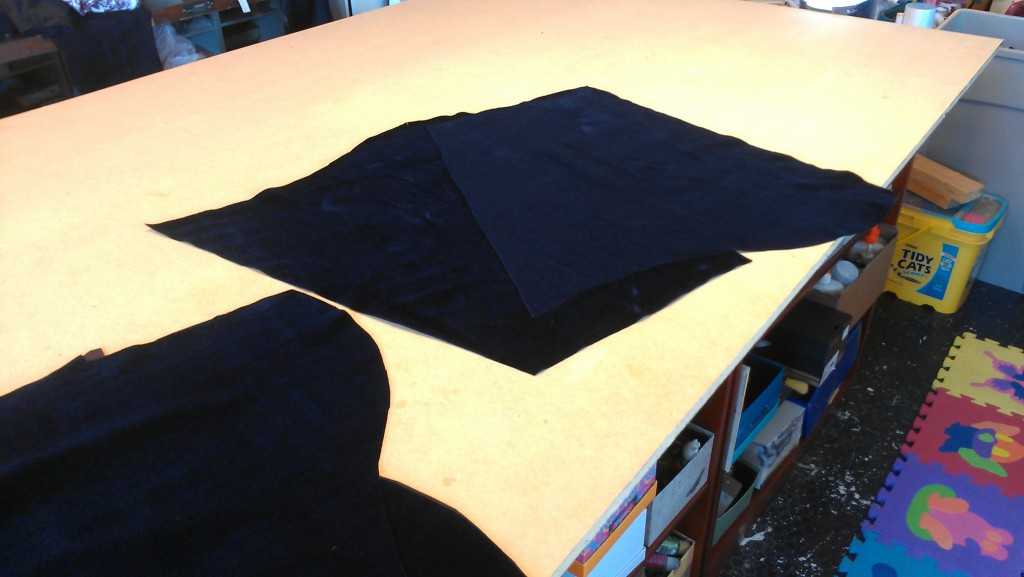
The nap of this velvet is very subtle. While most velvet seems to be detectable up and down, I could only detect this one side-to-side, and each time I checked the direction, it took several pets before it was apparent. If I had sewn anything upside-down, however, it would have been very apparent:

The outfits wouldn’t be complete without hoods with dark eye cutouts:

The hoods also needed a blind hem around the bottom edge.

And finally, finished outfit, attached slippers and all. I added an elastic finger loop so the marioneteers could raise their hands without their sleeves sliding down.

Without the hood, it’s a pretty sharp outfit for the hip man-about-town:

Or maybe for the man-about-town who wants to get a hip replacement after he gets hit by a car for walking around in this at night.

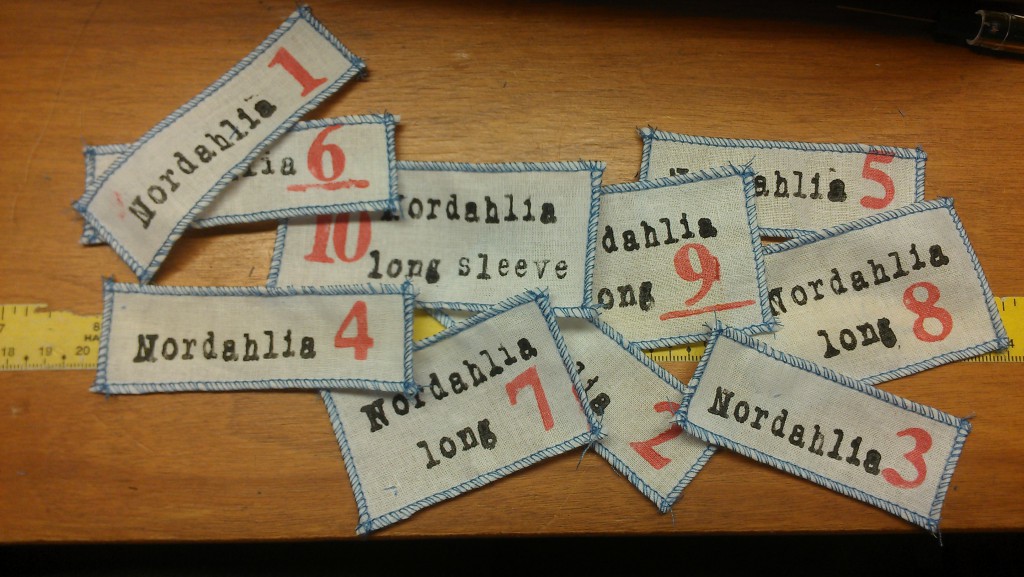
I added numbered labels so that no one would have to share hoods and breathe in each others’ velvet.

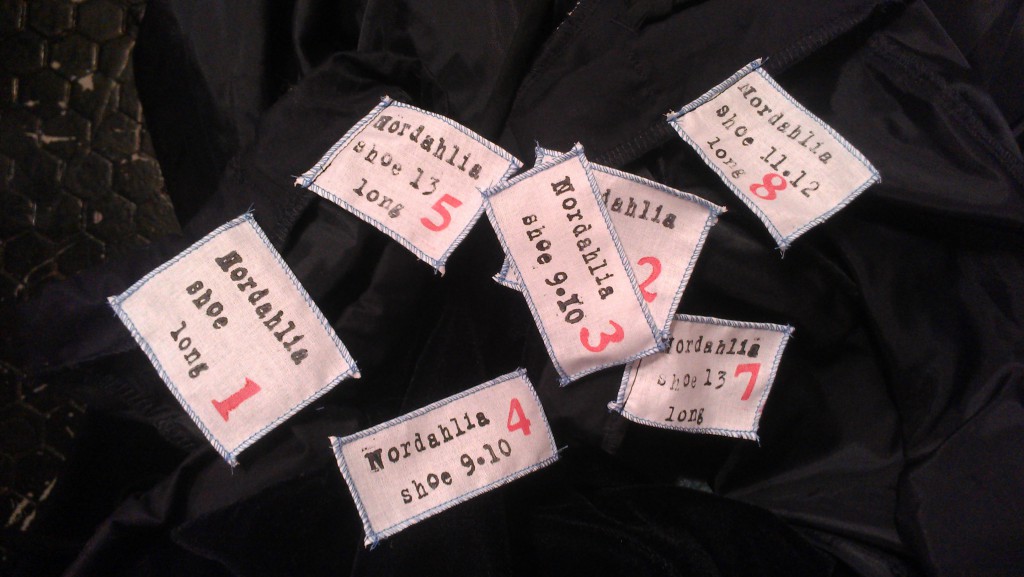
Anything that had any size differences was mentioned on the label:

So much for the costumes. On to the side tent drapes.

These are 14 feet long, get attached to the sloping ceiling, and have to have invisible seams.

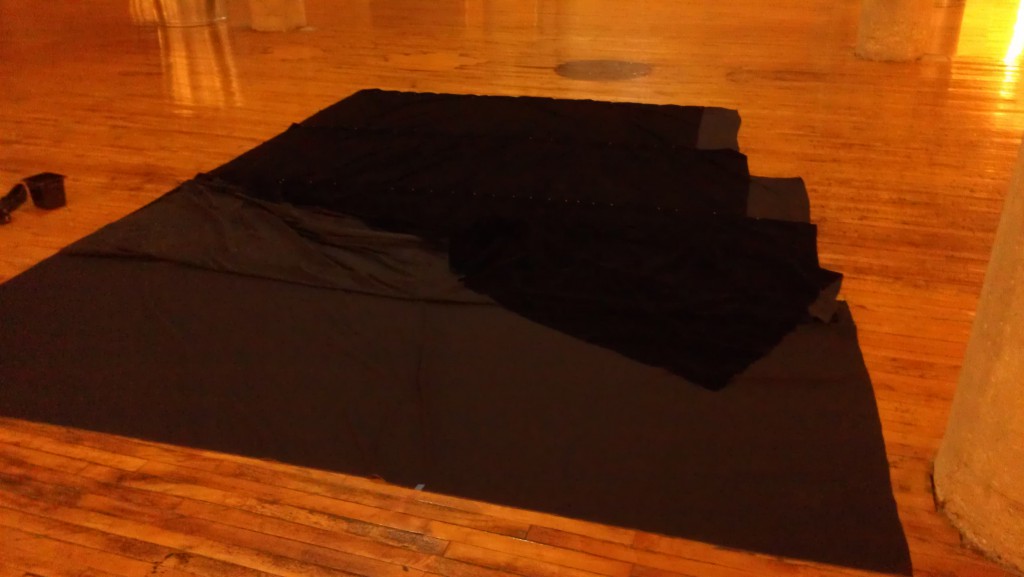
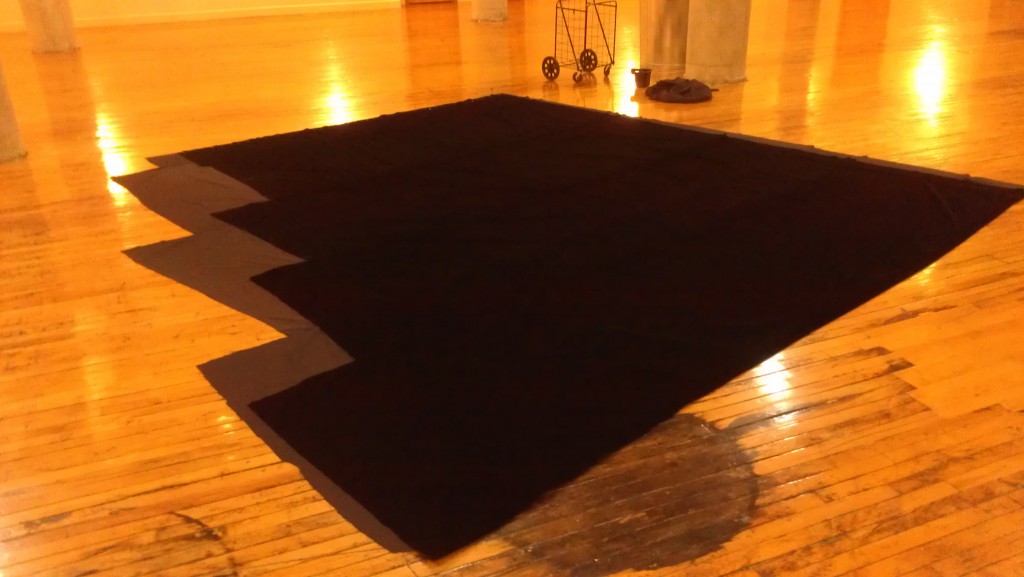
This was another project for the Atrium. I stair-stepped the panels, sewed a couple panels of the backing fabric together first, then attached each panel of velvet one by one. The velvet panels would get spread out flat, pinned in place, stitched to the lining, taken back to the Atrium and pinned with a little fold over the seam. Every time the narrower velvet panels caught up to the width of the backing fabric, I added another panel.

Then the folds were hand-sewn in place.

Repeat this multi-step process for each seam, upstairs, downstairs, one shoe off and one sock on. Or 2 socks and 1 butterfly.

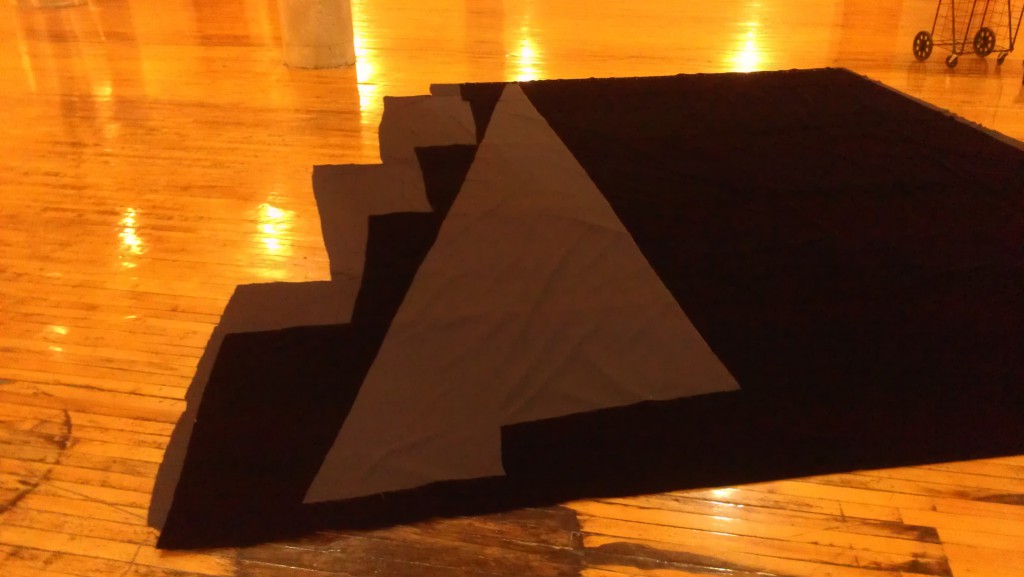
And then:

I made an angle template using the height to the point and the length. That is: a-squared + b-squared = c-squared.


I also made a couple large screens that could be transported around the stage to cover anything that needed covering as other objects were moved.

A last-minute realization that a giant triangle needed to come down from the peak and stretch to the side curtains gave me a couple days to get it done. Of course, this also coincided with my phone’s battery, and thus camera, going on the fritz, so no pictures of the 20′ triangle. .

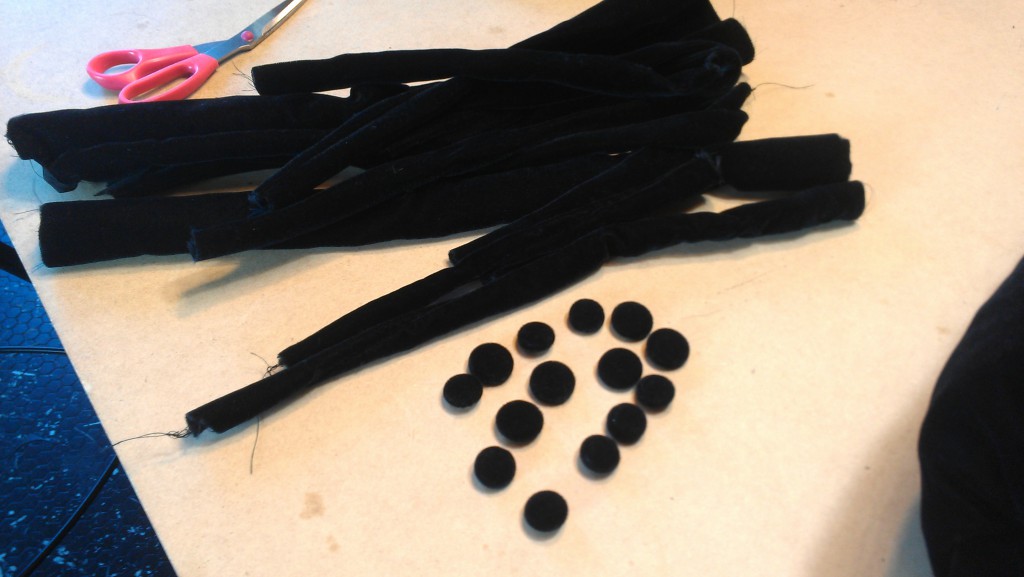
Covered buttons and fabric strips to be used as handles on some foam items that were covered in velvet:

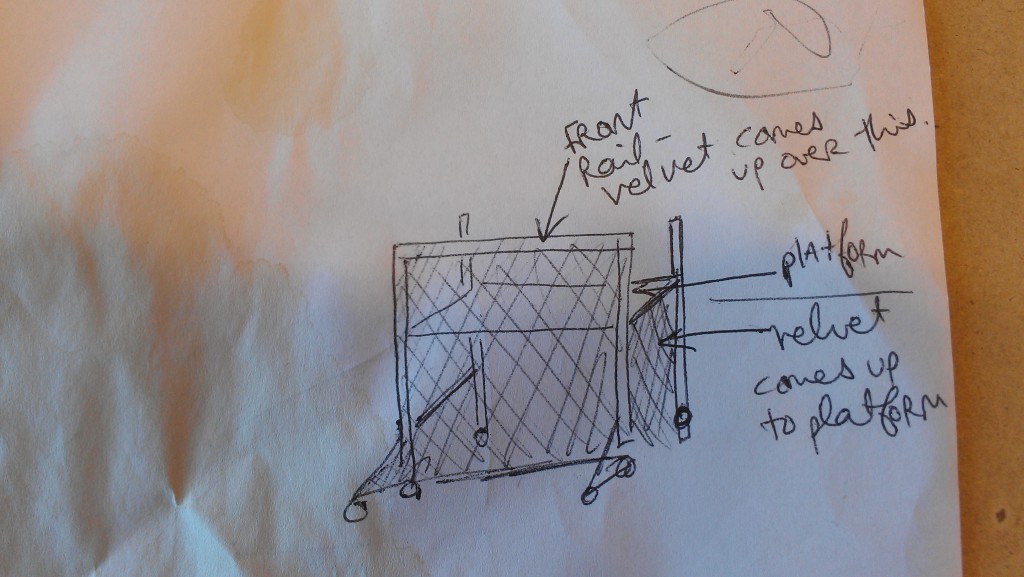
The other big velvet-covering things were 3 scaffolds. I was also going to cover some outriggers (feet) that would project out the front. The side slits were designed with those in mind, but were rendered pointless once the decision was made to keep all the outriggers on the back and leave the front flat.

This part of the project took some planning:

After most of the sewing was done on them at my studio, it also took about 8 hours to install on location.


I couldn’t really get any good shots showing the individual black-velvet-covered items or curtains, which was kind of the point:

A couple entrance/exits were added to the side curtains after they had been hung. Since they couldn’t be taken down, they had to be pinned then cut while hanging from the ceiling. I balanced my serger on the top ledge of a 5-foot ladder and put the foot pedal on the platform below. I also got to do some no-taking-down-the-curtains sewing on top of the scaffolds. Unfortunately, I couldn’t take a picture of any of this, as my camera had started working again after last time, then went on the fritz for most of my on-location sewing.

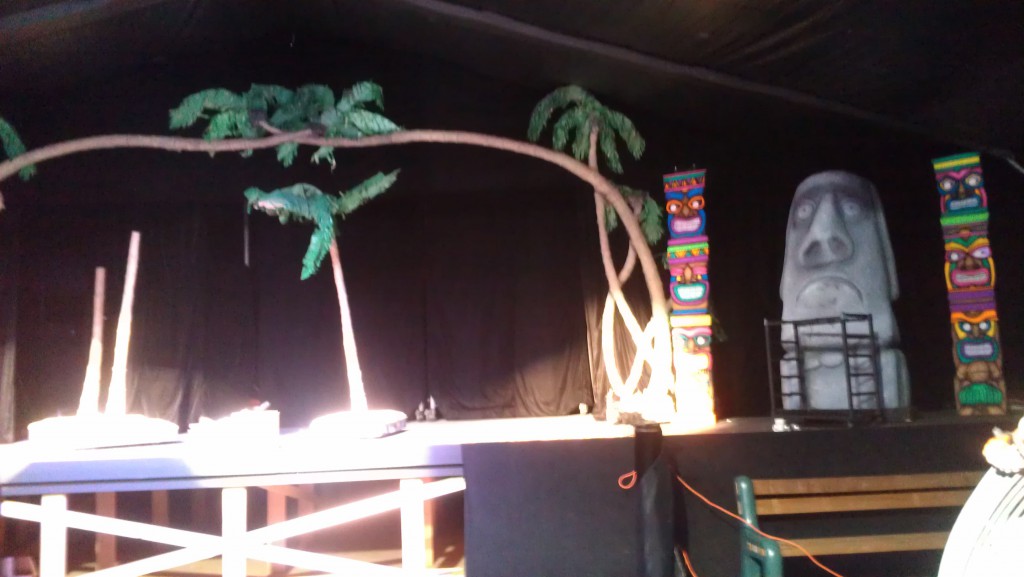
Anyway, the door that is hidden by the pirate ship in this picture had to have a flap put over it so it would remain invisible when the ship moved, so I made a panel with the seams wrapped around to the back and hand-sewed it to the top by the ceiling.

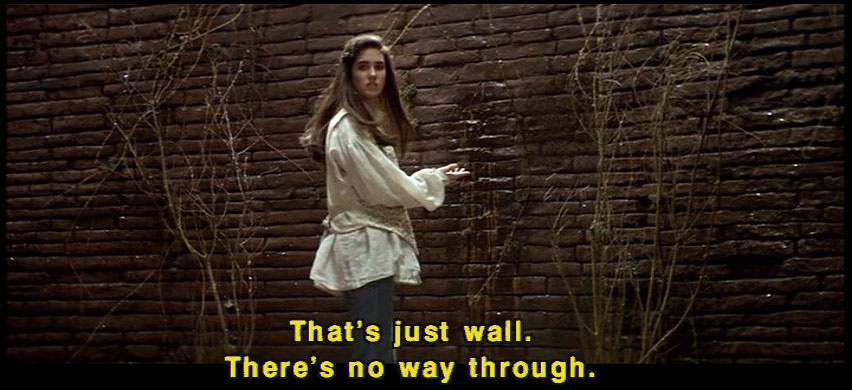
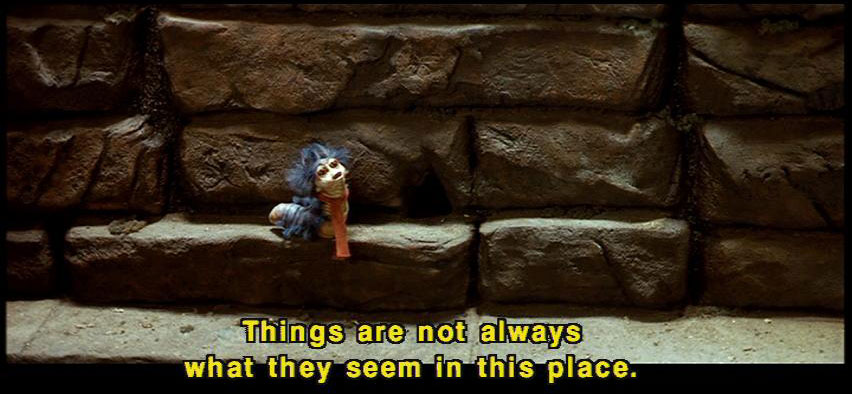
You can see, just to the right of that bunch of palm trees the edge of the side curtain. To the right of that are the scaffolds, creating an effect like that secret wall in the Labyrinth.

You have to listen to the worm–

D Magazine Write-Up

The line I sewed for the local boutique, Factory Girl, was written up by D Magazine. Yes, that’s right, I said D Magazine, folks.

Here is the link:

http://shoptalk.dmagazine.com/2013/04/24/cant-miss-snake-oilfactory-girl-launch-on-sunday/

And a screenshot:

Here it is mentioned again as a “Most Wanted:”

http://shoptalk.dmagazine.com/category/most-wanted/

Poodle Topiary with Birds

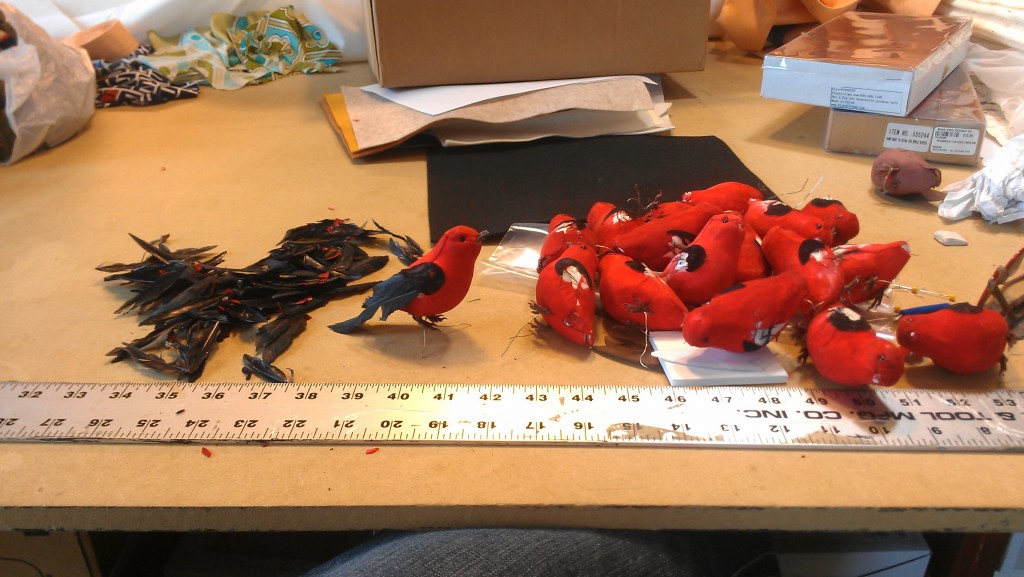
I worked on a handful of aspects of a photoshoot with Jocelyn M. For starters, pulling the wings off of birds. One final bird gazes at his de-plumed brethren:

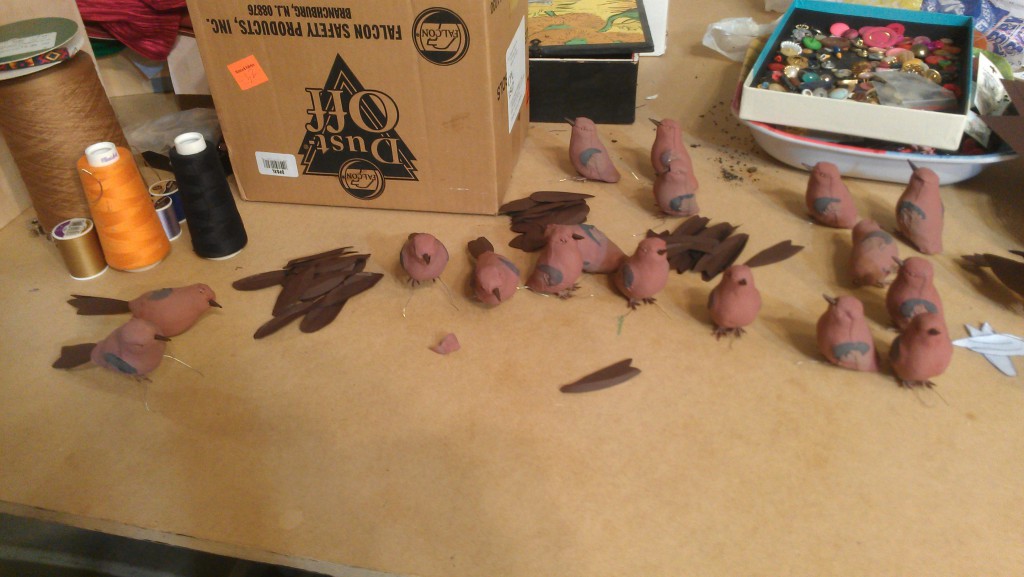
They were painted brown and their beaks, wings, and tail feathers were replaced with scored cardboard.

Alas, I apparently didn’t get a shot of a finished bird, but here are the birds with beaks sitting amongst piles of prepared wings and tails:

There was also a felt butterfly and some clouds, but by the time we finished with the poodle, picture-taking’s priority was somewhere behind going home.

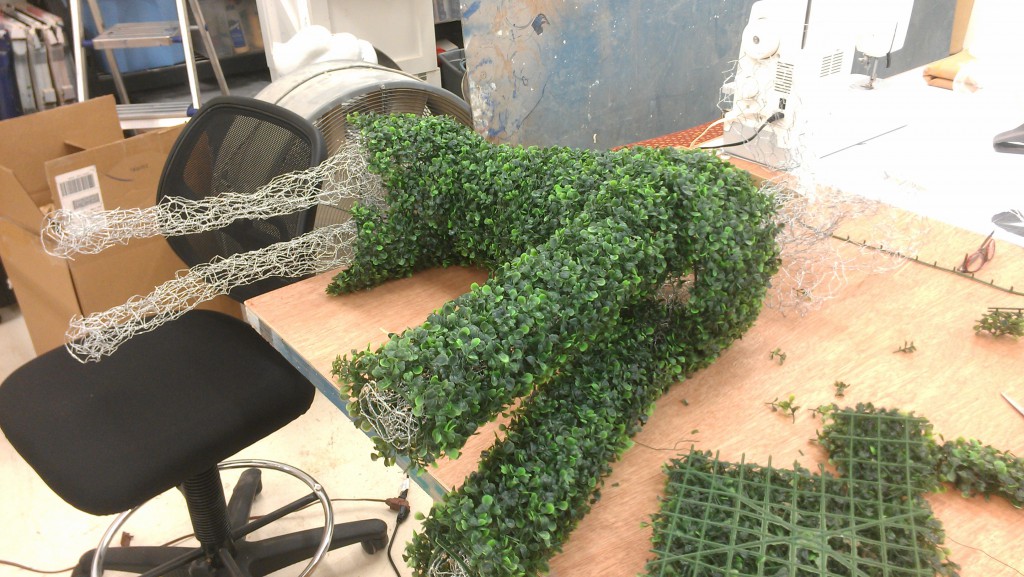
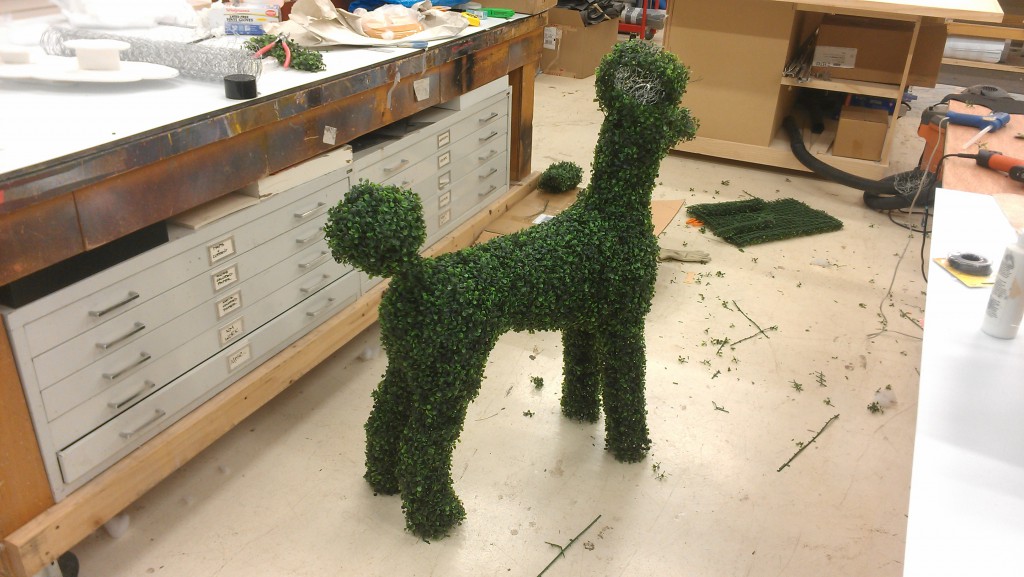
Jocelyn made the wire frame and figured out the doormat-sized swatches of leaf cover:

The wire legs started out thicker, but the denseness of the foliage necessitated squeezing them down to peg-thin.

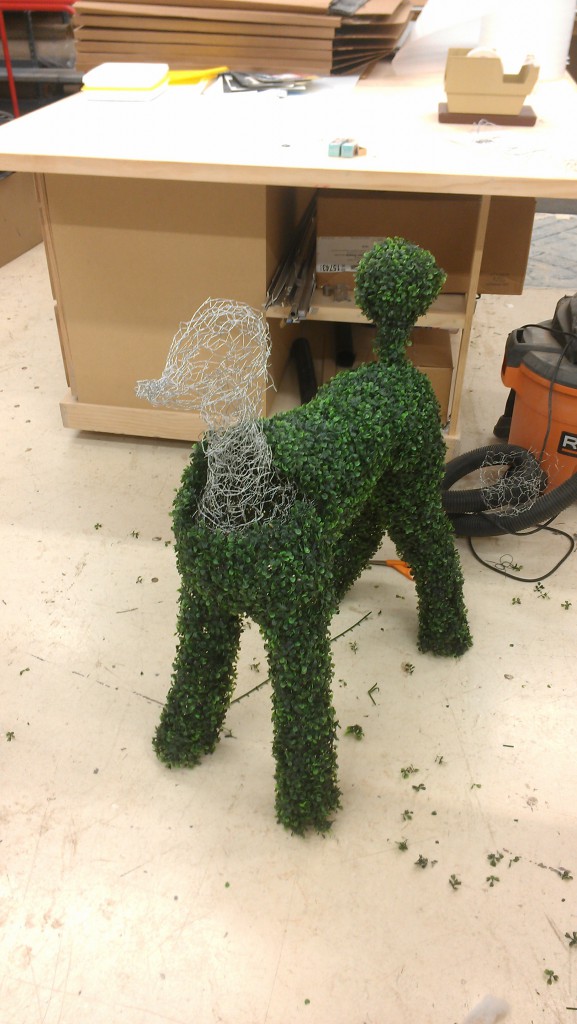
The tail required a reinforcing heavier wire. And until we decided that more of the heavy wire had to be added to the legs and neck/head, the lazy dog spent the day leaning every chance it got, just like a real dog.

I seem to be developing a specialty in covering 3D objects with stuff. That and topiary-related business. This is kind of how I got into skirt-making, which I could now do in my sleep. I’m not sure I want to be able to do topiary-related things in my sleep. Despite Jocelyn and I going on about how awesome a giraffe would be, I’m not sure I would actually want to follow through on that. Especially when I’m supposed to be sleeping.

Jocelyn is pretty amazing at sculpting. Look at that posture! Look at that dog butt!

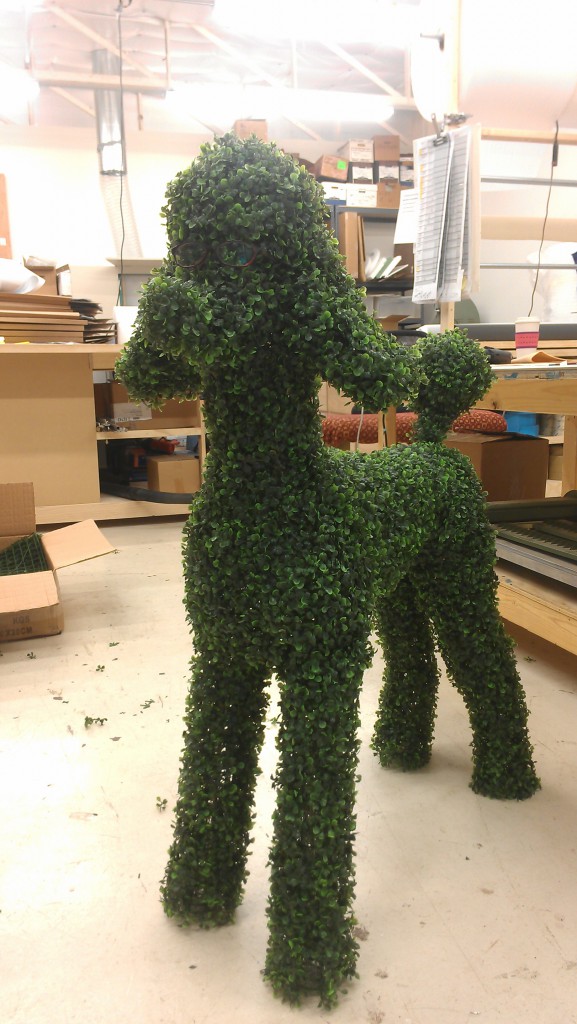
Finished at last:

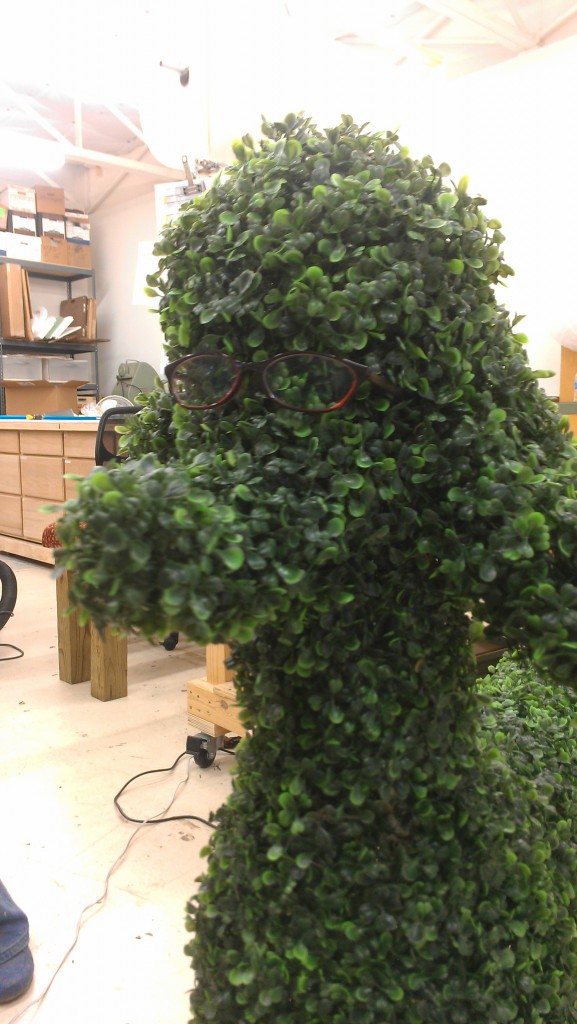
Luckily, the dog and I have the same prescription.


Emergency Curtains

The Project: shorten 8 curtains by 1 inch and add pleats for a D Magazine photoshoot the next day


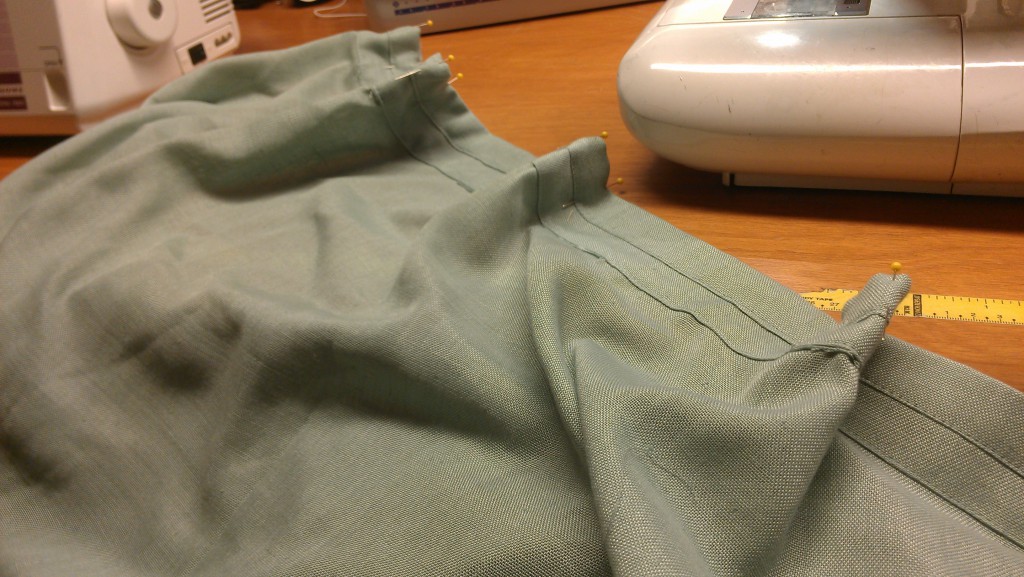
The easiest way to quickly shorten it was to fold the top down. It also had come with some tabs, but as they were going to be hung with clips on rings, I pulled all those off.

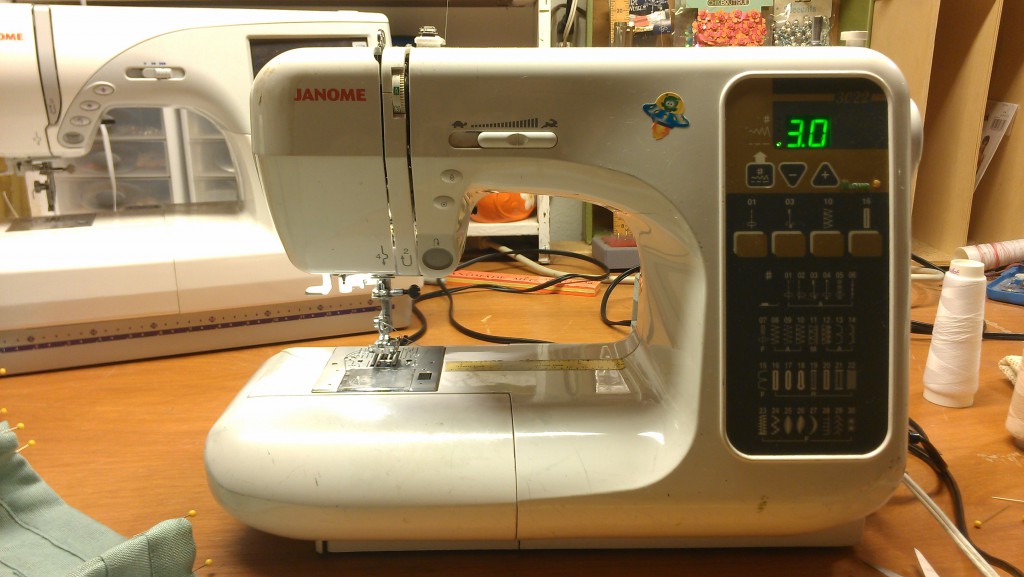
I finally obtained a replacement bulb for the impossible-to-find Janome 3022, and simultaneously learned what the “Plus” means in “Batteries, Plus.” It means light bulbs. It would probably be less confusing for everybody and generate a lot more sales if they would just change their name to “Batteries and Light Bulbs.”

I was pretty excited to be able to see what I was doing on this project without having to angle a lamp in, and The Princess was excited to be able to advertise again. Now you can tell it’s a Janome without prior knowledge.

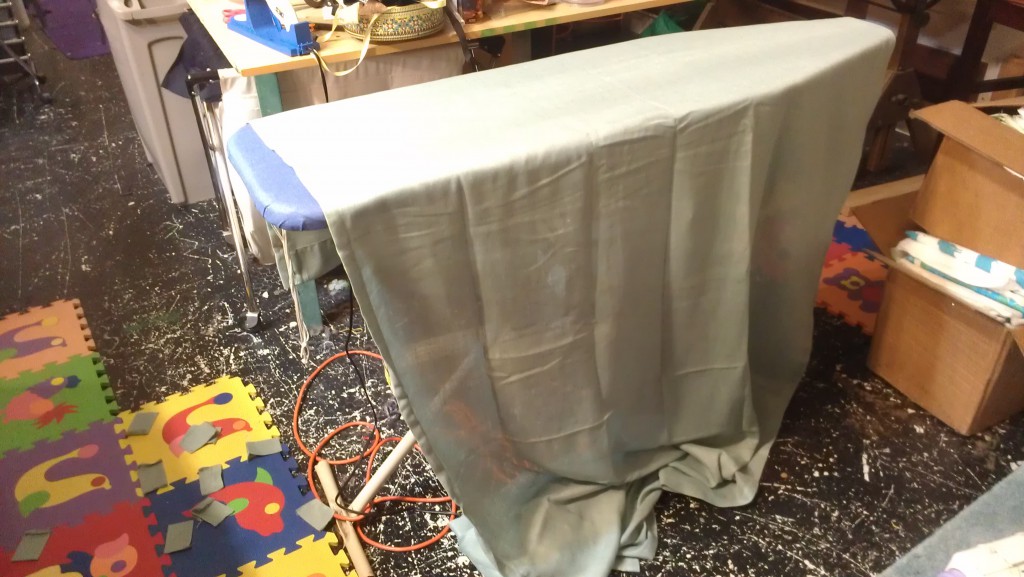
I realized that I am not willing to postpone making an ironing table any longer. The very next day I ran out and bought the materials needed to turn a hollow door into a giant ironing board, despite the lack of a sale or coupons.

Of course, then another emergency sewing project came up and now the materials are sitting on my work table waiting to be stapled together.

Airline Headrests

The Project: copy an airline headrest, then sew 9 of them for a photoshoot


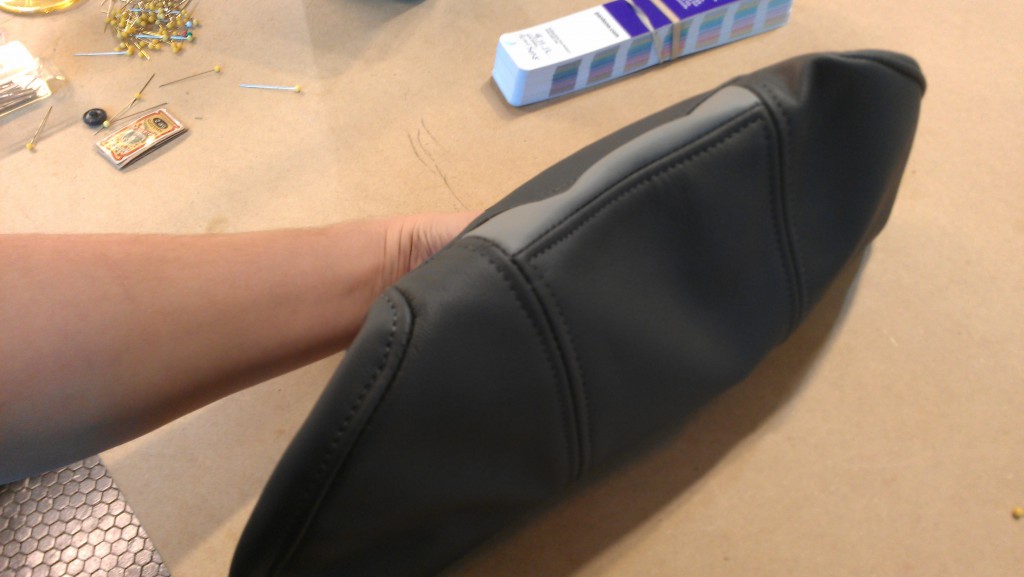
So here’s the sample:

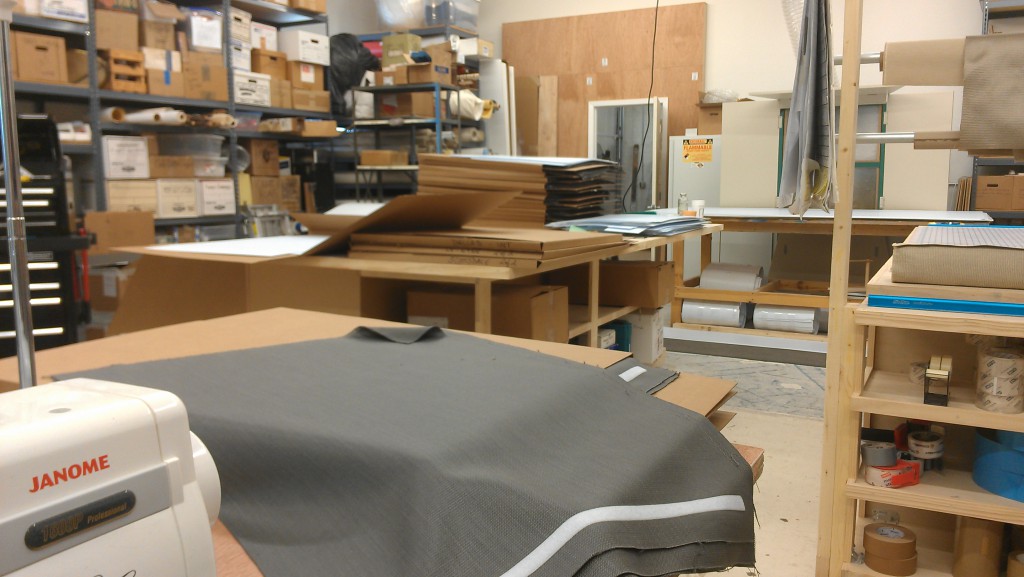
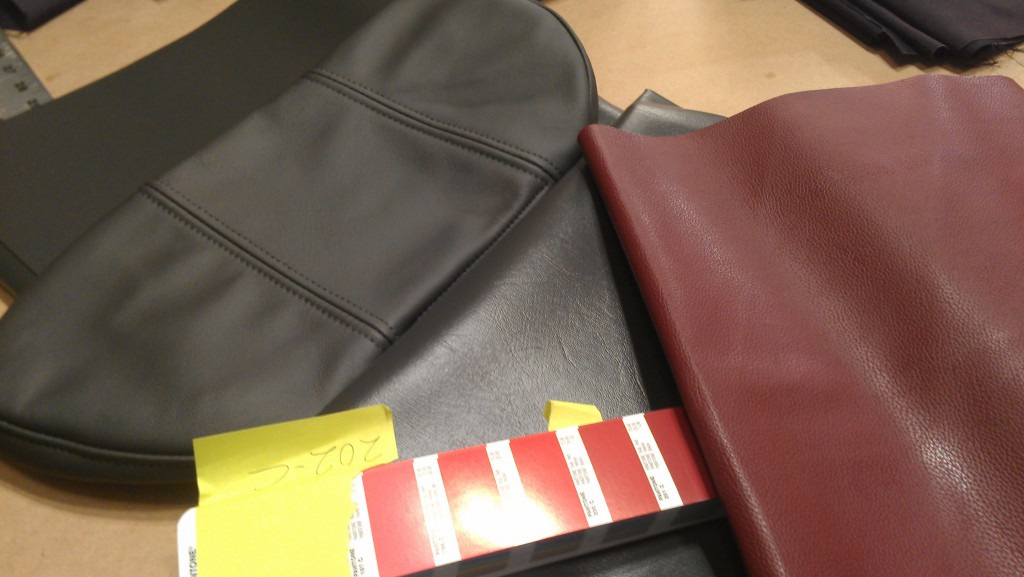
The thing is, it needs to be done in charcoal grey vinyl/leather, with the light grey strip redone as burgundy, and it has to be copied without taking the original apart.

Day one was about locating the fabric locally. It can surely be ordered online, but that doesn’t do any good when there is about 3 days lead time. Hancock Fabrics tends to have random colors of vinyls on their scrap pile.

I managed to find a roll of grey in nearly the same shade, albeit a bit shinier. There was a single piece of burgundy vinyl in the store, a scrap that was about a foot wide. Other than that, there was red or purpley maroons.

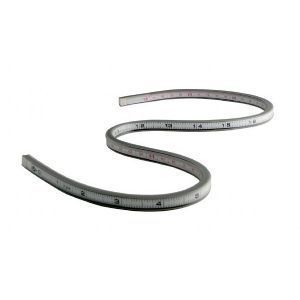
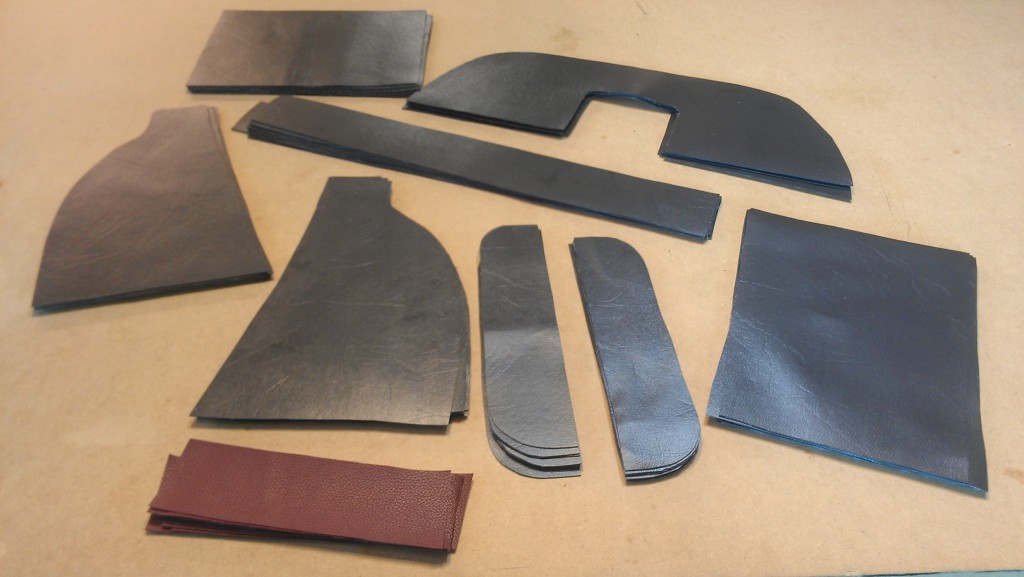
Day two involved making a pattern and a prototype, then waiting for the go-ahead. The headrest is so 3D and has so many curves that I couldn’t pin it to paper to make the pattern.

This thing helped:

But not as much as you might think.

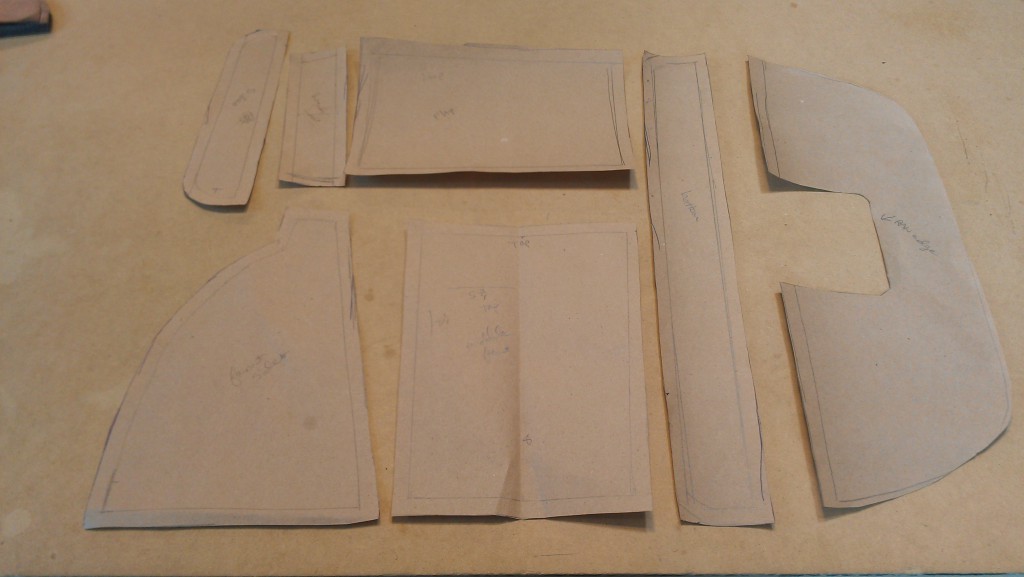
Anyway, after some geometrizing:

Then:

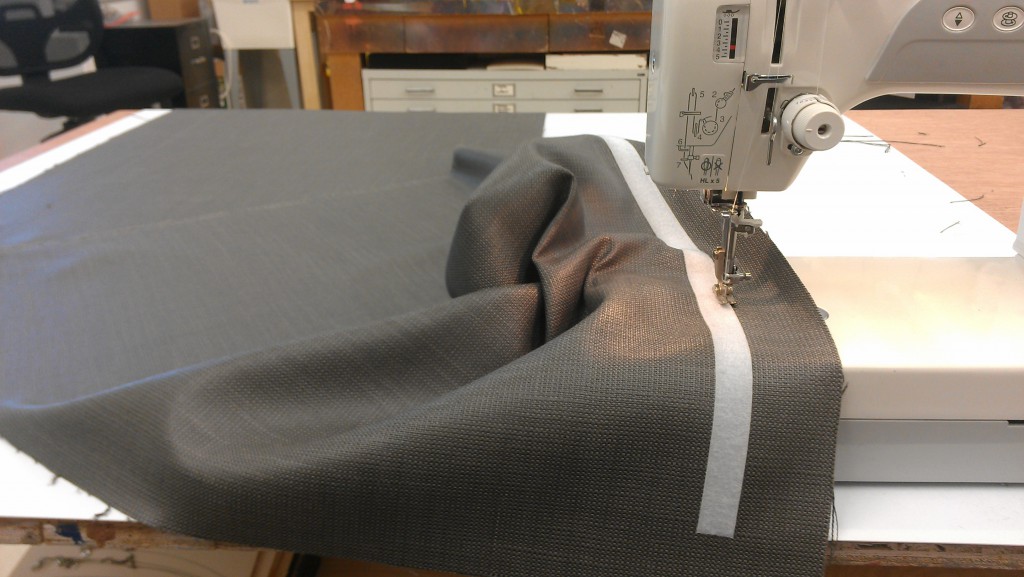
Things like this are generally made by car upholsterers using specialty machines. There are machines that sew with those extra thick threads you see topstitched on either side of most seams. If you try to use that weight of thread with a home sewing machine, you’ll get a few stitches in and then have to stop and take your machine to a mechanic to be realigned. Or get the timing adjusted–whichever way you want to say it. Even hand quilting thread can foul up a sewing machine’s timing.

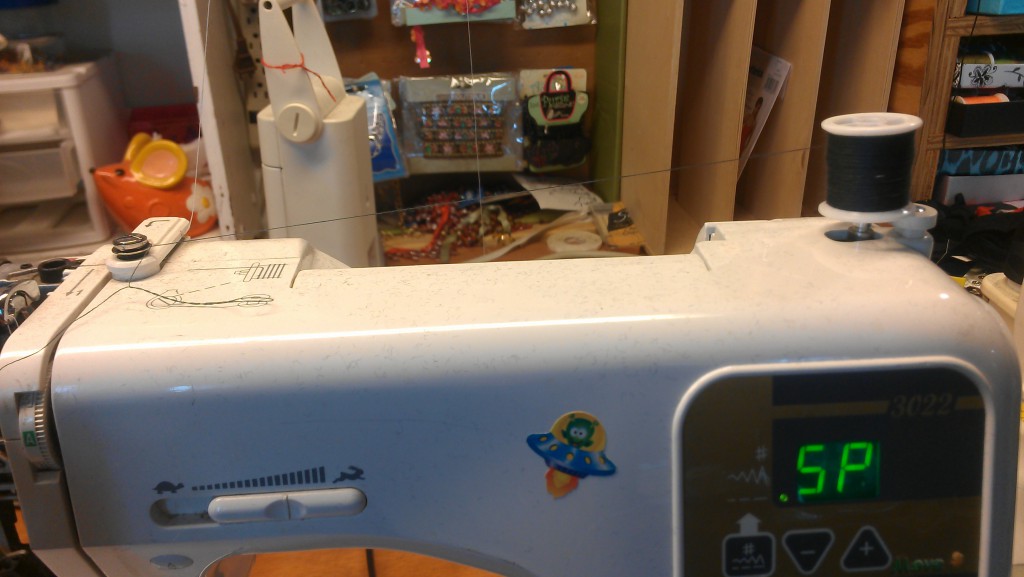
The reason for this is that as the top thread is swung around the bobbin case, it goes through a tight area. I’ll give you these visuals and let you figure out the final condition of the things involved in this process:

The way for a home-sewer to fake the look of heavy-duty thread is to run two threads through the same needle; they come out doubly-thick, but they have enough give to slip around the bobbin without damaging anything, machine-wise.

And I managed to get 4 hyphens in that last sentence. Talk about squeezing a lot of something into a small space!

I couldn’t locate more than one dark grey spool of thread and didn’t have the time to look for more or run out and buy it, so I stuck a nearly-empty small spool on the bobbin winder and rolled myself a second spool.

Getting the curves right and topstitching over lumps on a very stiff fabric is not what home sewing machines are designed to do. Have you seen Kinky Boots? While the main character did not approve of burgundy, they did have the machines that would have made sewing this a snap.

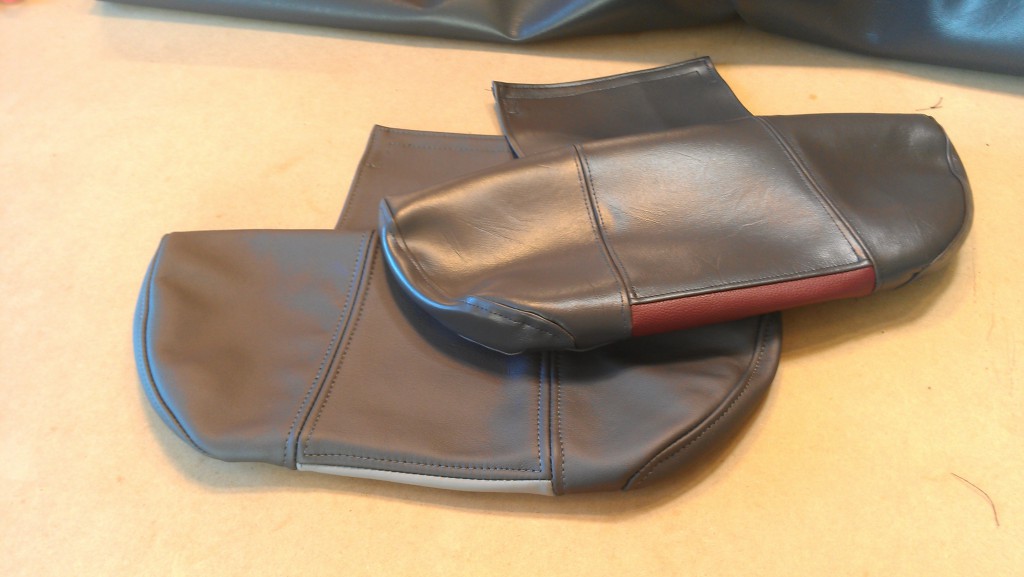
Prototype:

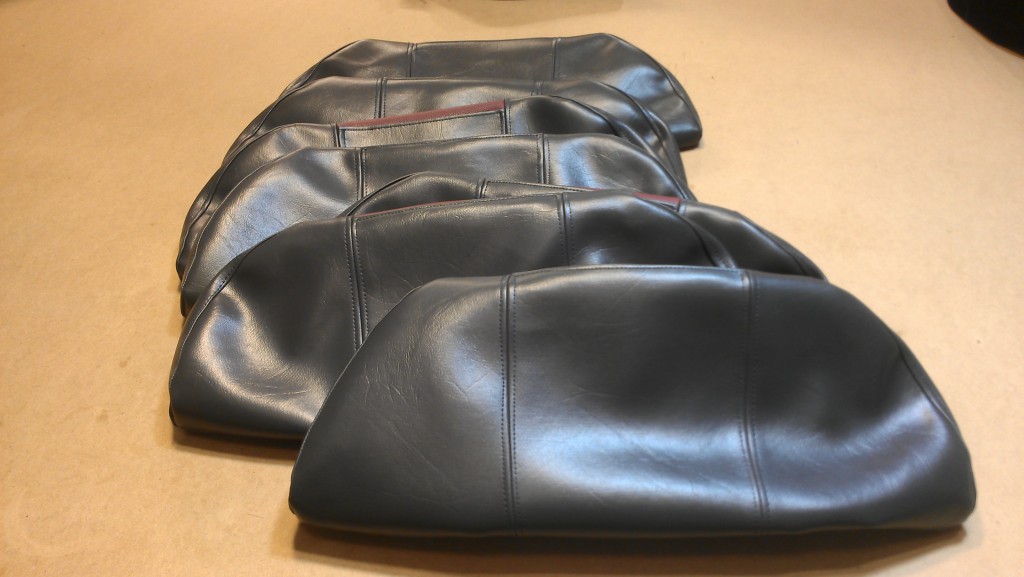
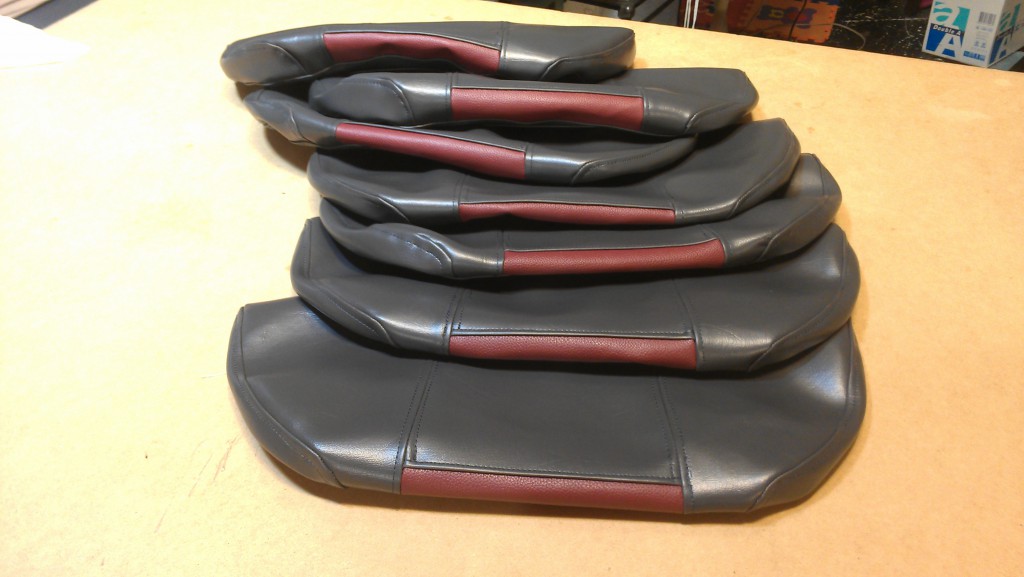
Here are 7, which was what happened on day three:

Seven!

On Saturday, I finished the last steps of the final 2, though I didn’t get another picture of the whole lot, as they looked the same as the first seven. On Sunday I rested. Not really, but one of these days, that might be nice.


Fabric Folding

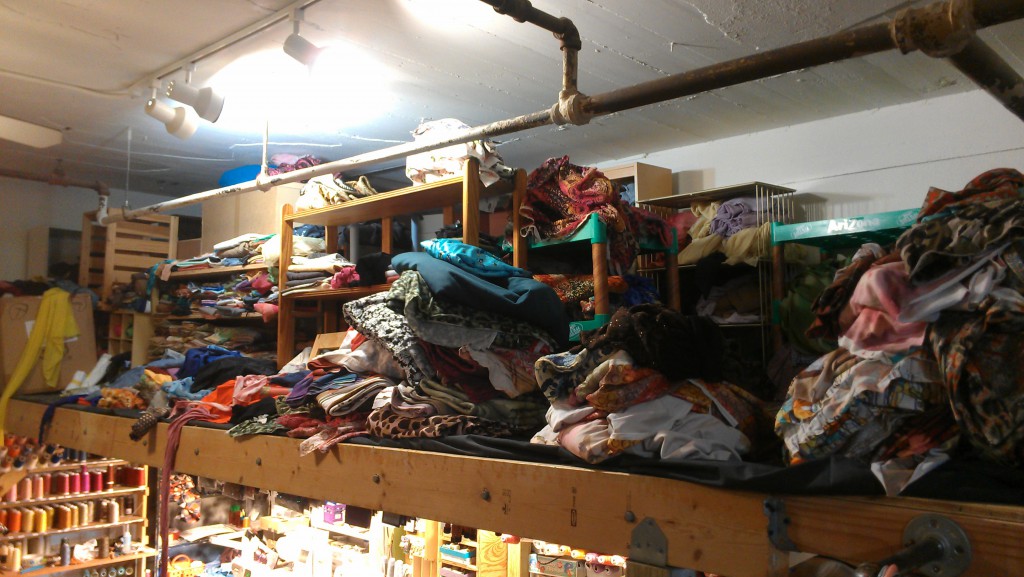
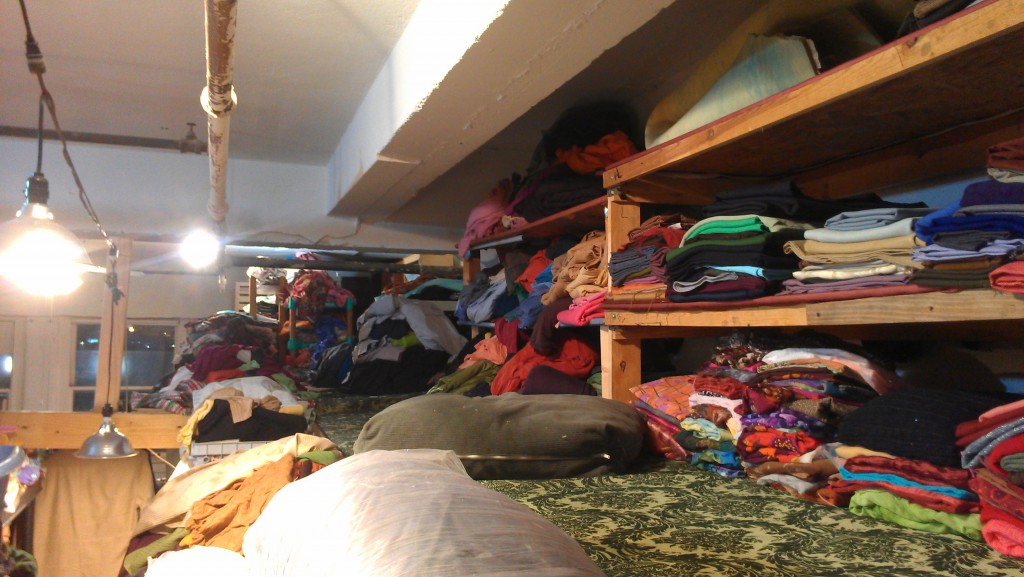
So I’ve been randomly tossing fabric up into my fabric storage area to get it out of the way, but it’s been pretty much impossible to find any specific thing.

Looking down the pathway:

My roommate Candice brought in a cleaning organizing friend, also named Candice, to help me with sorting everything out. To the right of the above picture, you can see where she’s started.

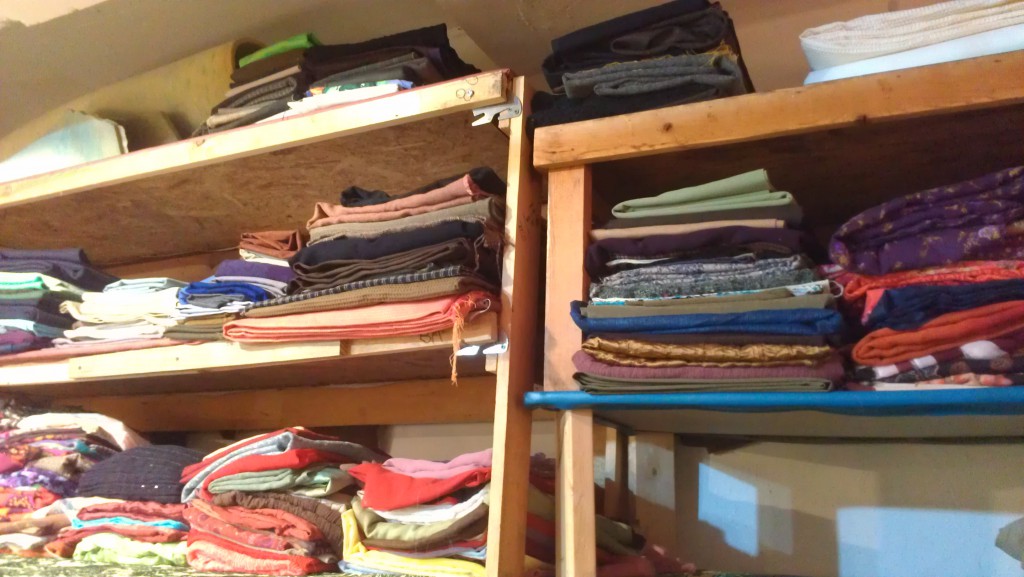
I sorted all the fabrics by type and she folded. Most people who don’t deal with fabric–and even many who do–have a hard time figuring out how to fold large yardage or how to get it to fit onto specifically-sized shelves, so I was impressed when she knocked the whole thing out in a few days. Including slinkies, stretchies, and silkies.

Now I can see how much room I have for more fabric! I’m going to win!