Business Buffet Pants

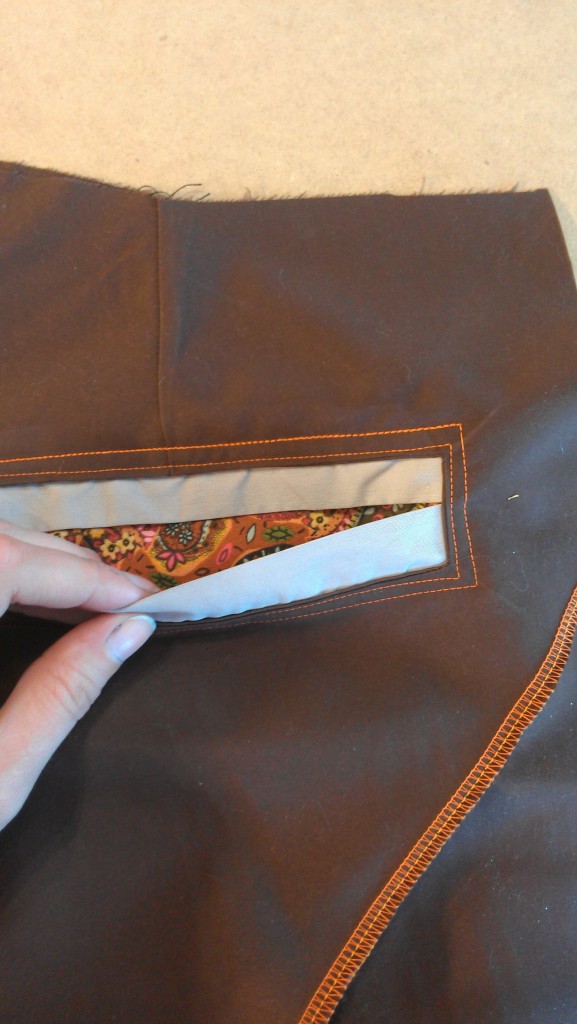
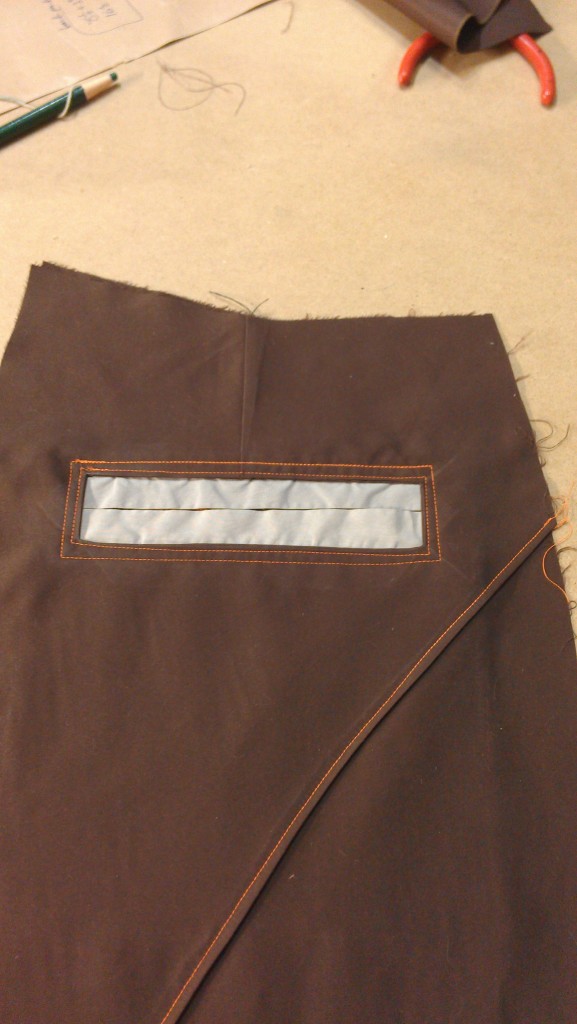
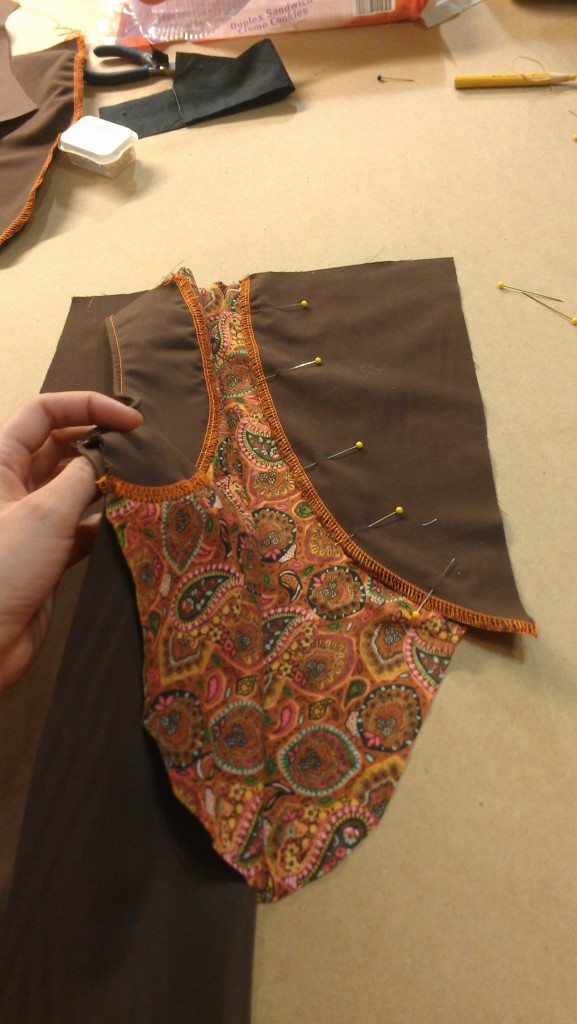
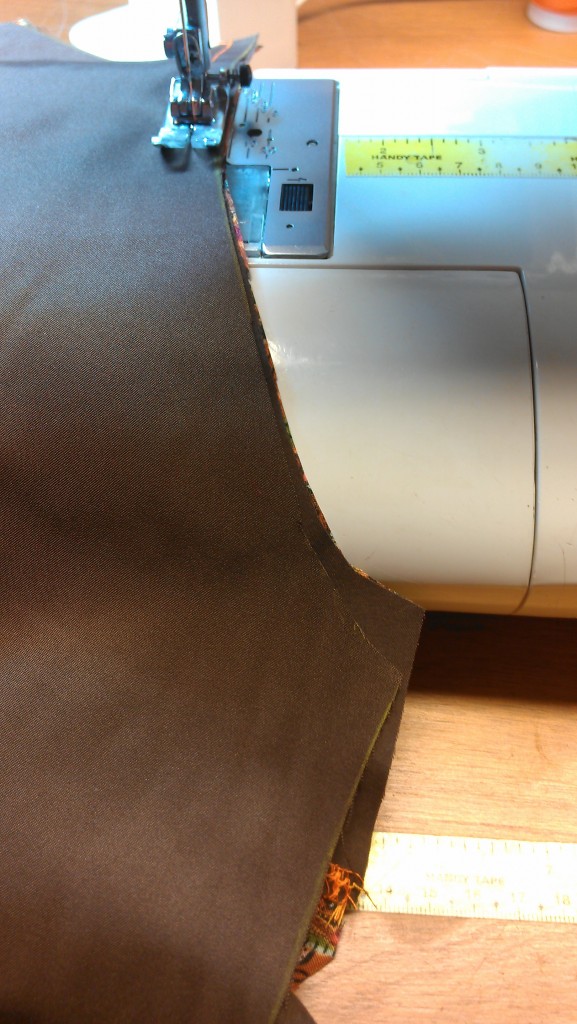
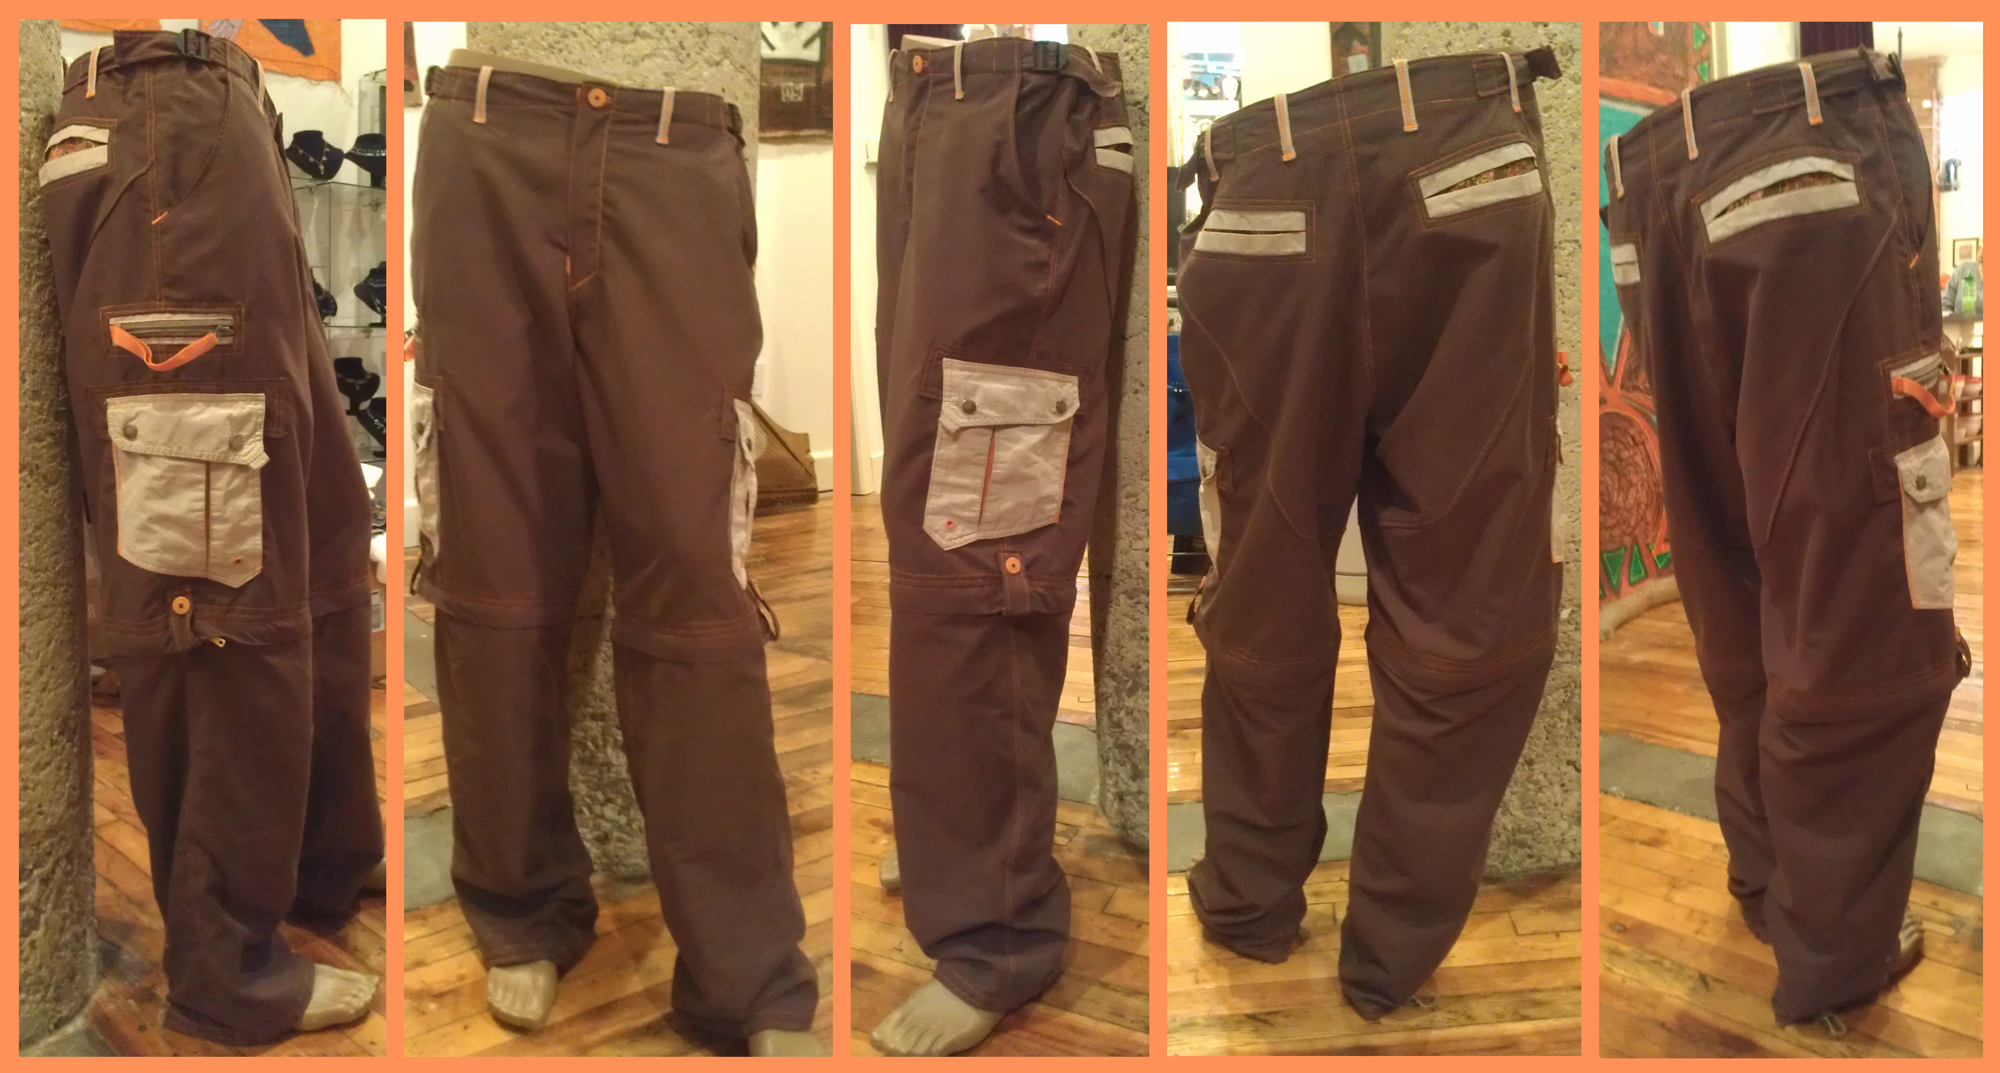
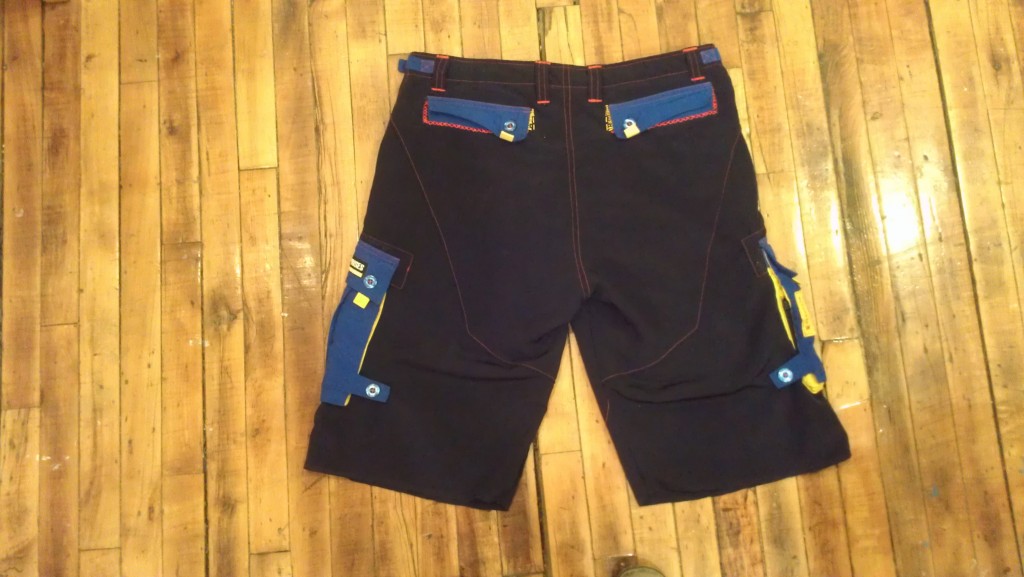
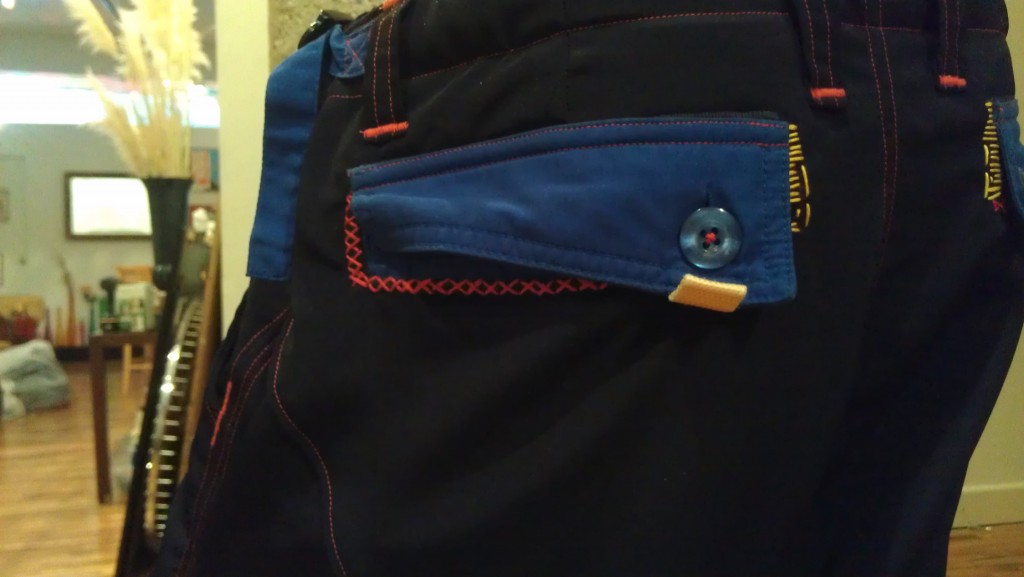
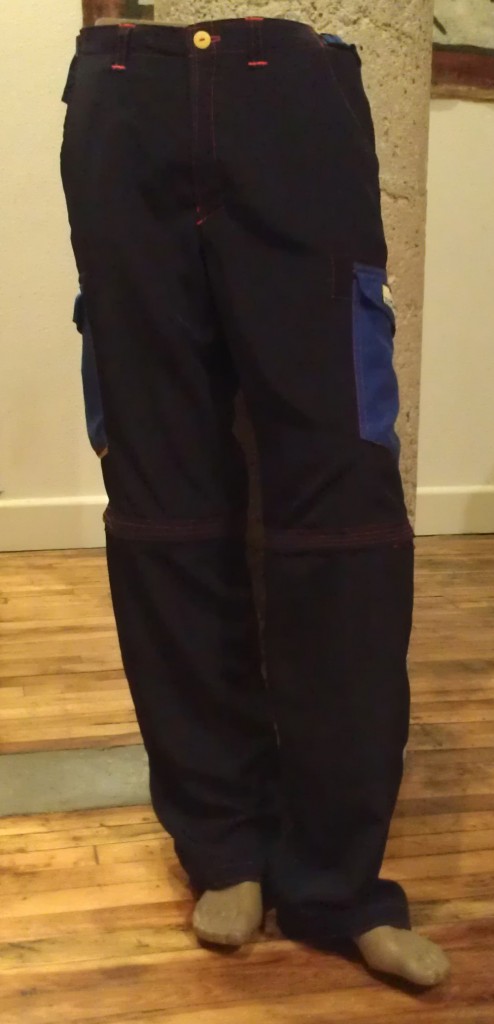
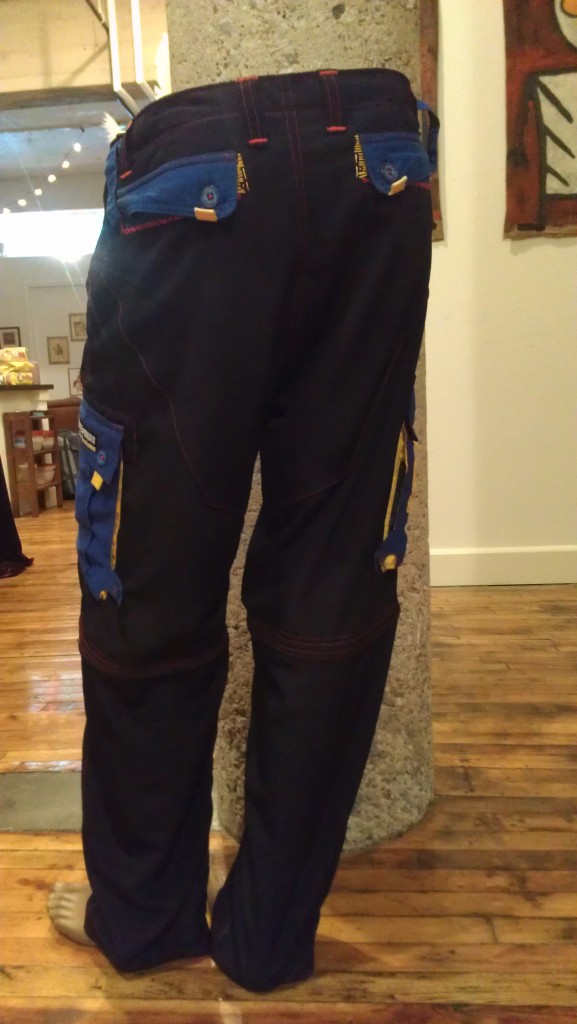
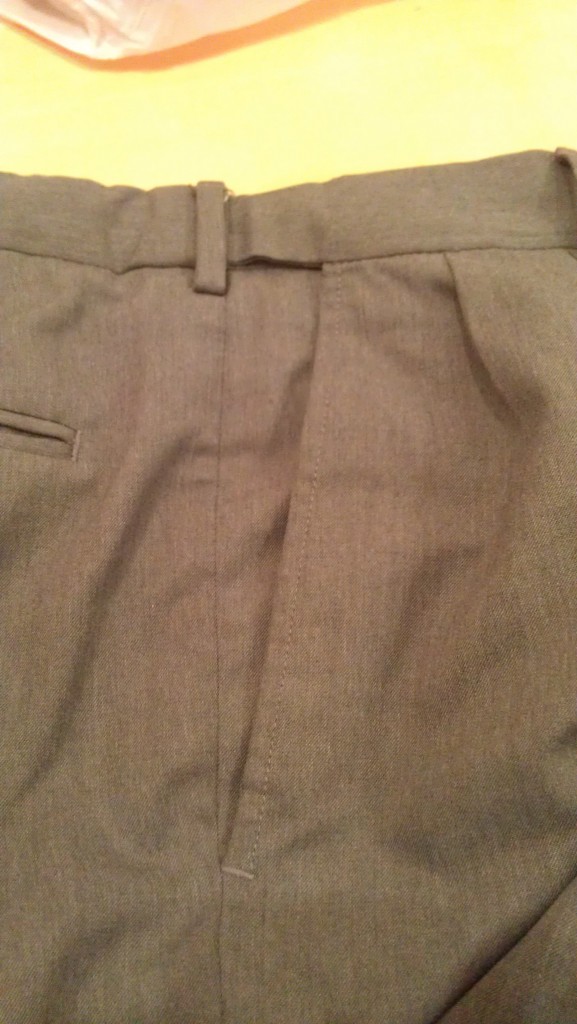
I repaired the hem on these pants for a client and noticed a cool effect at the waist.

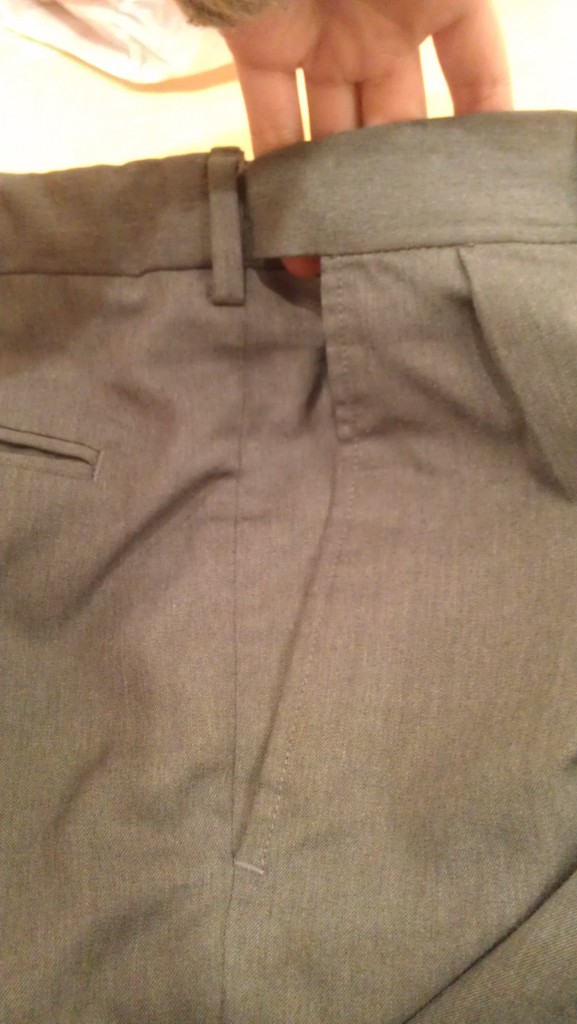
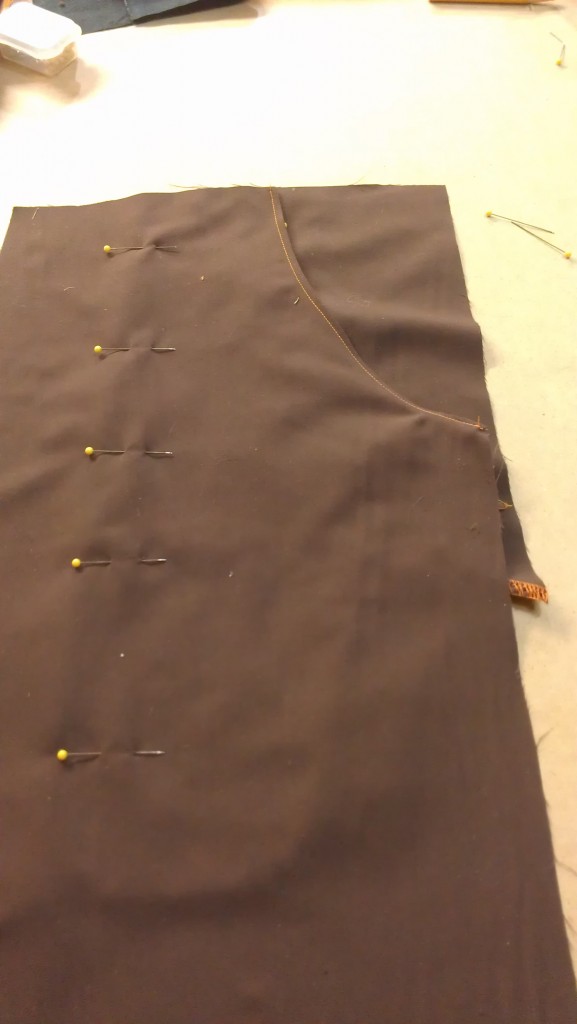
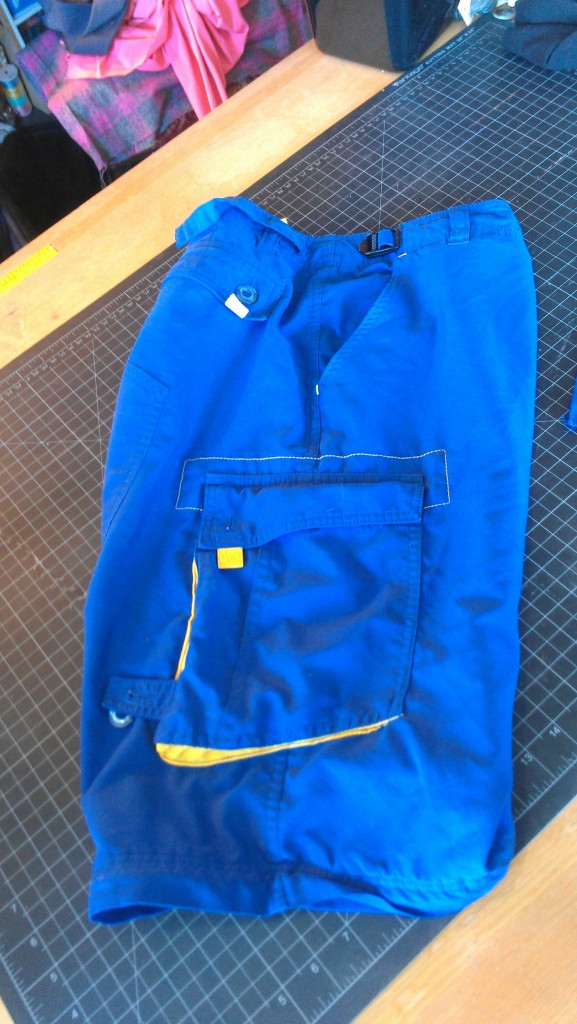
First View: side pocket lying flat–

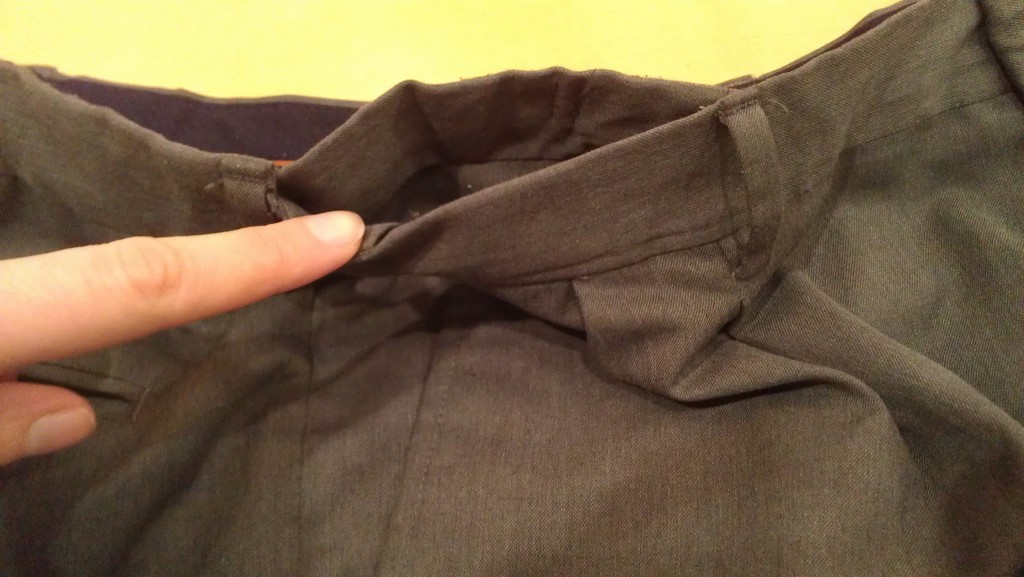
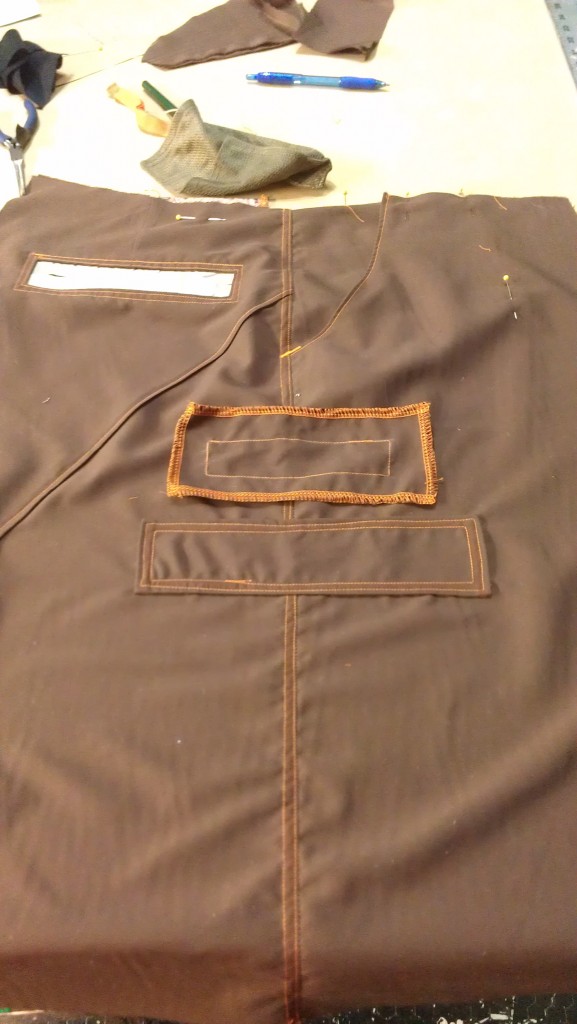
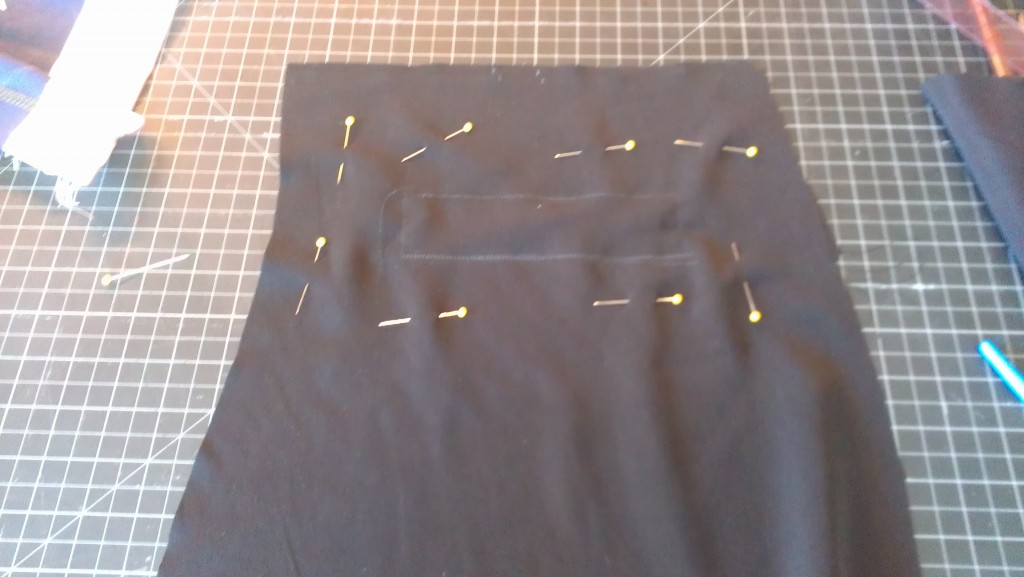
Second View: 2-layered waistband; the upper layer slips quietly behind a beltloop into a casing made from the back of the waistband, where it hides some elastic that doesn’t visibly rumple the outside–

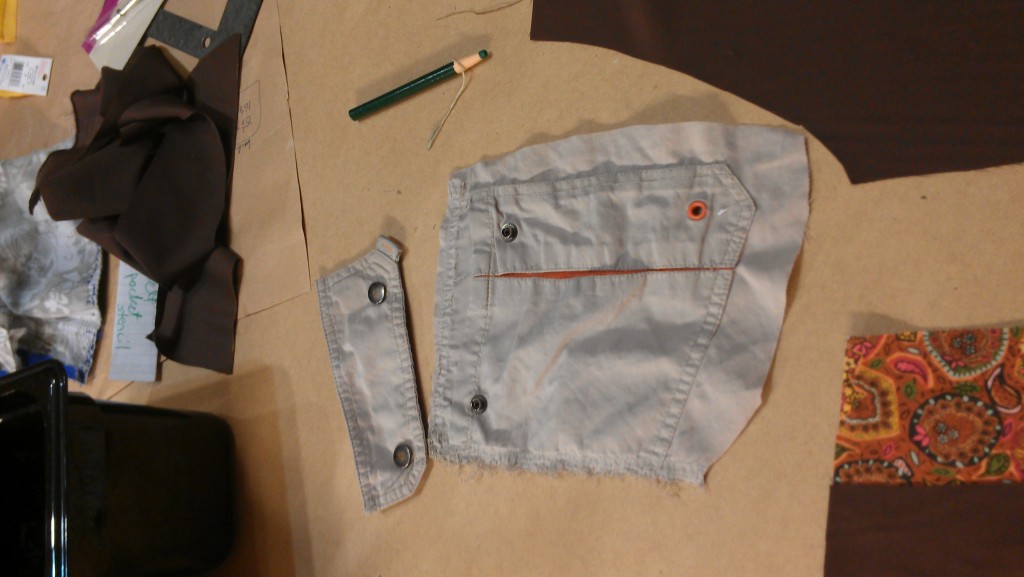
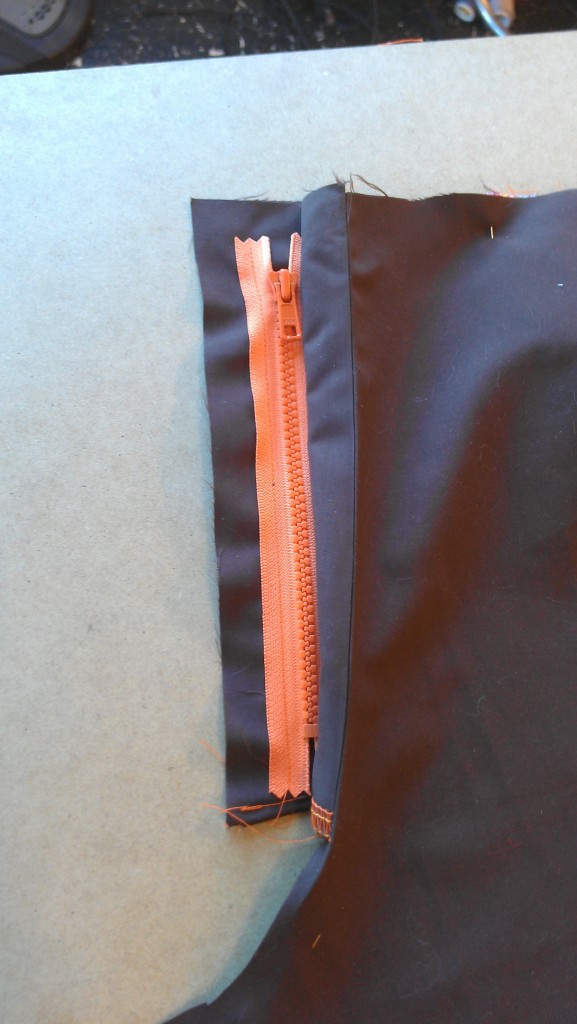
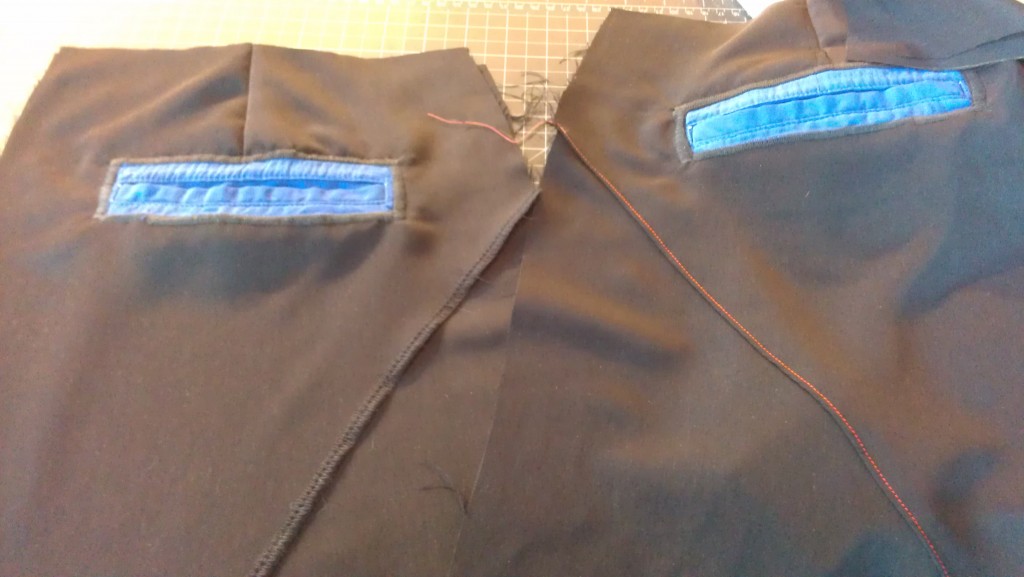
Third View: sneaky!–

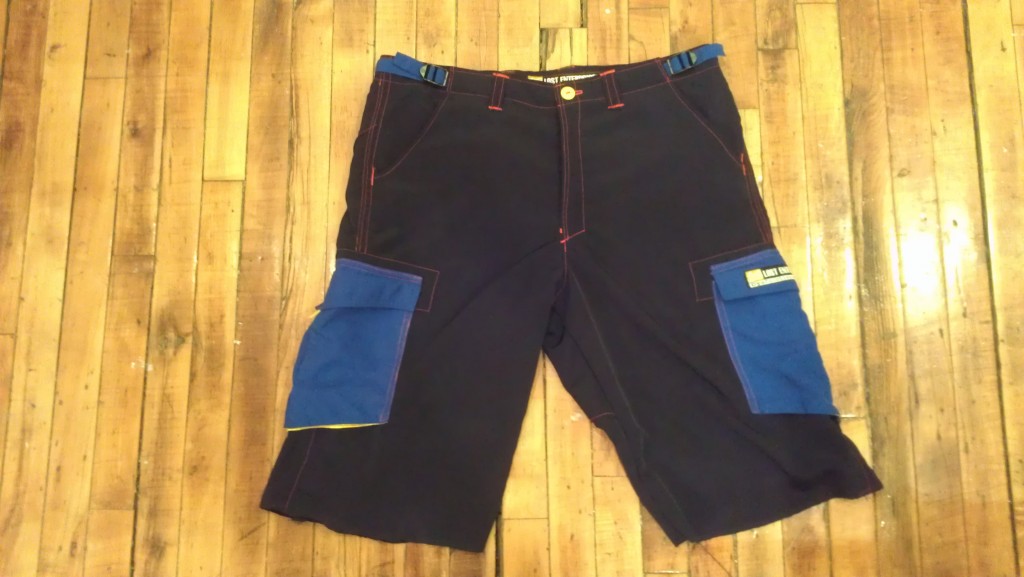
Buffet pants you can wear to a business meeting!

Christmas Pants

The project: pants like the black ones I made to be like the blue ones that died. You may remember the project from last September: black pants


The previous pants used some pockets from the pair I copied and provided a delightful color contrast. This time I went to a thrift store and wandered through the men’s section in search of unusual pockets. I found a pair of khaki shorts with orange accents in a little boy’s size, so only the side pockets were usable; the back pockets were too small for normal people hands to fit inside.

I had been putting off starting on these pants because I couldn’t find any good fabrics. I ordered a sample online of some peachskin fabric, but it was the same flowy stuff as the black pants and I had really wanted to do something different. In my head, I saw myself using that . . . umm, I’m not sure what to call it . . . that slightly crinkly, stiff fabric they use on sporty pants; almost like it’s been treated for waterproof or something, but it probably hasn’t? Anyway, that stuff. I thought maybe if I kept checking back, some might turn up in the warehouse districts that get random fabrics and even sometimes have relatively cheap men’s suiting and what-have-you.

I went to the warehouse fabric district again a couple weeks ago and found a scrap of brown peachskin that was stiffer and less floopy, closer to the original pants and more sporty than the black fabric I had used last time. Since I knew the end user liked fun colors, I asked the shopkeep for anything besides brown; no luck, but they had more of the brown on a roll.

So I texted the client to ask if brown was okay. She wrote back that she had lost my number, and had been trying to figure out how to get ahold of me to let me know she’d like the Christmas pair to be brown. Actually, the verb up there, “wrote,” doesn’t really describe her message back, but I’ll leave that to your imagination.

All my Constant Readers (as Stephen King would say) and my Alert Readers (as Dave Barry would say) might recognize nearly the same 2 photos from the black pair’s back pockets:

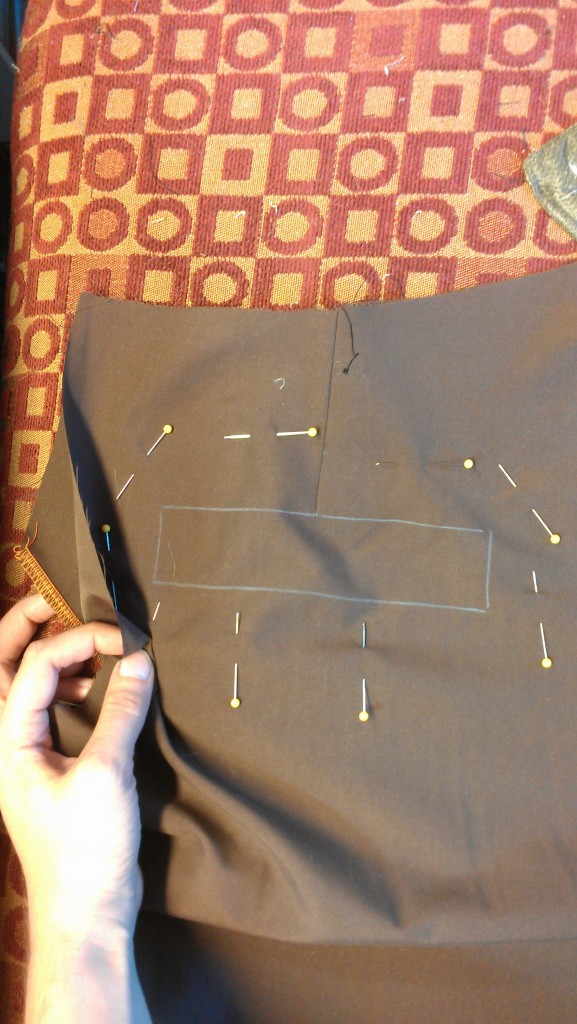
Above, I stuck my hand in the shot to demonstrate that the top layer (edged in orange thread) is pinned below the lower layer; the darts on both layers have already been put in.

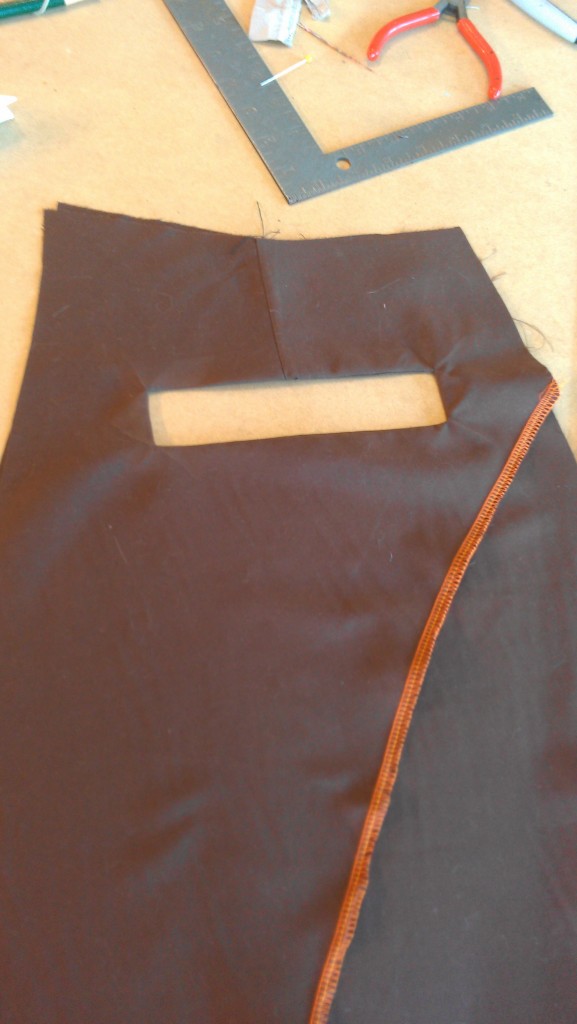
Below: stitched, snipped, flipped right side out:

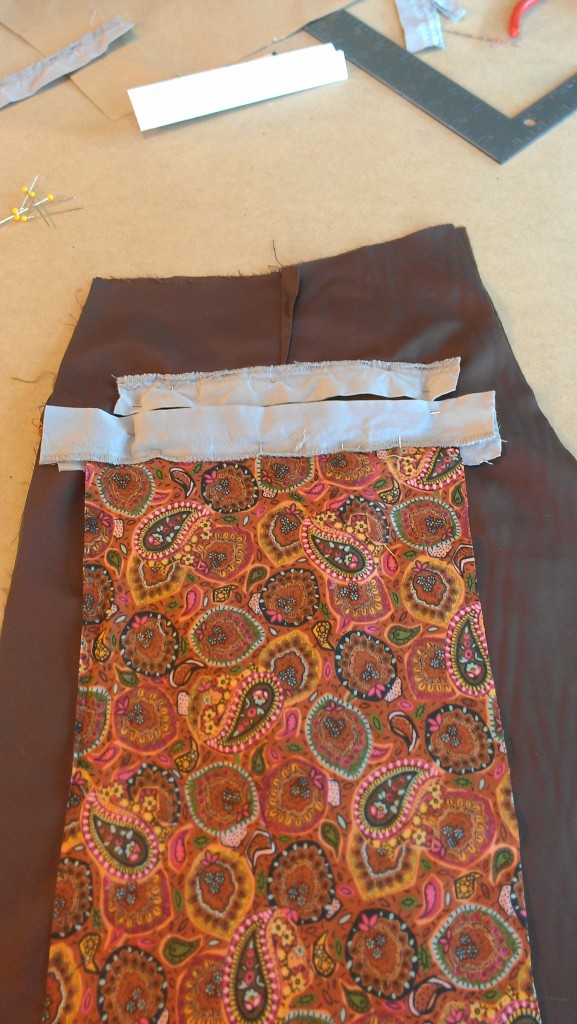
I used the cuffs of the khaki shorts for the contrast on the pockets, and a cotton fabric in complementary colors for the pouch:

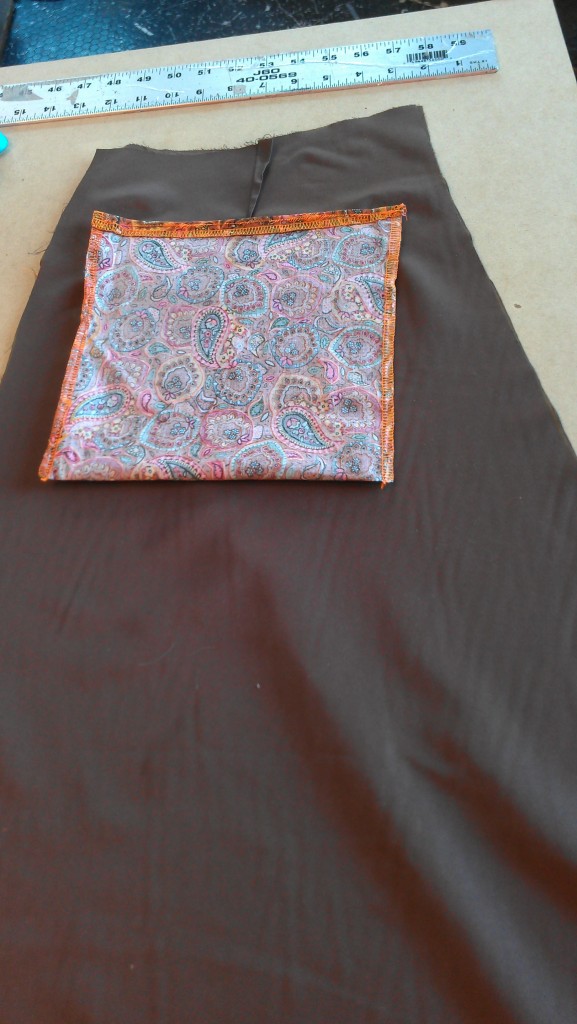
Finished pocket from the inside:

From the outside:

After top-stitching the butt-protector, reinforcing layer, or whatever the heck that panel is called:

I attached the smaller facing (under my hand) onto the front pocket pouch first, then sewed it to the pants themselves before pinning the back part of the facing to make sure it laid right.

Here’s a cool thing about the front facing on these pockets. I’m showing this out of order to try to be clearer–this is the seam that I am holding in my hand above:

When they are lying flat and the top of the seam is lined up perfectly, the bottom of the curves are different by that much, though the total length of each is the same. This helps the pockets curve in a little when the pants are worn, rather than pooch out a little. It’s one of those things where sewing it not flat creates the illusion of it being flat. Kind of like how sewing square pillows to be square when they’re flat can give them rabbit ears, but sewing them with rounded corners produces a square pillow when it’s stuffed.

(Pillows spotted via Regretsy.)


Back to the pants: pockets pinned flat–you can see the nonflatness at the bottom part, but it’ll look flat when it’s wrapped around a hip.

I finished off the side seams then placed the side pocket reinforcement rectangle. On one side, I also integrated an extra pocket from the khaki shorts. It needed a cut-out similar to the back pockets.

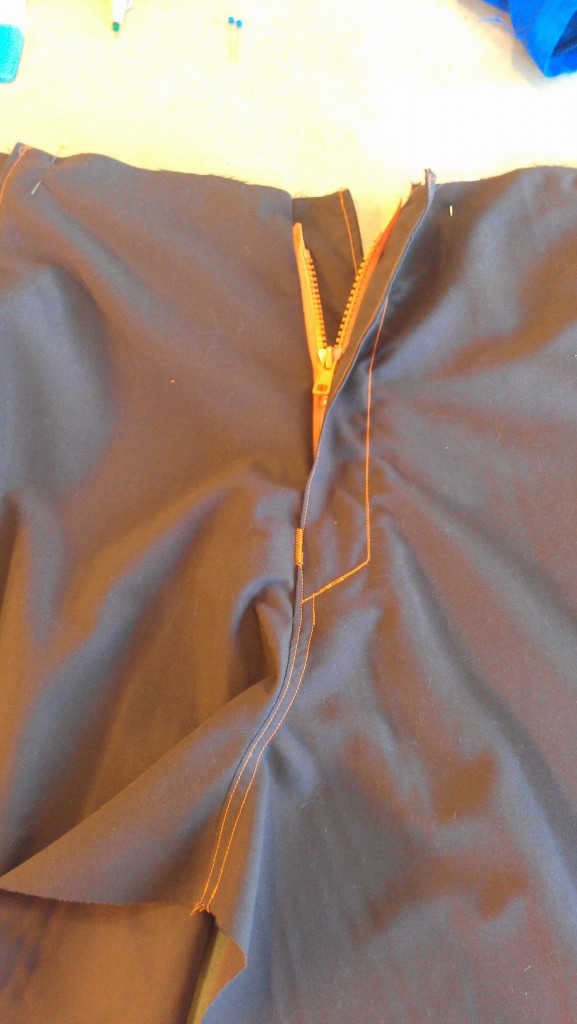
Orange zippers are no longer available locally, at least as far as I could find. Luckily, I had one on hand. Some people will look at my stash of materials as borderline hoarding, but how would they explain this zipper, installed right before Christmas and with no time to order online?

Starting the fly:

Finishing the fly:

I can put in an invisible zipper pretty much blindfolded, I never do welt zippers if I can help it, and I can count on my fingers–probably one hand–the number of fly-zippers I’ve installed. This one was practically easy–I must be getting smarter.

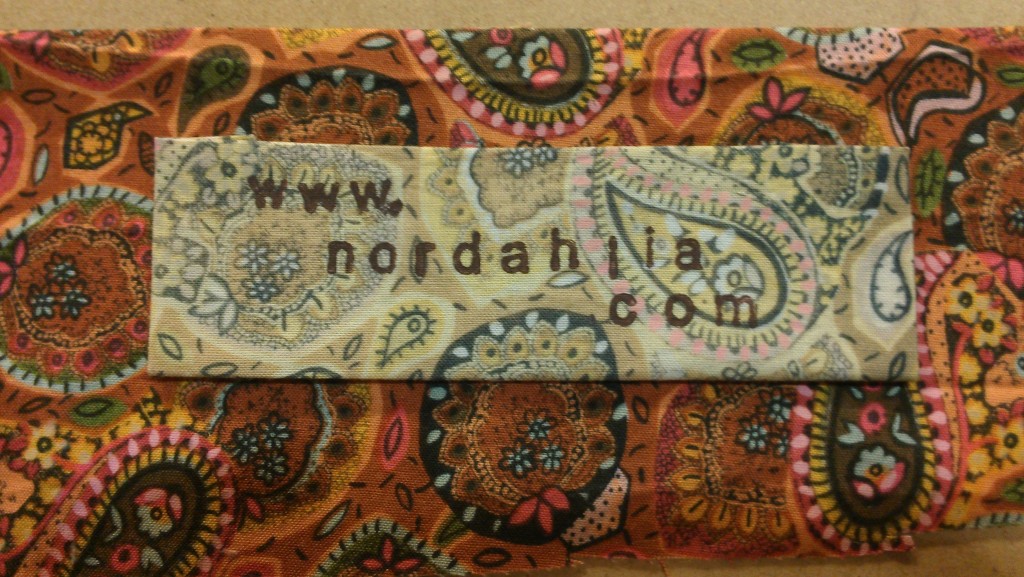
Partly in keeping with the original original-pants’ design that included large labels, as well as due to my desire to keep the inside of the waist as a “waistband” instead of having to use geometry to create a facing (I hid all the ease behind the label), I had some fun creating a specialty label:

No stamp would have turned up on the fabric as it was, so I soaked a scrap in bleach, then stamped it. I put a border of the regular fabric around the edge.


Longcat Scarf is Long

Last year for his birthday, I made D. a couple cat-related items from some really nice scrap white fur left over from some window-dressing projects. One of them was a counterfeit tuxedo cat based on an inside joke (it was a stuffed white cat wearing a tuxedo and top hat, rather than an actual tuxedo-colored cat; there’s more to it than that, but it’s a joke based on financial humor, so more on that later).

This scarf has a pocket hidden by an invisible zipper. Inside it’s a charmeuse fabric with a black and white cat print on a baby-pink background because I figured the inside of a cat would be mostly pink.

I didn’t have any pink safety-noses handy, and the ones readily available look really cheap, so I painted some black ones and coated them with polyurethane so it wouldn’t scrape off.

The photo of pointing is actually pretty heavily photoshopped; I liked aspects of two different shots, so I merged them together and had to retouch pretty much the entire bookshelf, which is an emotionally unrewarding use of my killer Photoshop skillz:

Here is D. attempting to look hipster. Contrary to what the uninformed may think from various visual cues, he is not a hipster; he is a software engineer:

And here is a blank meme colorwheel for anyone who can actually come up with anything else to say about a scarf:

Racing Stripes

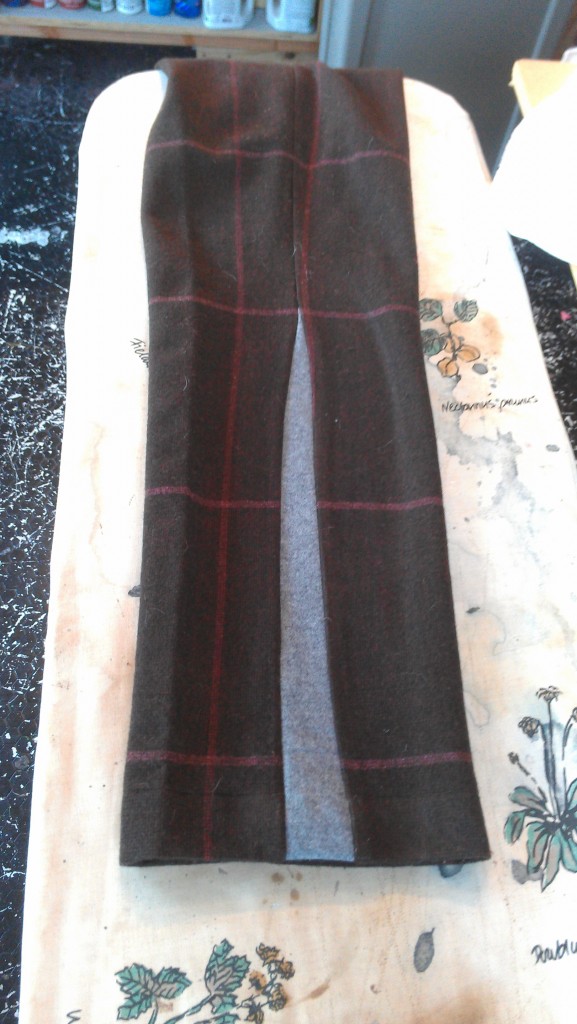
These are some wool slacks cut like skinny jeans, with rivets and everything. The client generally wears boots, so I added some similar-weight cashmere godets in the side seams up to the knee.

I stitched some scrap fabric over the rivets so they wouldn’t poke out and wear on the ribbon or look lumpy.

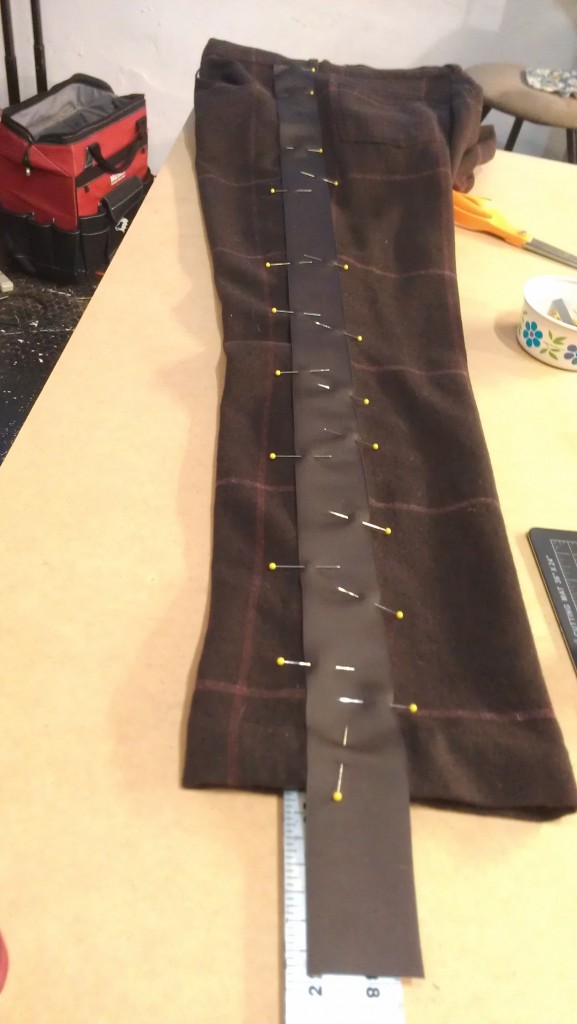
I pinned this grosgrain ribbon up the side seam with a ruler inside the leg so I wouldn’t pin through more than one layer of fabric:

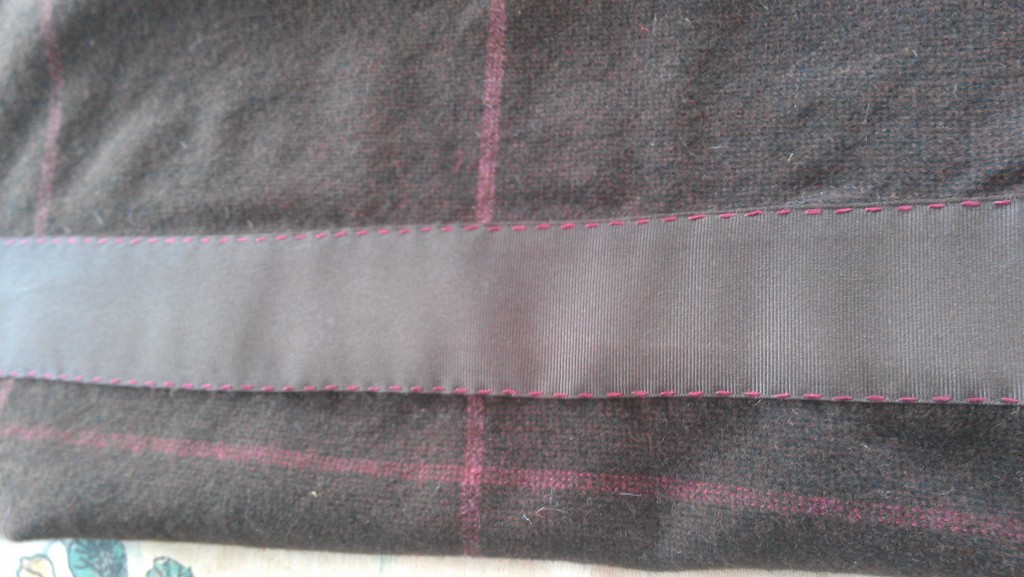
I matched the maroon of the stripes in the fabric and quadrupled the thread so it would show up. The grosgrain stripes made it easy to keep the stitches even–4 stripes on, 4 stripes off.

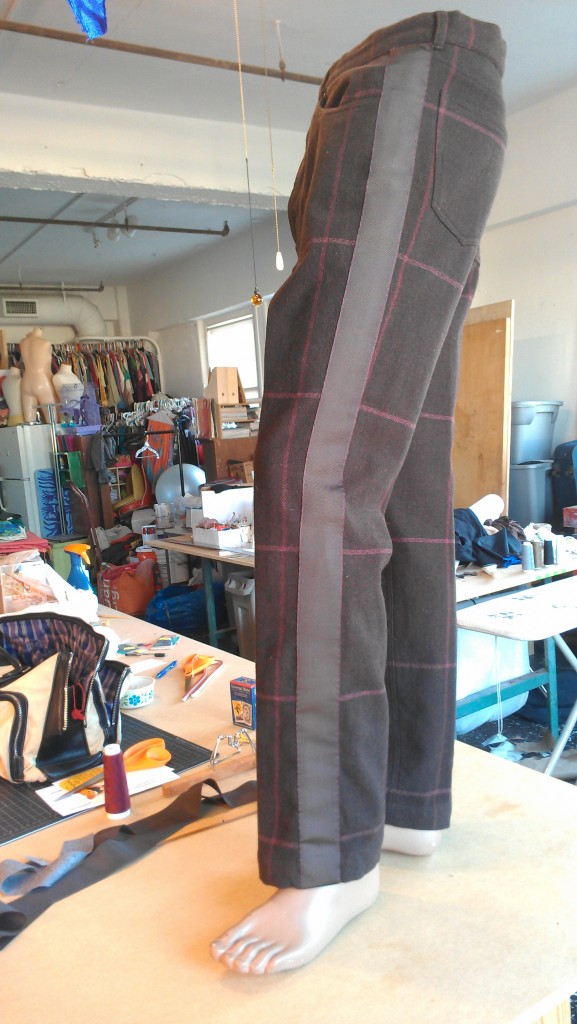
It came out looking pretty sharp:

Cat Fashion

When I look at fashion sites or cut up old magazines, I often get ideas for some sort of pocket detail or a clever use of buttons, or just inspiration like “hey, that chiffon skirt looks great blowing in the wind . . . oh yeah, I like chiffon!” But there is also a lot of crap out there.

It just occurred to me that I have posted two complaints about fashion in fairly rapid succession. So that I don’t wind up looking like a grouch or a bully or Joan Rivers, I thought I’d go in search of some inspiring fashion.

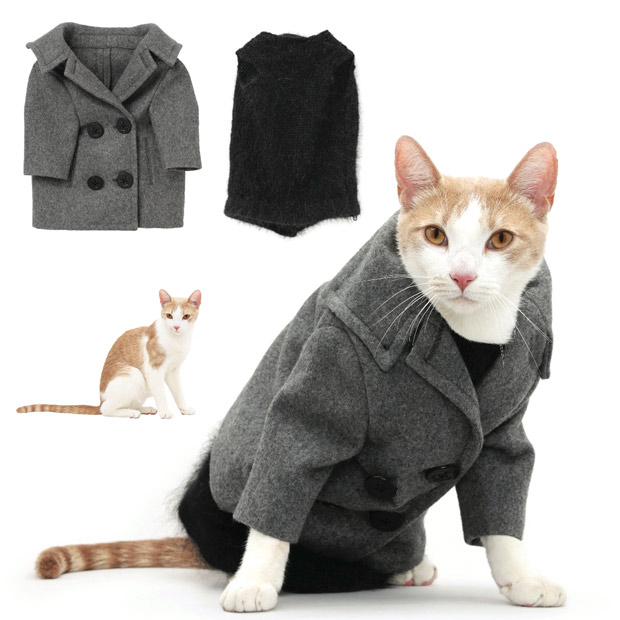
Here is a lovely grey, double-breasted pea coat, similar to what I was envisioning for D.’s winter coat when I finally get a chance to make it–though I’m debating a Nehru or Nehru-like collar and/or a hood.


What Size is Alejandro?

The project:

4 Egyptian-style men’s skirts made from terrycloth; costumes for the entourage of a Lady Gaga impersonator


Having only tried the skimpy little men’s skirt on a plastic dress form that is not going to have to walk in it, I felt it necessary to test it on a live model. At my age, I am realizing, it starts getting harder to dig up a guy with a 30-34″ waist on a moment’s notice without having to think really hard.

Luckily, one of my cohorts who does a lot of the non-sewing end of various productions was working downtown and could drop by to try on the prototype.
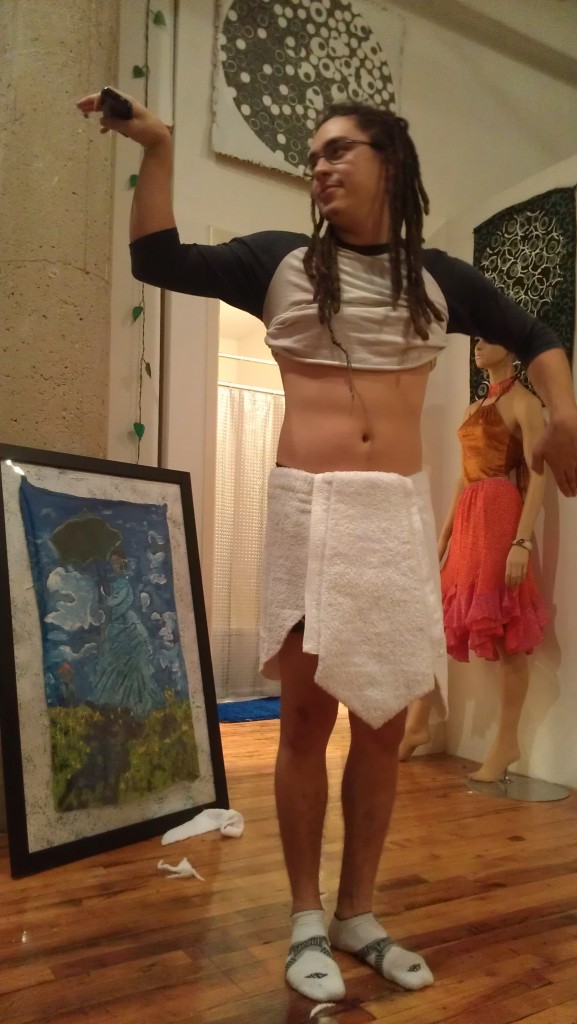
The catch to this project was this: we had no idea who the guys were, just that they would be bodybuilders. Our best guess was that they would be shaped approximately like Launchpad McQuack, with shoulders out to here and no waist to speak of. We guessed 30″-34″ish. As the prototype was a little tight on Carlos, I figured I’d make the next three several inches bigger, then bring my sewing machines and be prepared to take them in.

When I arrived on location, I wandered in the basement for a bit before finding the crew, and came across this door:
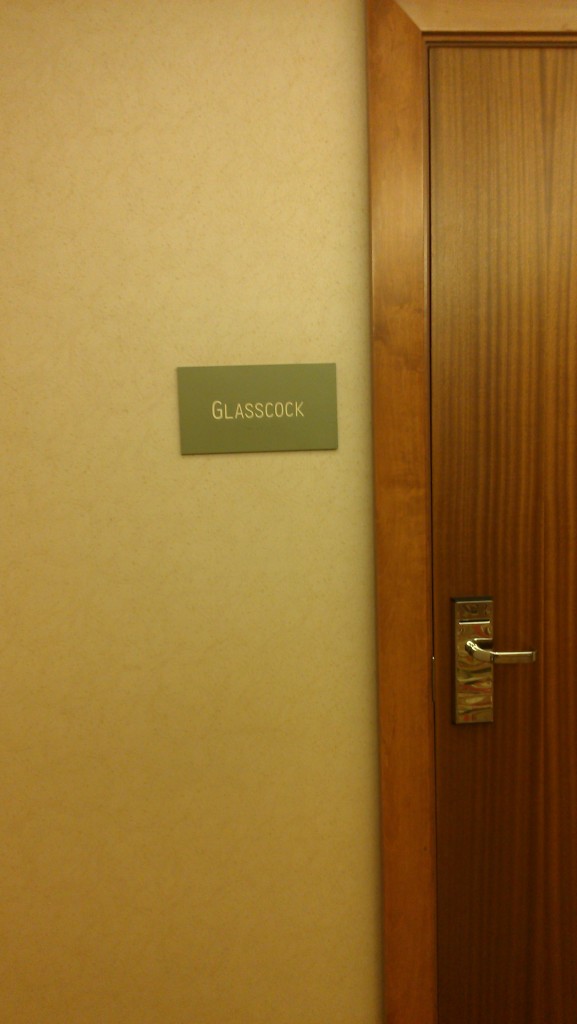
Seriously, guys? Really?

The small outfit works great on The Littlest Bodybuilder. I thought that would be a great name for a musical; I kept thinking of “The Littlest Christmas Tree” from 1st grade when I did NOT get to play a Christmas tree. He wasn’t actually little; just the only one shaped much like the Launchpad McQuacks that had danced in our heads.

The next two weren’t great fits, and one of them was just a little too small, but they weren’t bad. I figured some pins would probably make it work. Then the fourth guy shows up. He’s not the littlest bodybuilder.

I was able to stick the costume on him for the dress rehearsal thanks to my ingenious multi-size elastic button loops, but as you can see from the picture below, that wasn’t going to work for the show. I didn’t have any extra whole towels, and there wouldn’t have been enough fabric between the decorative end thingies anyway. (Yes, that’s the technical term.)

The shirts and white boxer shorts are for the dress rehearsal. Can you spot the costumes that don’t fit?
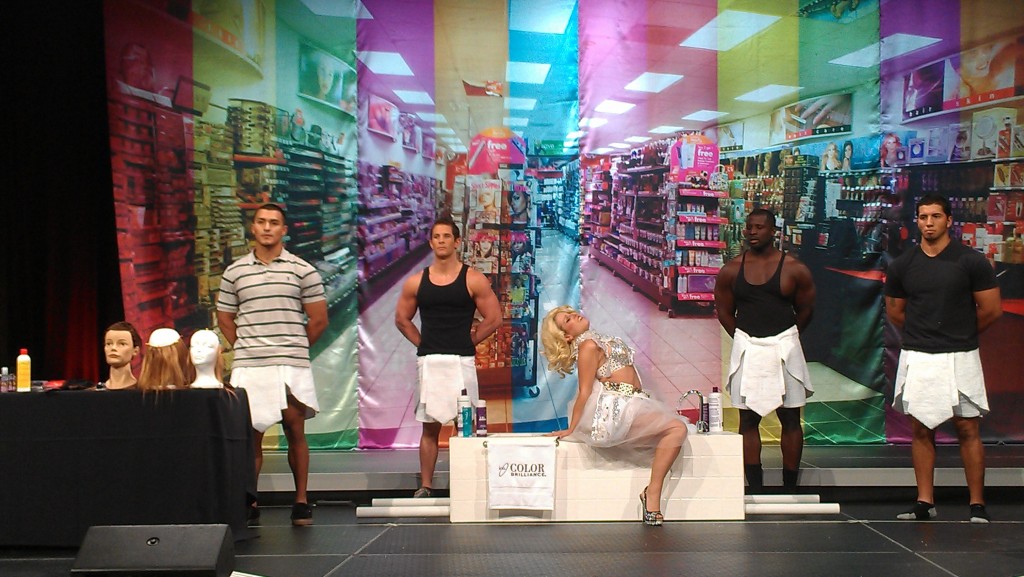
Good! I knew you could!

I had brought the scrap terrycloth more as padding for transporting my sewing machines than anything else. Once I collected all the costumes–except, ironically enough, for the prototype, which fit perfectly–I set up my sewing machines.
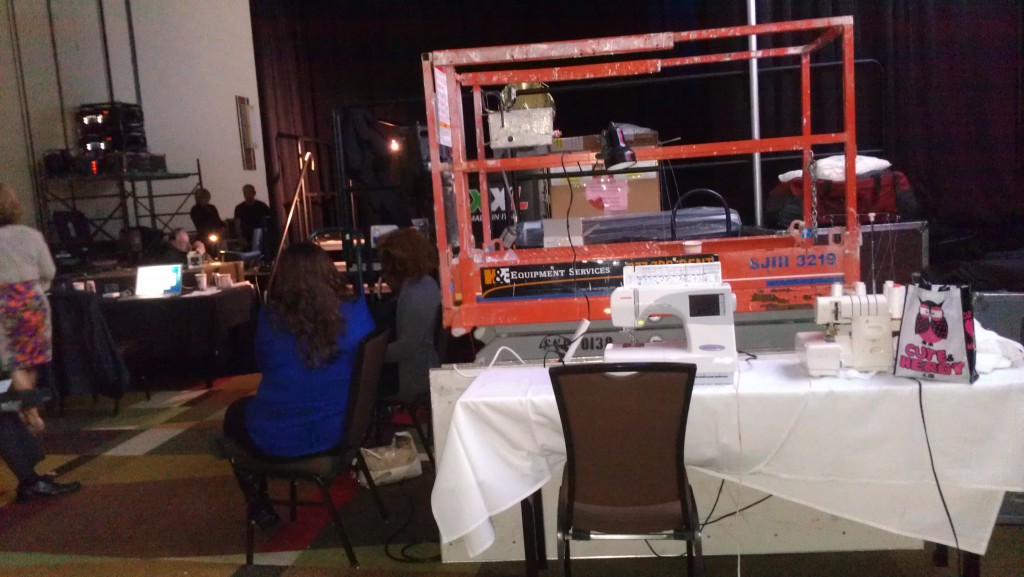
I added a cornucopia-shaped panel, as well as multiple buttons so that it wouldn’t have to be exact. This plan hadn’t occurred to me before the event, because I thought it would be too pieced-together looking. Once I saw the scale of the event and the dim lighting, it seemed it would be fine; and once I’d done one, it actually didn’t show up much even close-up and in good light.
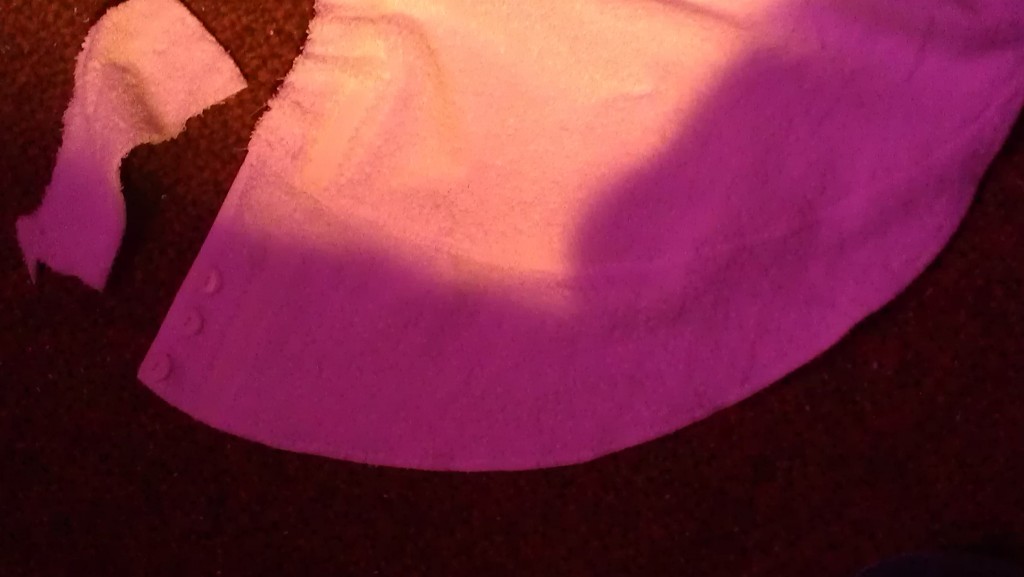
Some makeup stains or something had gotten on one skirt, so I went ahead and zigzag stitched some tiny scraps on top of the marks because it blended in so well.

I had used contrasting-colored velcro anywhere that it was definitely not going to show, thinking it would be nice to have very-visible closures while I was working so close to strangers’ junk.

The inside of the front panel, all done in beige:
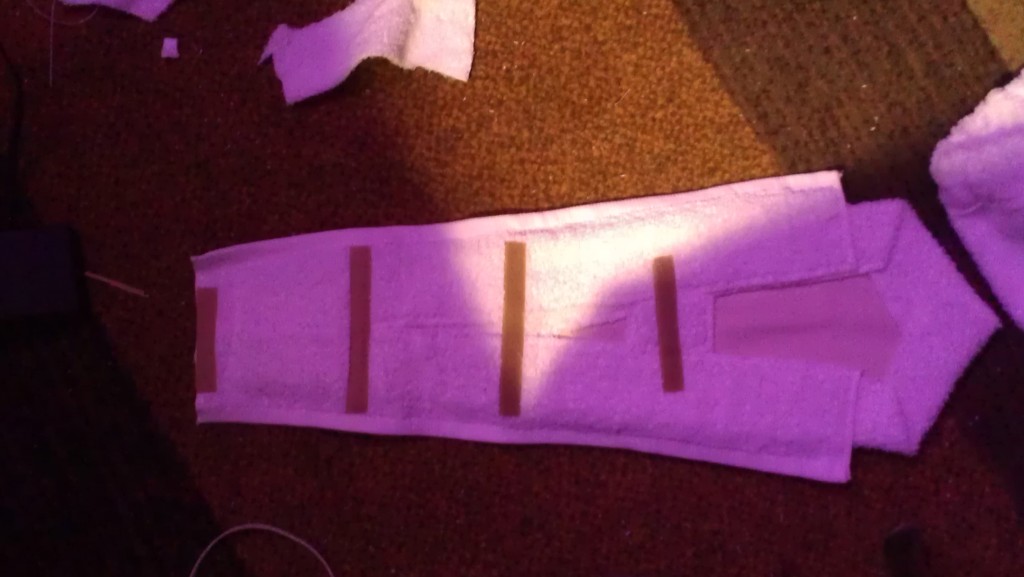
Turns out, that wasn’t necessary; there is no room in these costumes to be looking at stuff. Let’s leave it at that.

So I get everyone dressed, and since it’s going to be awhile, I leave off pinning til later. I’m sitting around waiting, start realizing I’m getting hungry. Then realize that everyone else had gone to lunch while I was sewing; I had been so uncertain about how long it would take to fix and how long we had until the Lady Gaga number that I had done the repairs right away.

I wandered into the service hallway, hoping they hadn’t thrown everything away. Some used-looking food seemed promising:
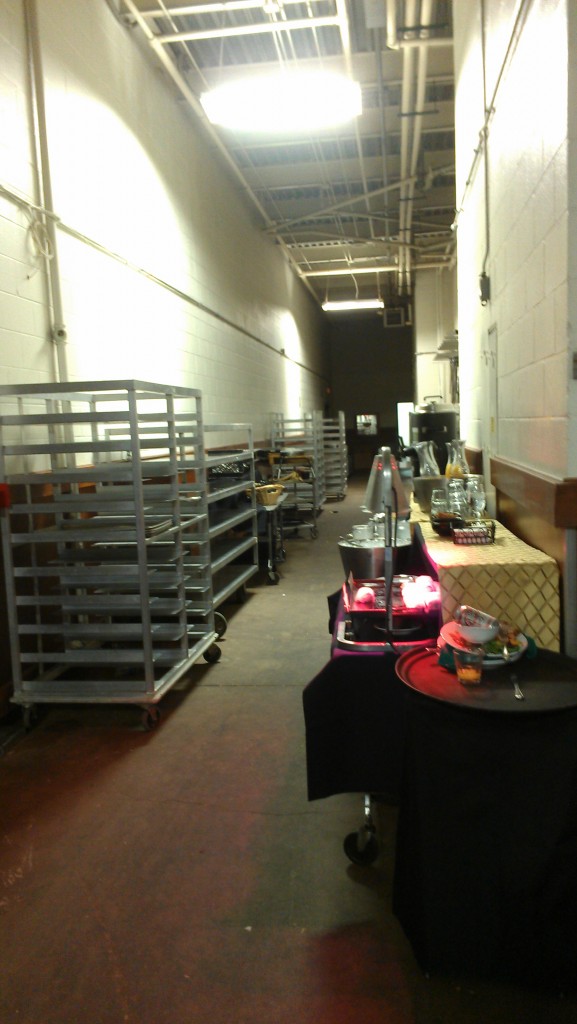
No sign of lunch, but there was quite a bit of continental breakfast left.

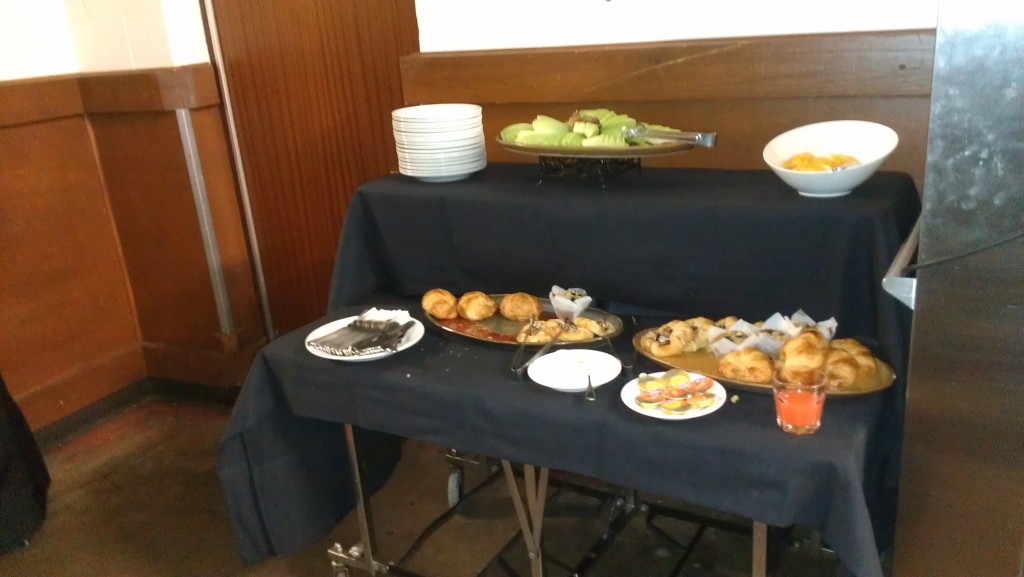
Oranges, melons, mixed-filling danishes, grapefruit juice, coffee! Muffins, too, but I’m often wary of muffins. Don’t know why; always have been.

Score!:
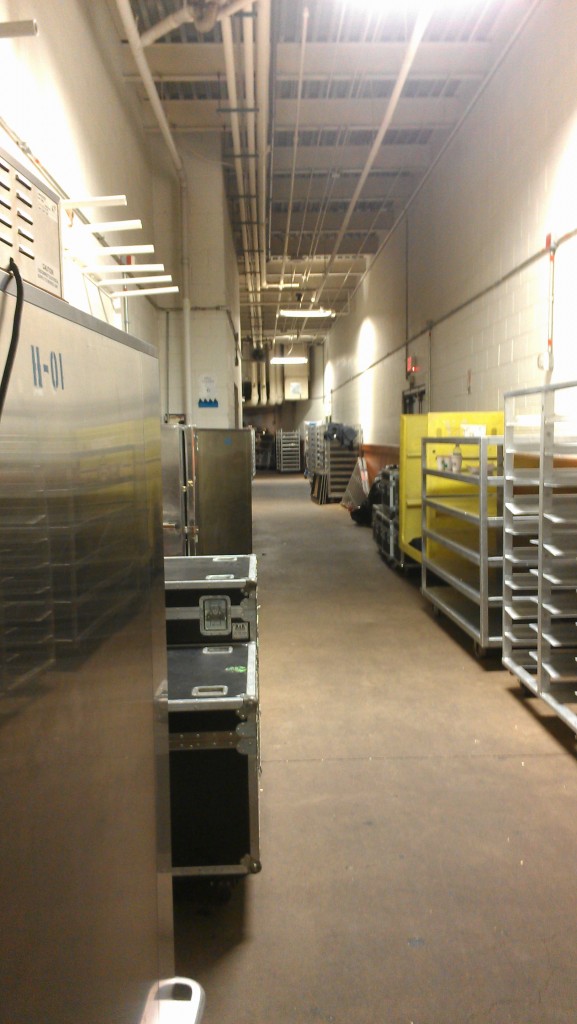
Head back the way I came . . . the door I’d left through had locked behind me. All the other doors went straight to the event. I finally walked out through the middle of the food-staff people having a meeting in a kitcheny-looking area, trying to look like I belonged there and knew where I was going.
I straightened out everyone’s flaps and got the sides pinned in in place.
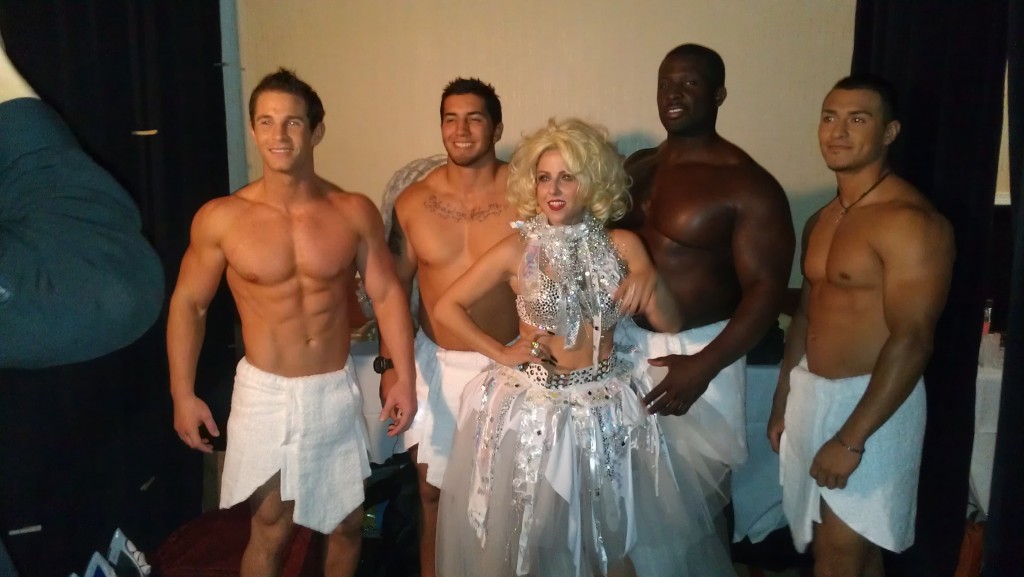
Lady Gaga kept everyone entertained while we waited.
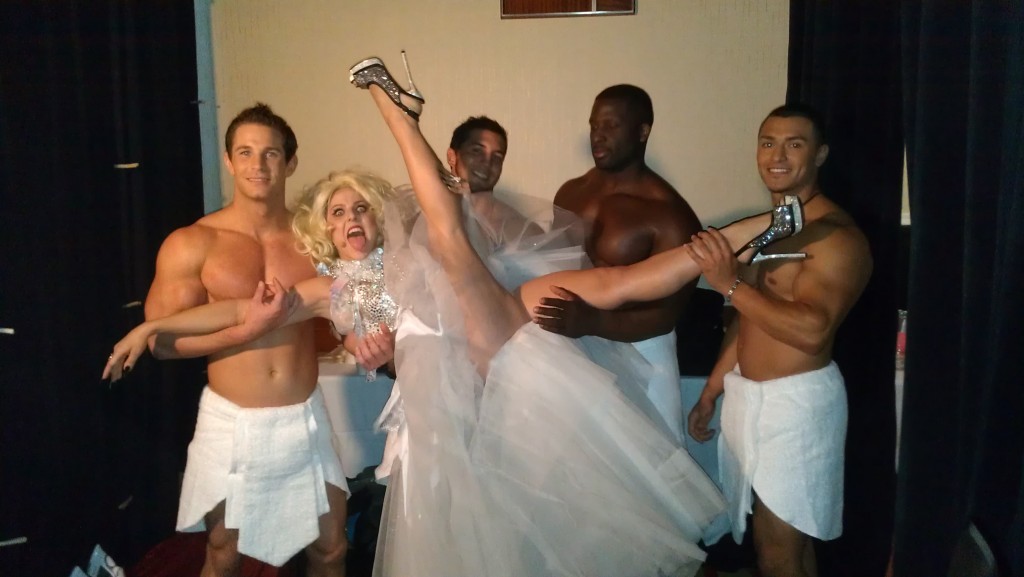
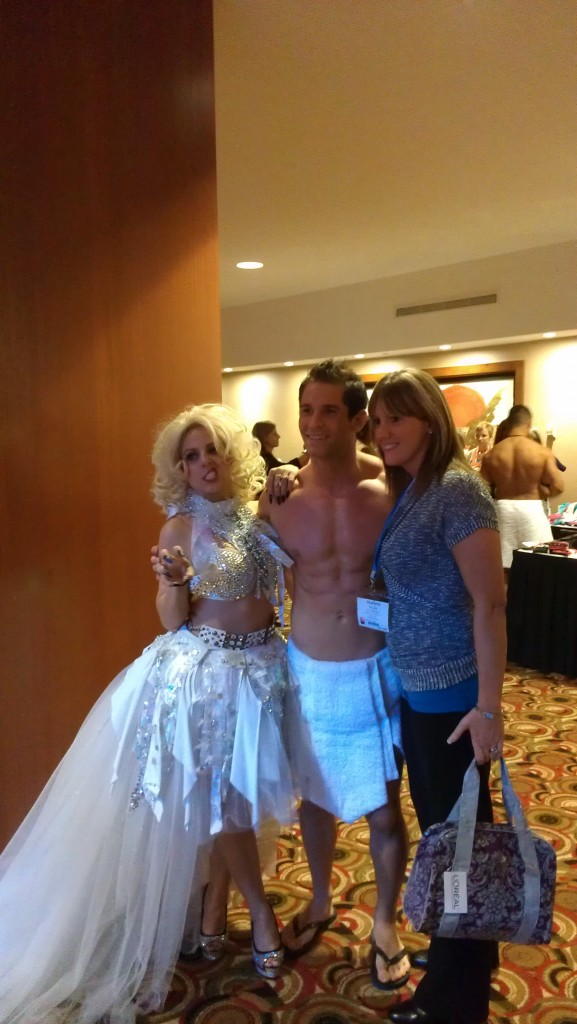
Me and Gaga:
There were a lot of great shots, but the lighting was pretty much impossible. Here, you can see the two matching bags in the reflection. They’re hanging out not in their shopping bag costumes, but I still like calling them bags, as they aren’t girls who are likely to get called that very much:
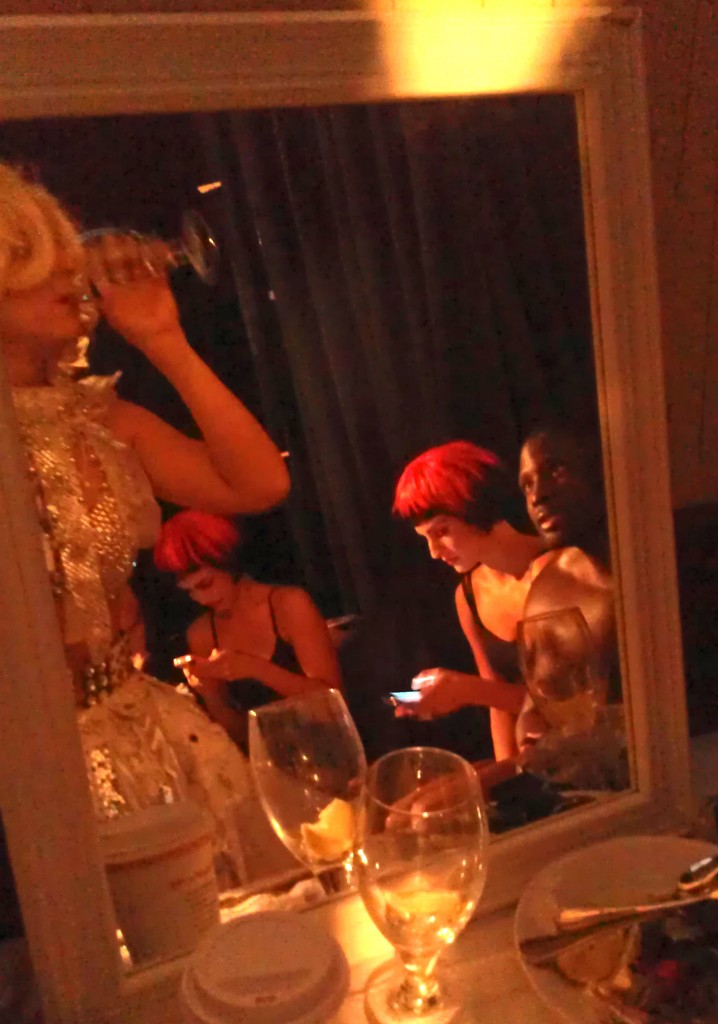
The entourage asked them, “Wait, which one of you is the blonde? . . . You could have reintroduced yourselves as different people and we wouldn’t have known.” The one on the left was then renamed Veronica. I think.

Standing in the lobby, waiting for the musical cue:
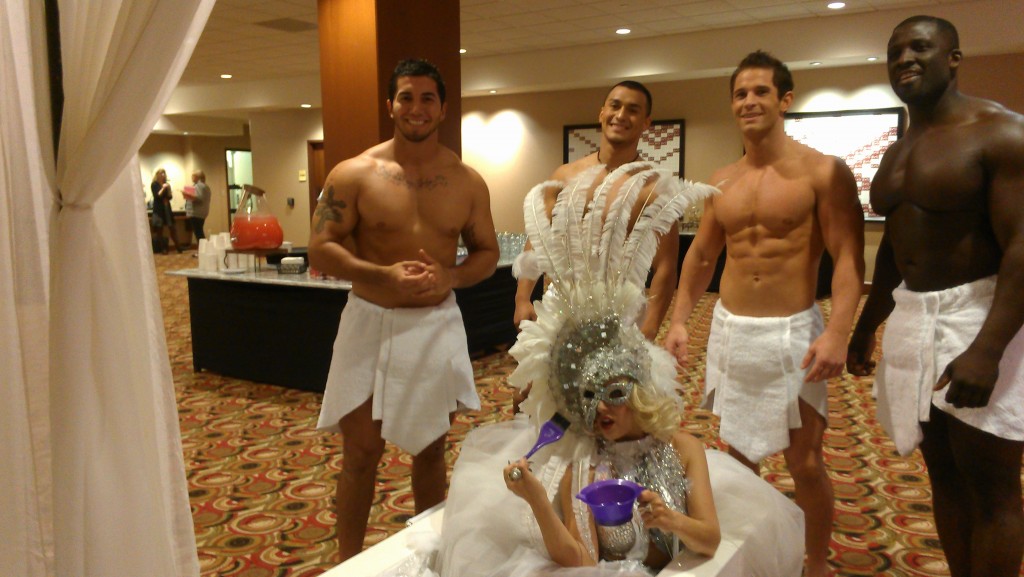
Here is the bathtub, designed by Carlos (a different one than the previously pictured), and the hand towels I had previously narrowed. When given the task, I had thought it sounded unnecessarily specific, but whatever. It becomes clear now why they needed to be no wider than 14″.
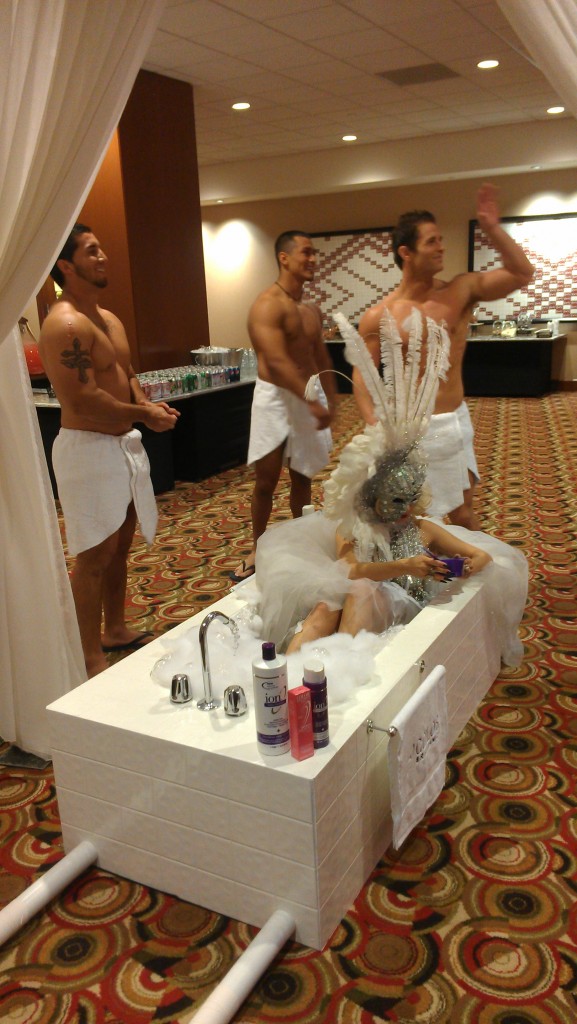
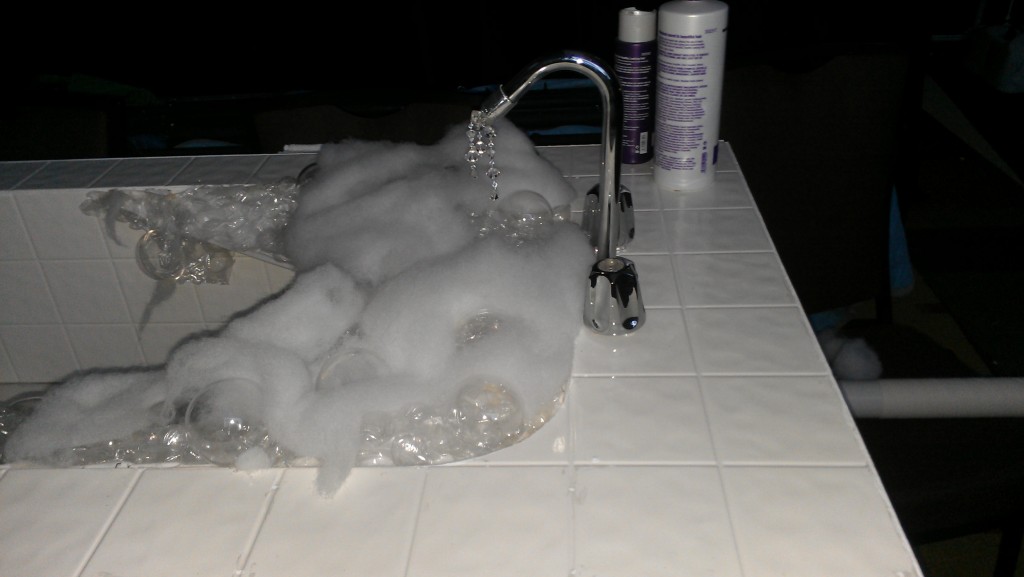
A close-up of Carlos’s solution for permanent bubbles:
Lady Gaga alternately lay in the bathtub and stood up to dance while her entourage carried her to the stage. Carlos made it sturdy and ultra-light.
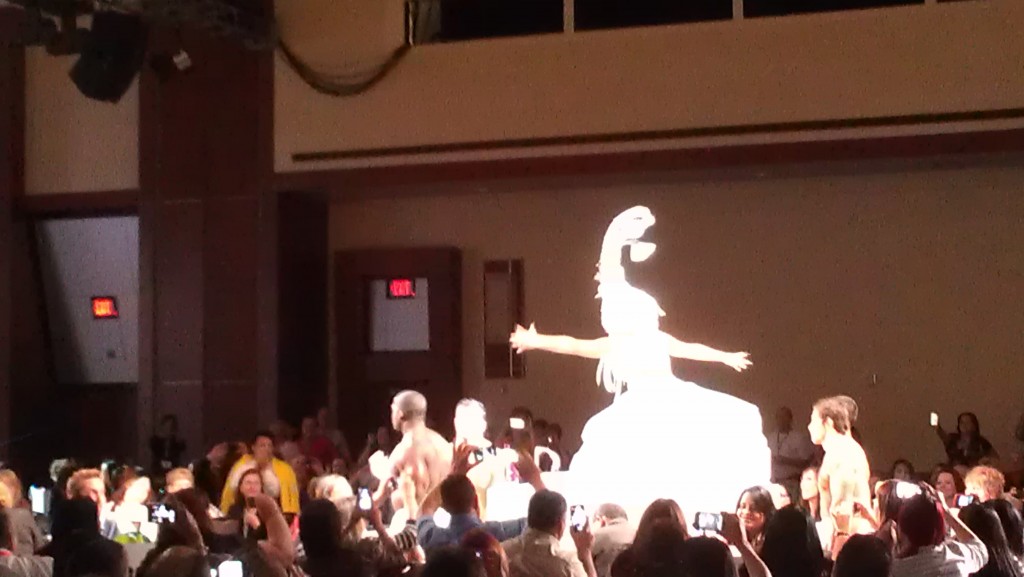
My phone camera literally could not handle the awesomeness. Below, you can see a man in the center right attempting to shield himself from the glare of fabulous. My camera simply cut Lady Gaga out of the picture and left a blank spot where she had been to stave off implosion.
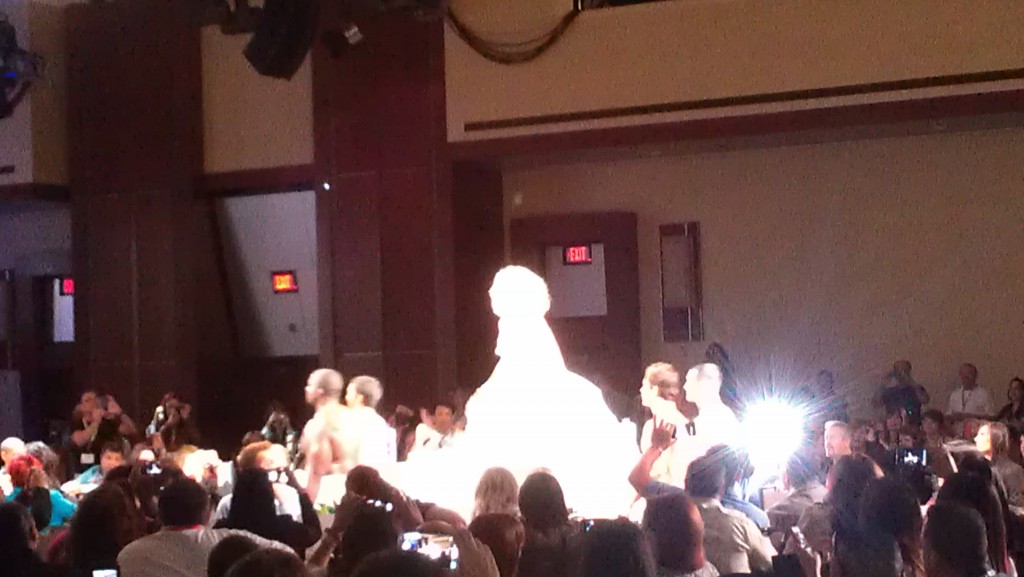
So much better than the dress rehearsal:
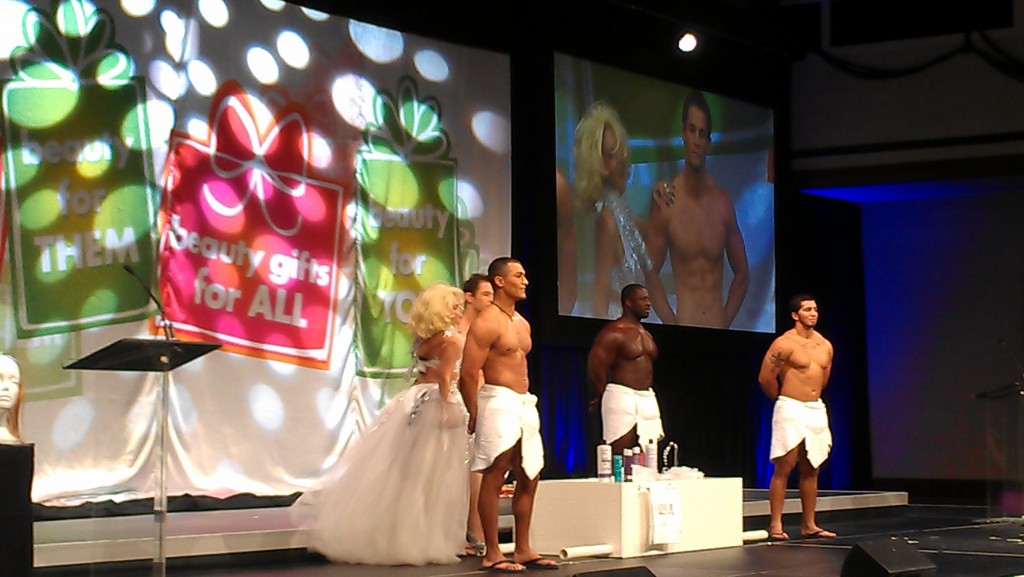
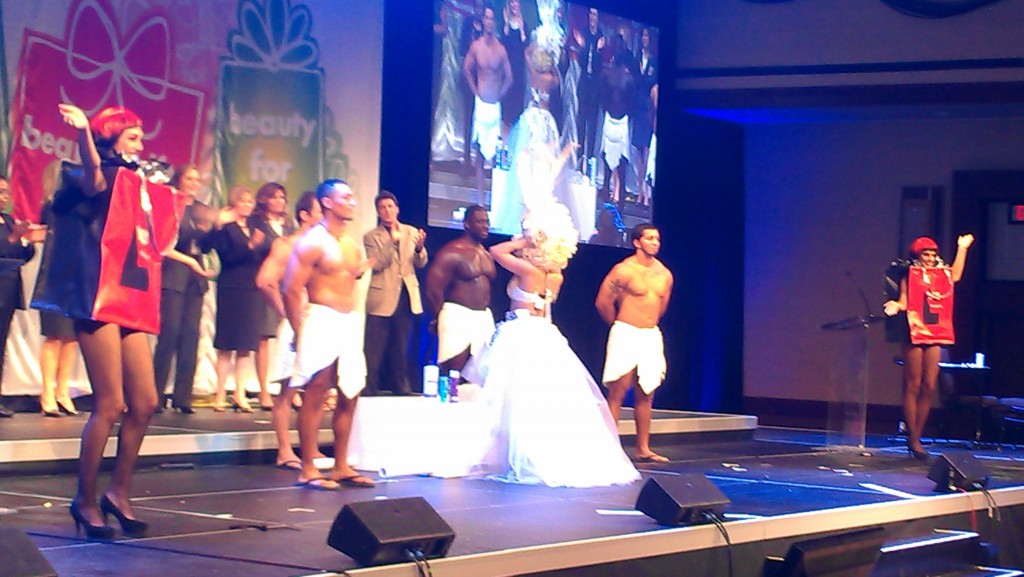
The bags came out to dance for the finale.
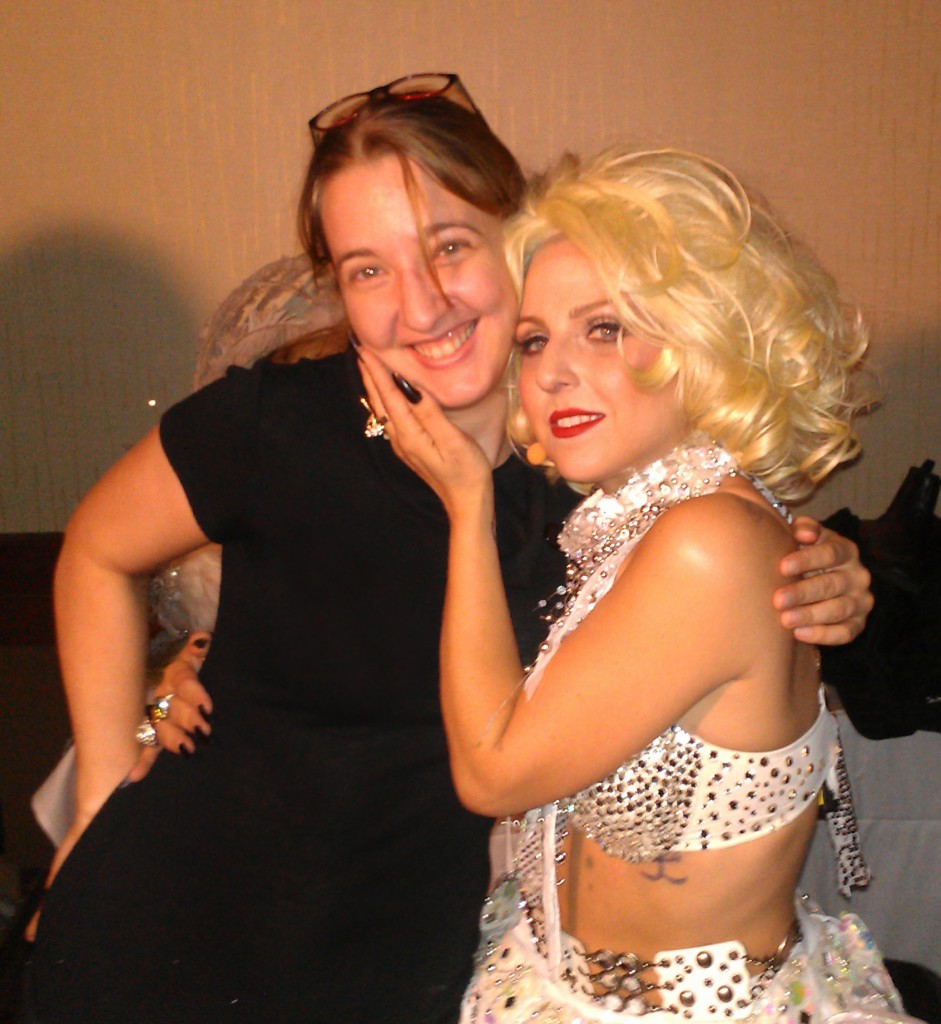
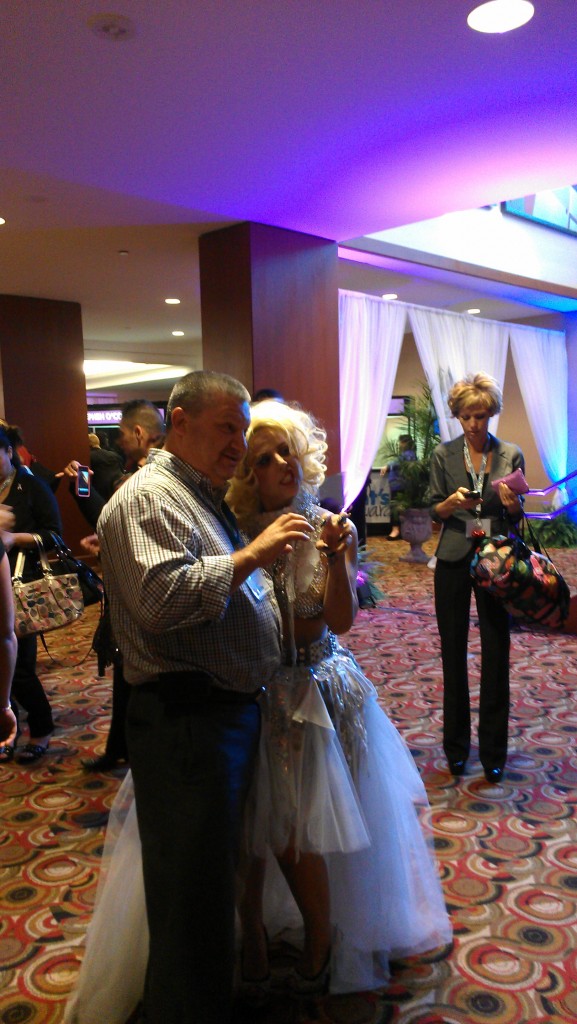
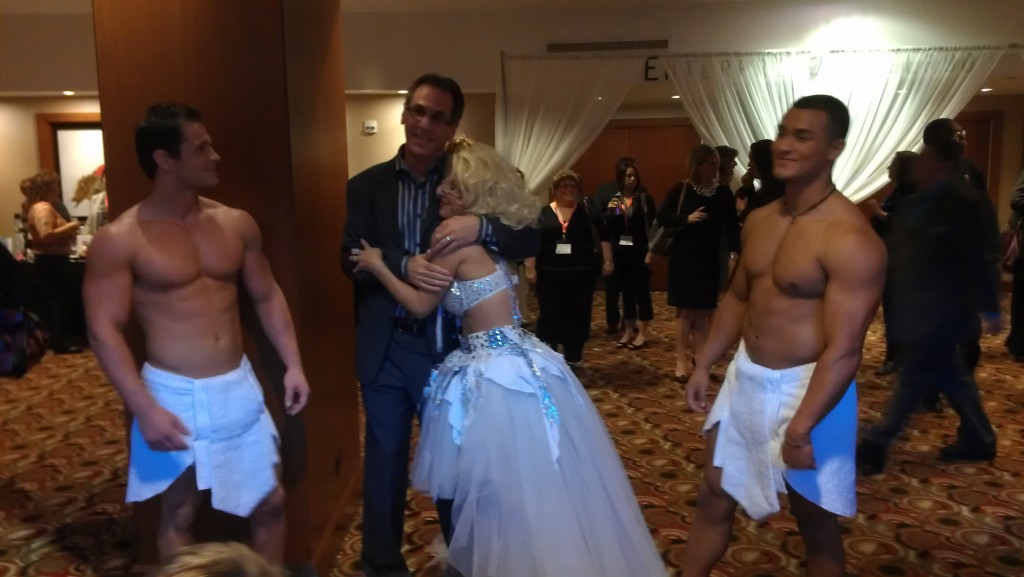
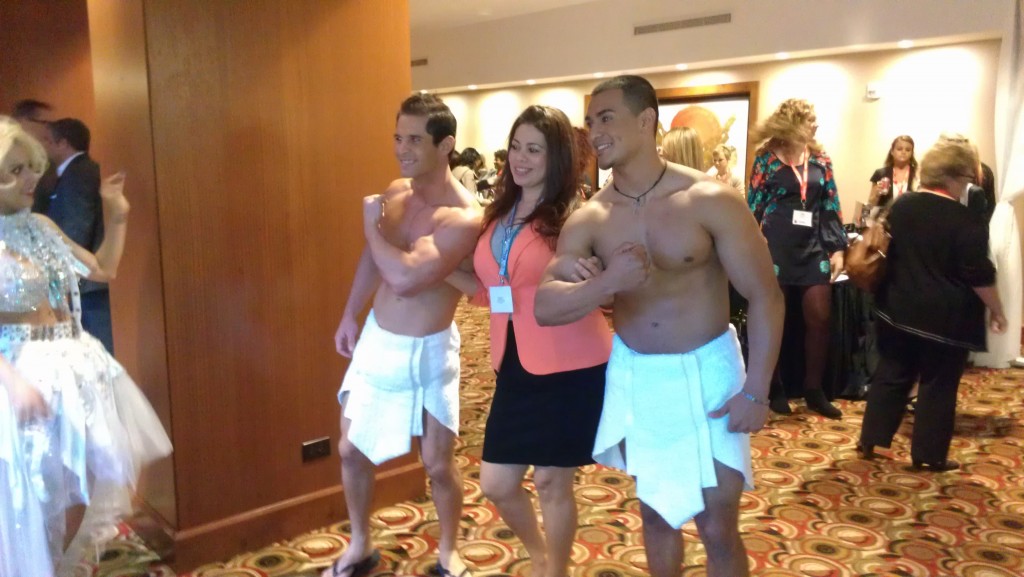
After the show, Lady Gaga came up with the idea of mingling with the crowd.

Encouraging Sally’s people to show their teeth:
Doing a Harpo Marx impression (what? wrong generation?):
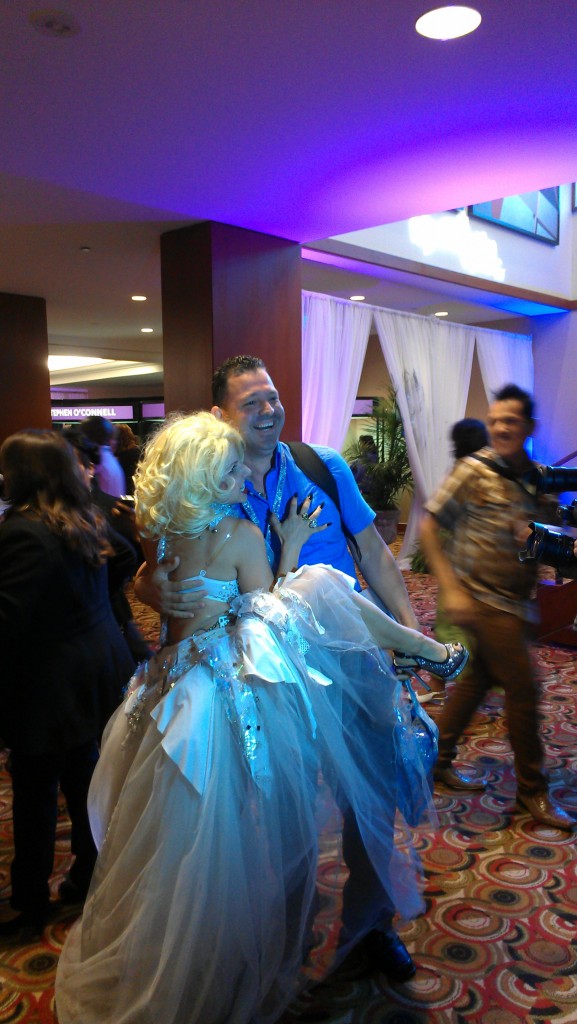
I think someone said this was the president, but I don’t want to repeat that without either verification or a wishy-washy “I think” to remove responsibility for faulty information.


To see the rest of the pictures I didn’t include in this post and also didn’t delete for being too blurry or too poorly lit, go here.

Egyptian Entourage

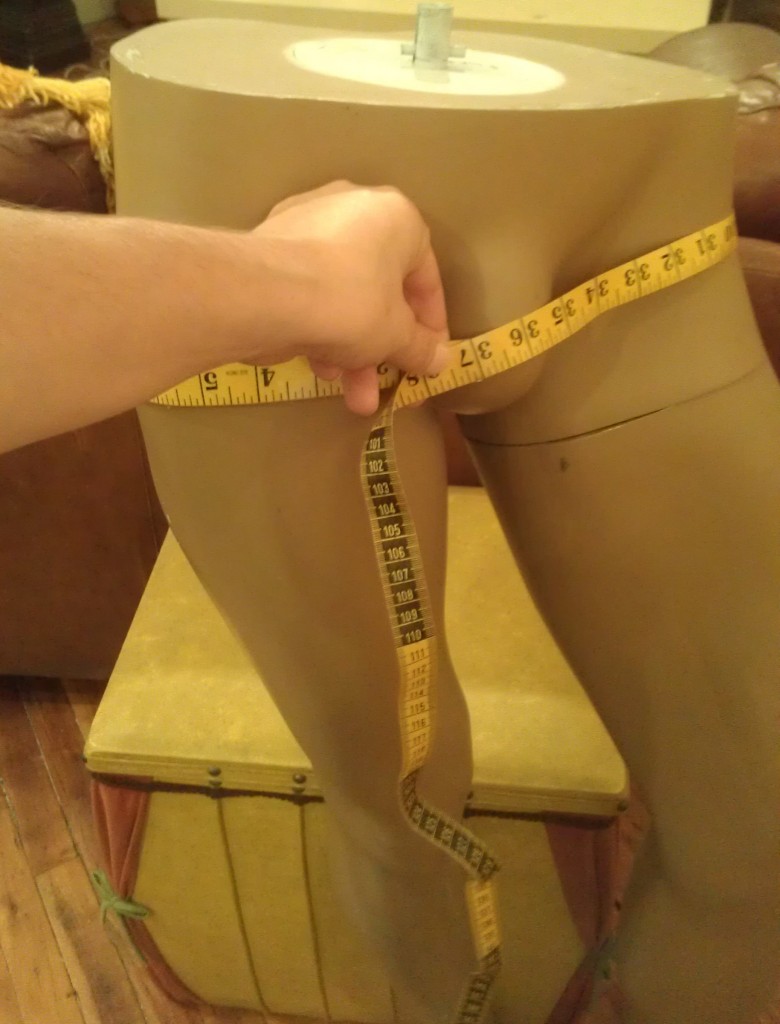
How to Measure a Man’s Hips at the Widest Part:

This was partly inspired by accidentally getting caught in Regretsy’s “self gratification” category and by trying to get myself worked up to make some Egyptian-style terrycloth men’s skirts for a Lady Gaga impersonator’s entourage after a 14-hour day of Tyler Rose Festival sewing and Cartier velcro strip edging. Yes, I just typed that.


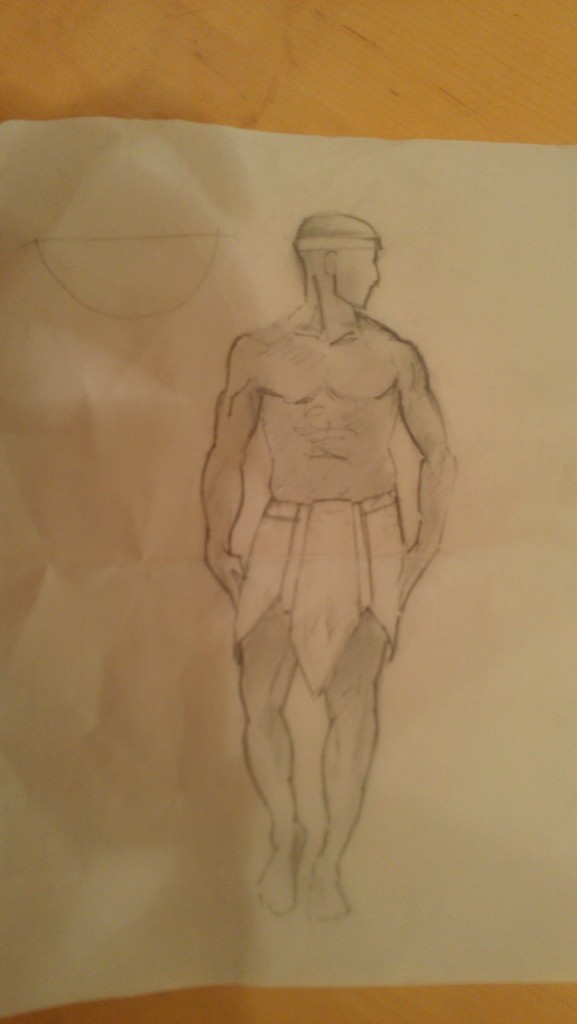
The Project: make this 3D:

I started out on the periphery of this project–Lady Gaga was to be carried in to her performance while riding in a bathtub that was hoisted by an entourage of men. The towel accessories were too wide and I cut them narrower and finished off the new edges. This was terribly exciting, and I couldn’t wait to tell my Lady Gaga fan friend. Then I heard that it was to be a Lady Gaga impersonator, which was somewhat less exciting.

Now the entourage needs outfits. Aside from the fact that terrycloth-by-the-yard is fabulously expensive (it would probably be cheaper to buy the towels you need, burn them, then buy the towels you need again than to make your own), it’s also a lot thicker and denser than would look good as a men’s skirt, so I got a set of white towels to cut up.

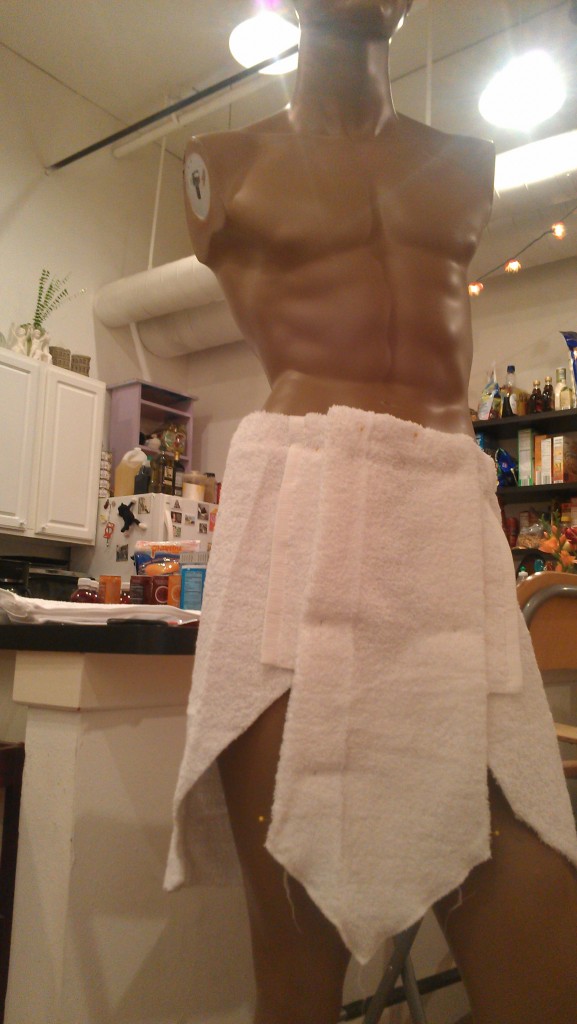
I’ve decided to put off finishing the project for the night until I get some more feedback on the current stage in the process, since I can’t un-cut a towel:

If Clothes Make the Man, Who Makes the Clothes?

Late last fall, when we realized that Dallas winters are indeed cold enough for a full-on coat, I convinced D. to go shopping for winterwear. We found a fantastic, versatile, and handsome black pea coat that in warmer months he left in his unlocked car. Which was later broken into at the same time that a neighbor discovered guns, laptops, and electronic equipment gone. But since he hadn’t been wearing it, he only noticed that some minor items were missing, and didn’t realize the coat had been in there until after making a statement to the police.

Eventually the meth addict next door was found with the stolen guns and computers. Apparently, the coat was mentioned on the police report and viewed by the owner of the serious property, but since it wasn’t on record as belonging to anyone, the coat was transferred to evidence and is now gone for good.

It is discontinued and not to be found anywhere online. So I have been commissioned to make a replacement.

D. is a T-shirt and jeans guy, so I hadn’t expected there to be much of anything I could make him that wouldn’t just soak in its own sentimental value in the back of his closet. Between that and my interest in getting more into menswear, I decided to go all out.

I started with sitting down at Joann’s and trying to find a pattern in the unisex, I mean menswear, sections in the pattern books. The seventeen different scrubs patterns seem like a step in the wrong direction from T-shirt and jeans.

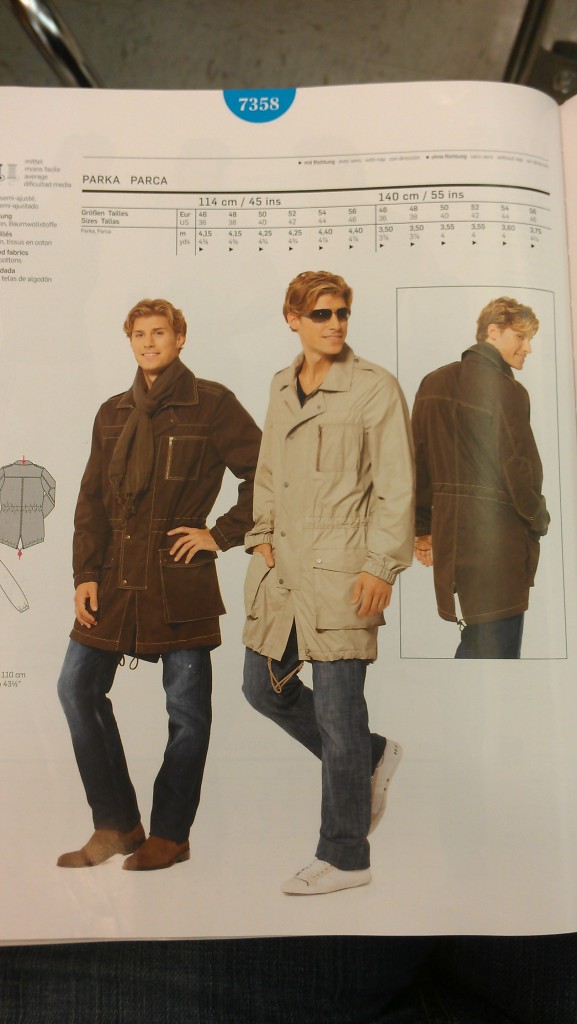
Burda has a limited selection of pretty good stuff.

However, this was the only coat pattern that jumped out at me, and it wasn’t in stock. It’s shapeless and has that internal drawstring belt that only a mother could love or want to use. (I mean that literally, and the phrase “It’s colder than it feels” springs to mind.) Actually, this is a man who is being forced to wear his mom’s jacket because he thought he was too cool to bring his own on the family vacation. Now if he doesn’t wear his mom’s extra coat she always keeps in the trunk next to the emergency blanket, flares, and two spare tires, he’s going to hear about it for every minute of their walk through the Potholders-of-the-World Outdoor Exhibit. Does that smile look real to you? Noo-ooo. He is embarrassed. And possibly constipated.

So this one’s okay, and I figured maybe I could find some pictures of real men’s jackets online then modify it to look less unappealing. But both of the nearby Joann’s were out of stock, so I started searching the interwebs for other menswear patterns.

After several hours, I came across this article an and thought I had found it at last:

http://malepatternboldness.blogspot.com/2011/04/awesome-new-mens-patterns.html

I was so excited to see images of men wearing clothes that looked natural instead of like a gay man’s first fashion foray out of the closet before he remembers he’s supposed to try to look good instead of just different

I started to suspect something was up when I couldn’t find any references for sources even as I continued reading. My first fear was that he had found these things and then planned to keep the info to himself. Still, I thought it was hope that there was something out there somewhere, even if this guy turned out to be a jerk.

Alas, no, he’s not a jerk, he’s just yet another victim of the dearth of menswear patterns. I even considered sending away for revolutionary war period coat costumes and modifying out the epaulets and so forth.

Anyway, I did find an awesome sewing blog written by a man, which is always exciting to come across.

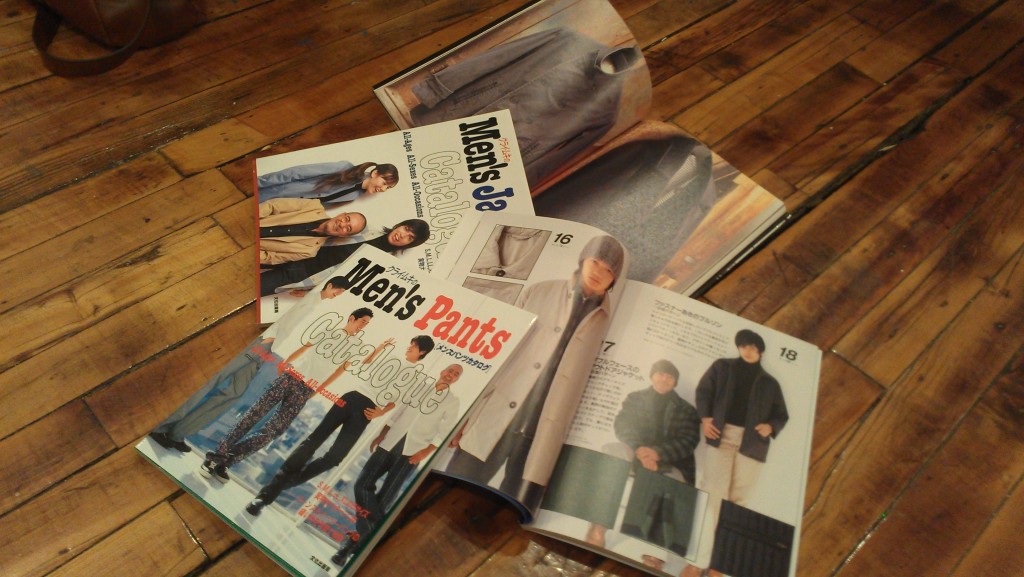
I kept thinking about getting ahold of some of the clothes that have been coming out of Korea over the past few years. They have really mastered a style that is deceptively simple at first glance, but has a lot of subtle complexity. And at last I found my menswear patterns.

YesAsia! carries quite a few sewing books. No pictures of the inside, though; I did separate searches on each promising-looking book and found images of the insides on etsy and amazon, then ordered the lot of them together through YesAsia!

I got the pants, jackets, and shirts of one series, and a coat collection from another designer. A lot of these actually look like clothes a man would actually wear. A few of the pants are a little reminiscent of Hammer Time, but it looks like that’s just the fabric choice.

They’re not in English, but they have a lot of illustrations. Not for beginners, but then again, menswear in general isn’t.

Pants!

Last spring, a gentleman finally threw away his favorite (and discontinued) pants, as they were beyond repair. His very excellent wife, unbeknownst to him, retrieved them and handed them over to me to copy. Several months pass in which he has no expectation of seeing his pants again.

The Project: copy the old pants, make new ones, and incorporate the first pair into the replacement


The fabric was a sort of peachskin, which is a fairly broad description for fabrics which, although I am sitting here literally fingertaps away from finding out for sure, I am going to assume is made from brushing one side to make it soft. I’ve been on a search before for a heavier-weight peachskin fabric and come up empty-handed, despite visiting the fabric warehouse district, Joann’s, Hancock’s, and getting samples online. Luckily, Joann’s just so happened to have a current line of peachskin fabrics that were close enough. I picked the black fabric as it felt slightly closer to the original than the other colors.

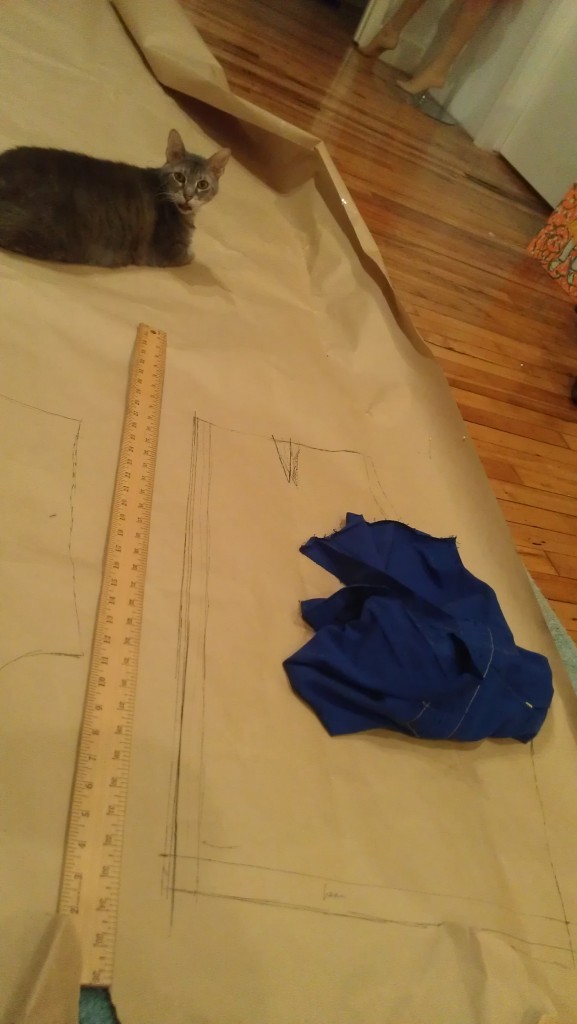
Step one: make a pattern. There are ways to do this without dismantling the original, but as that is not always as easy and accurate, and as these pants are trash anyway, I went ahead and ripped out several of the seams.

Paper pattern:

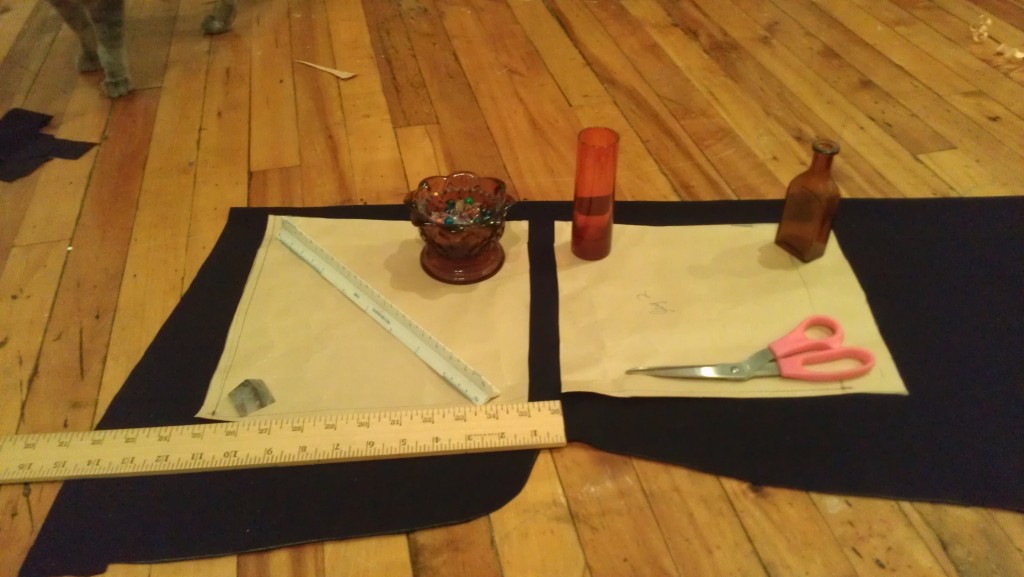
While copying the lower legs, I remembered that the client had said the originals were actually a little short. Since this was a simple pattern piece, I just cut it in half horizontally, measured an inch space between them and weighted the piece on the fabric.

I remembered at the last minute to take a picture of the original before completely cutting it up:

On the left, you can kind of see the seam from where the butt-reinforcer stops short. It only comes about halfway up the back of the pants, and the final tear was just above it. I decided to expand the reinforcement to cover the entire back up to the waistband.

Improvised on the back pockets, using the reinforcing piece as the facing:

Stitch over the chalk rectangle, cut a slit and fold the fabric through to create a finished edge around the inside of the rectangle.

I cut off the original blue back pockets, satin-stiched them into place on the new pants. The right leg has the reinforced back top-stiched into place (I decided to go with red), while the left one has not been finished off yet:

In summary:

1. Make a pattern

2. Sew on the back pockets

3. ????

4. Pants!


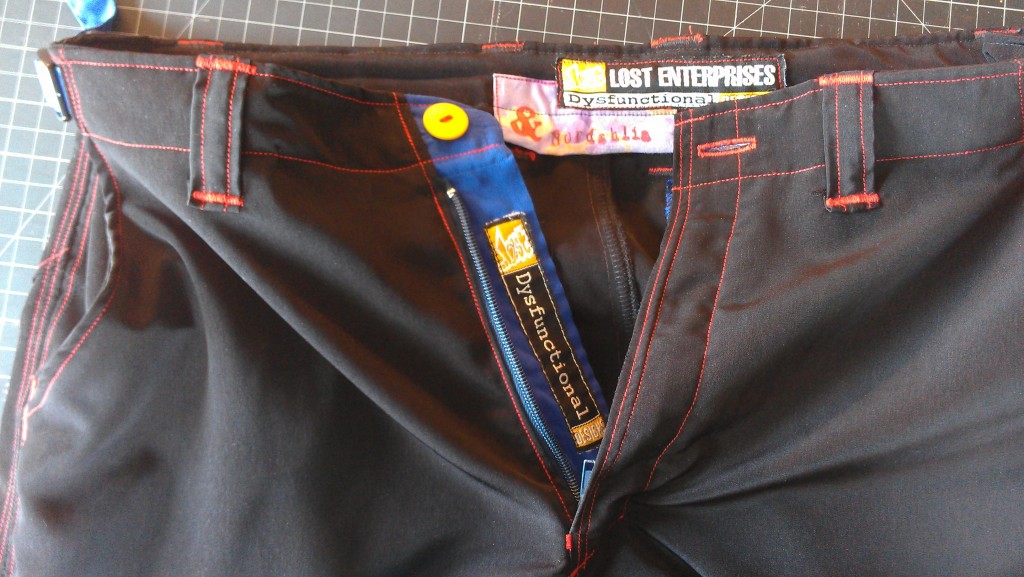
I used as much of the original pants as possible. One of the blue buttons was missing, so I dug through my yellow-button drawer and found one that matched the yellow fabric. I found a tempting red one as well, but the shade made the red top-stitching seem more pink.

I added some hand-stitching with embroidery thread around the edges of the back pockets as the machine top-stitching came out looking yo-mama homemade instead of handmade.

This is the top half of some removable-bottom pants that could be transformed into shorts. At this point in the process, it was like climbing down the other side of Mt. Everest. Still a challenge, but not nearly as exciting as the first part. Kinda ready to pitch a tent and hang out for a bit. Admire the view, dwell on the challenges overcome.

Birthday deadline coming up soon :: storm coming in over the horizon.

Have to head back down, ignore temptations to dawdle.

I kept the original fly-pieces. Yes, the label “dysfunctional” was there originally. I put the back-of-waist label in, and made one of my own to go with it. Partly because I’m cool like that, and partly because it bridged a gap and made it possible for me to use a waistband instead having to measure out a facing on the inside and geometrically allow for the back darts.

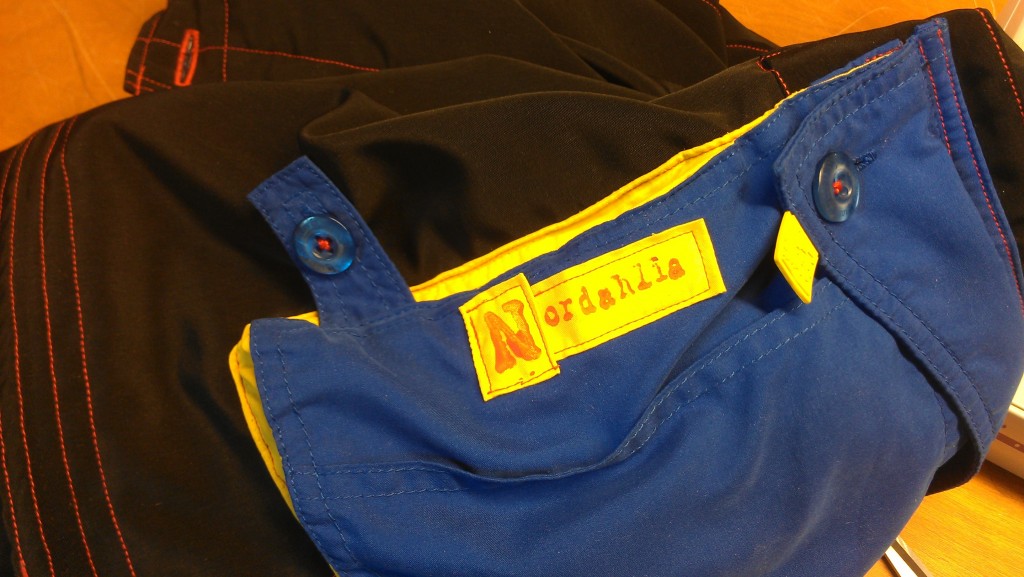
As the original design included other decorative labels, I decided to stamp my brand onto some of the old yellow fabric to cover up a hole in a pocket. I could NOT get the N right, so I decided to stop wrestling with the tiny N stamp and make it look like a design element.

I’m not a big fan of sewing pants, which is the cause and the effect of almost never making them. While, apparently, everyone else figures out welt zippers and then freaks out about invisible zippers, I’ve taken the opposite path. I can just about do invisible zippers with my eyes closed, but welt zipper style and jeans fly?? I’ve always viewed them with that “step one, step two, then a miracle occurs, zipper!” attitude. Plus, I’m going to have to reset my perceptions for pants in general, and menswear in particular, in regard to work vs. reward. I can pretty quickly add a flounce of some kind to a skirt–they can look complicated and eye-catching without spending much time. However, the elements that go into menswear and pants are time-consuming, require more exacting placement, and aren’t generally admired so much as expected.

While working on these pants, I decided to take the opportunity to think about my attitude about potential projects. Before starting, I was really reluctant, I thought they would be harder than they turned out to be, and was put off by the expected tediousness of all the small and subtle elements. I contemplated a future of only accepting projects that were fabulously exciting from the outset.

The encouragement to add a lot of color and get creative really helped get me going. Through the rest of the process, I thought a lot about how much he would appreciate the gesture from his loving wife resulting in his pants’ resurrection.

As I’ve dabbled in menswear and discovered how hard it is to find ways to change them and add design elements without turning them into girl clothes, I enjoyed figuring out creative touches to these pants that wouldn’t make the color choice scream 80’s.

I checked in with the client after her husband’s birthday party. My initial plan, as there was a bit of uncertainty about the proper length, was to leave them extra long and unfinished. Then I realized it’s no fun to unwrap your favorite pants and have to wait to have them tailored. So I went ahead and finished them at the length we suspected.

Turns out they were perfect–exactly the right length. Dude put them on immediately, wore them the next day as well, absolutely loved them. So gratifying.