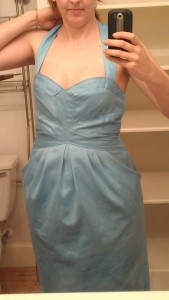
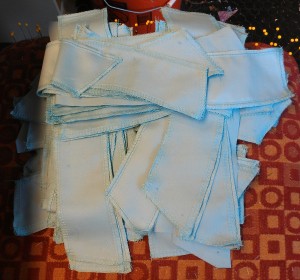
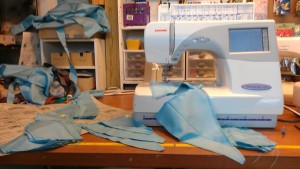
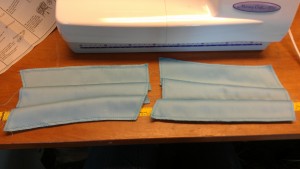
The Project: 6 bridesmaid dresses made from blue pima cotton
I sewed one of the six dresses first so it could be tried on and we could make sure that was the design the bride wanted. Usually, those little notches and dots marked on the pattern pieces aren’t terribly important; line up the left side top of piece one with the right side top of piece two, then sew. Generally, therefore, I skip all but the ones I know I’ll need, like ones identifying the back and top of sleeves. However, the edges on this pattern’s pieces don’t line up corner to corner; most of them–but not all!–line up about 3/8″ off. So sewing the first dress was a bit of an adventure, and I had to go back and add some of the markings.
I usually sew seams together on a serger, which calls for a 3/8″ seam allowance. This pattern had a very insistent 5/8″ seam allowance, which was huge and difficult to work with on these awkward curves.
The first dress looked pretty good, needed to be taken in some, and have the top modified as follows, but it turned out well enough that the bride gave me the go-ahead on the other five.
The top of the bodice is designed to pouch out like the pour-spout of a measuring cup for some reason, so that was a blast to fix, as there were multiple pieces coming together into a tight point. The largest part of the bust is shaped like a tiny Madonna cone-bra and is about two inches diagonally up from a normal girl’s largest bust-point (for “normal,” read “human”). Trying to alter this counterbalances fixes on the pour-spout modifications.
I decided to learn my lesson on marking all the pieces and put on every notch and dot. It took more than one full day to cut out and mark the remaining 5 dresses. Once I started sewing them, I realized this was largely a waste of time.
Many of the notches do not line up exactly. Pieces that are hard to determine top and bottom of have the same kind of notch on the top and on the bottom, so that there are no markings to help indicate. The flare-out at the top of the bodice under the arms (for under-arm boobs? What Hindu goddess is this dress designed for??) adds to the confusion of all the “wait–is THAT the top? The angle of that edge can’t go there–wait, oh, it does.” I sewed both sides of one bodice back together with all the pieces upside down and had to rip it out and start over.
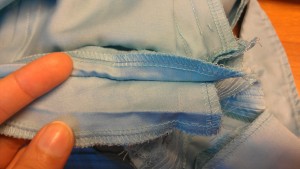
Some pieces are lined up using dots in the same way that the notches are used on others, with no apparent rhyme or reason. The enormous seam allowances and the quantity of same made it hard to see the dots that actually *were* helpful, and also made the inside of the dress bulky and lumpy. Clipping them meant cutting into the serged edges and leaving them raw.
I at last finished the 5 remaining dresses and we started having the first fittings for the other girls. This style of dress only fits certain body types, and the first girl to try it on happened to have the right kind. Ohh, but it’s not that simple. My first guess was that it only works easily on slim girls. Then a curvy girl had the best fitting yet. It seems to vary based more on…height? no, maybe a strange reverse correlation of height and curves? It’s randomly specific, so on some girls, I had to wrestle with the bust and the skirt, on some girls, I only had to wrestle with the bust. The pockets flared out on some girls and laid almost flat on others. The skirt puffed up like a balloon when some girls walked and stayed in place for others. Without exception, every single girl needed the skirts’ back darts to come down about two inches longer so it wouldn’t look awkward and pointy.
On top of taking the sides in, I also had to shorten every single dress along some of the semi-horizontal seams. Which meant ripping out a ton of top-stitching and easing the change into other curved seams going in the opposite direction. It also meant that the edges lined up differently and affected the side seams. Go back and reread that. Every. Single. Dress. This was a spectrum of girls of varying heights. Who the heck was this dress designed for? No body type fits this horrible pattern without modifications.
On one, I had to take in the edges of a horizontal seam in unevenly to make it lay right, then had to cut and serge the wide edge so it wouldn’t lump into the skirt-to-bodice seam.
Extras:
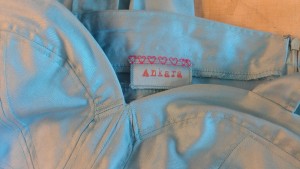
I decided to make cute labels:
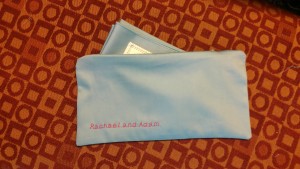
and make a bag for the groom’s pocket square:
Afterthoughts:
I’ve tried to figure out how the pattern could have been designed better so that it could actually work. Number one was the impossible bra area. Seriously, Butterick? You hired people who couldn’t tell that the point of the bra goes in the center? Seriously? I mean there is no way whatsoever that ANY shape of woman would be able to fit this bodice properly without modifications. Which is not supposed to be necessary on a commercial pattern. Especially not one marked “Intermediate” sewing skill level (???!!??!!).
I really hate commercial patterns that have drawings of the garment on it. That just shows what it was supposed to look like, not what it actually looks like. This pattern DOES come with a photo of a model wearing the dress, however. But her bodice doesn’t look like *$#&. What gives, Butterick? Did you pin it on her? Was it photoshopped? Plus, the model has her hands in the pockets, covering up how much the pockets flare out. Why do they feel the need to cover design elements rather than display them? Some people might want the large, puffy skirt look. Not this particular client, though. Let us see what the garment ACTUALLY looks like before buying the pattern, mmkay, Butterick? I thought that request should be obvious.
This dress would probably have been improved with more support than the design called for. We left the lining off–which was, outrageously enough, designed to be an exact copy of the complicated outer dress, instead of a simplified version that had the same shape–but that wouldn’t have added any structure anyway. A grosgrain ribbon around the waist might have helped. I also felt like boning might be an improvement, but that can seriously change the fit, potentially by several inches, and there wasn’t time to try this and refit everyone.
I get that it’s hard for a pattern company to include ways to change it for tall and petite on a pattern this complicated; can’t really blame them there. I think the best way for someone anal to make these dresses in different sizes for a perfect fit would be to start with a sloper that does fit the individual and then craft the individual pieces from that. I had wanted to try to modify the pieces before sewing them, but there are just too many places where they have to line up just so in the middle of the dress that any changes would have likely made it crooked. Plus, when I marked it on the girls, it wound up only needing shortening on the sides and not in the center front or back of the bodice, and there’s no way I would have guessed that before making them.
How likely am I to recommend this pattern to anyone: 0%
How likely am I to make this pattern again: 5%
Overall lingering hatred or fear of Butterick: 80% increase

